Chocolate Orange Cookies
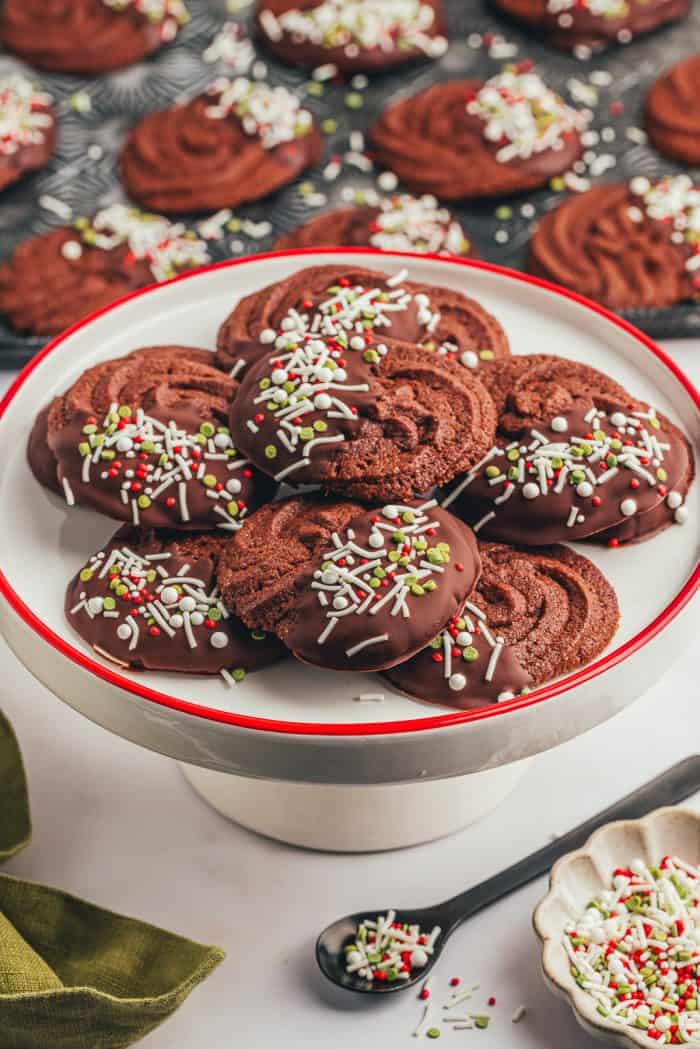
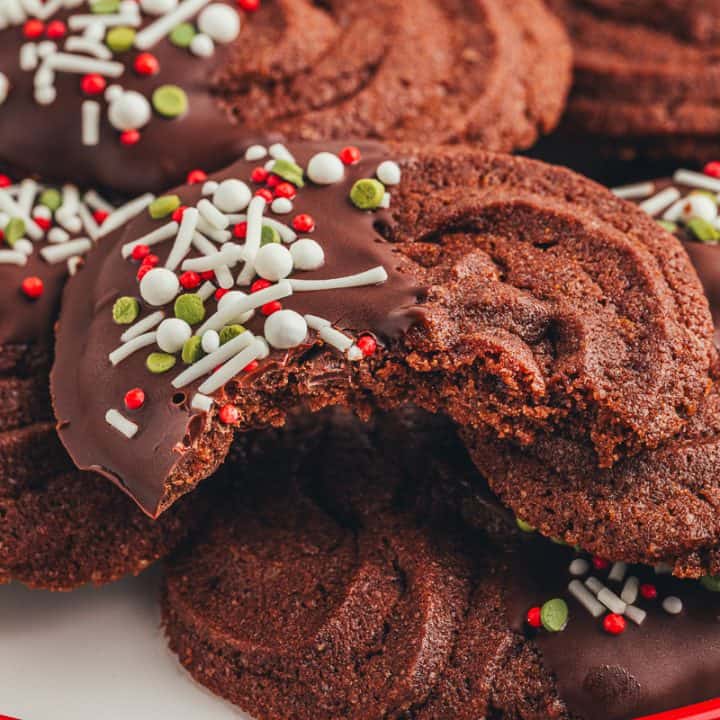
These chocolate orange cookies are rich and buttery with an irresistible melt-in-your-mouth texture. Rich cocoa powder and vibrant orange zest create the perfect balance of flavors. Each cookie is finished with a dip in melted chocolate and a shower of sprinkles making these a treat for both the taste buds and the eyes. These chocolate orange butter cookies are perfect for the winter holidays or anytime you’re craving a rich, chocolatey treat.
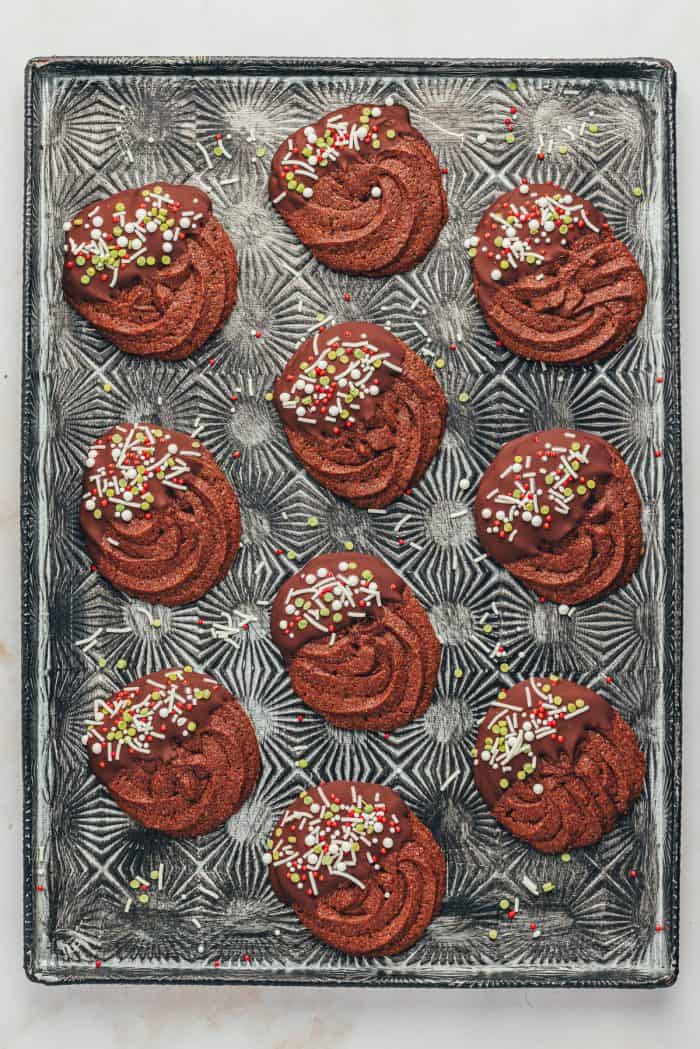
Hey there, and welcome back, friends.
You are in for a holiday treat!
Orange and chocolate are such classic holiday flavors. I decided to switch up the regular orange butter cookies that are dipped in chocolate and make the cookies themselves rich with chocolate flavor.
You can never go wrong with chocolate and orange; am I right???
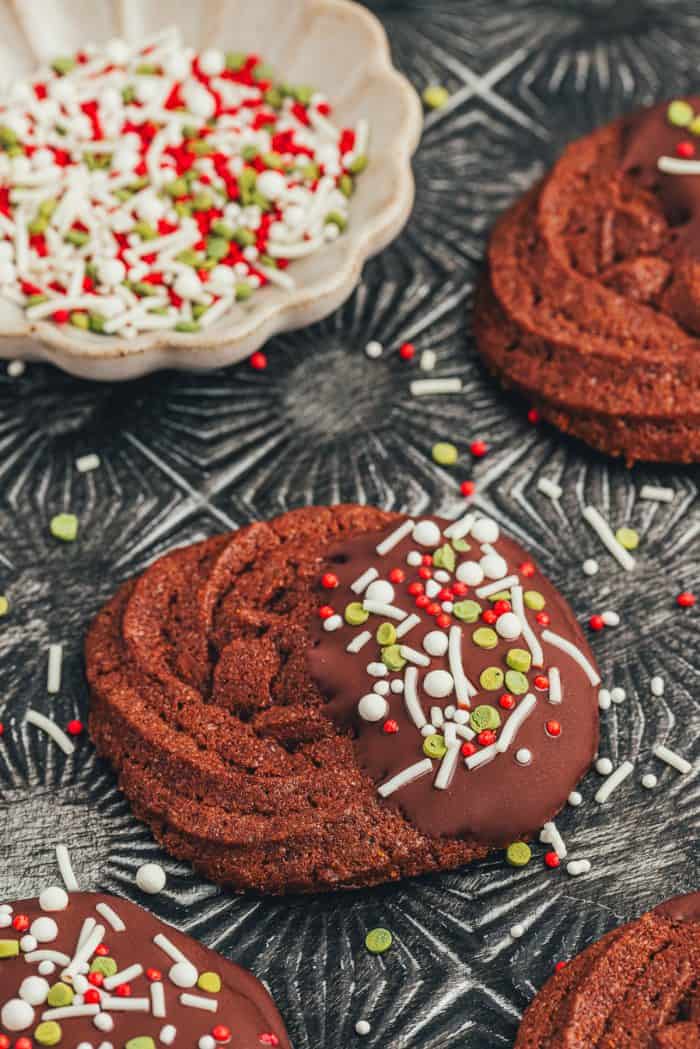
Butter cookies are a favorite holiday cookie of mine because of their irresistible melt-in-your-mouth texture.
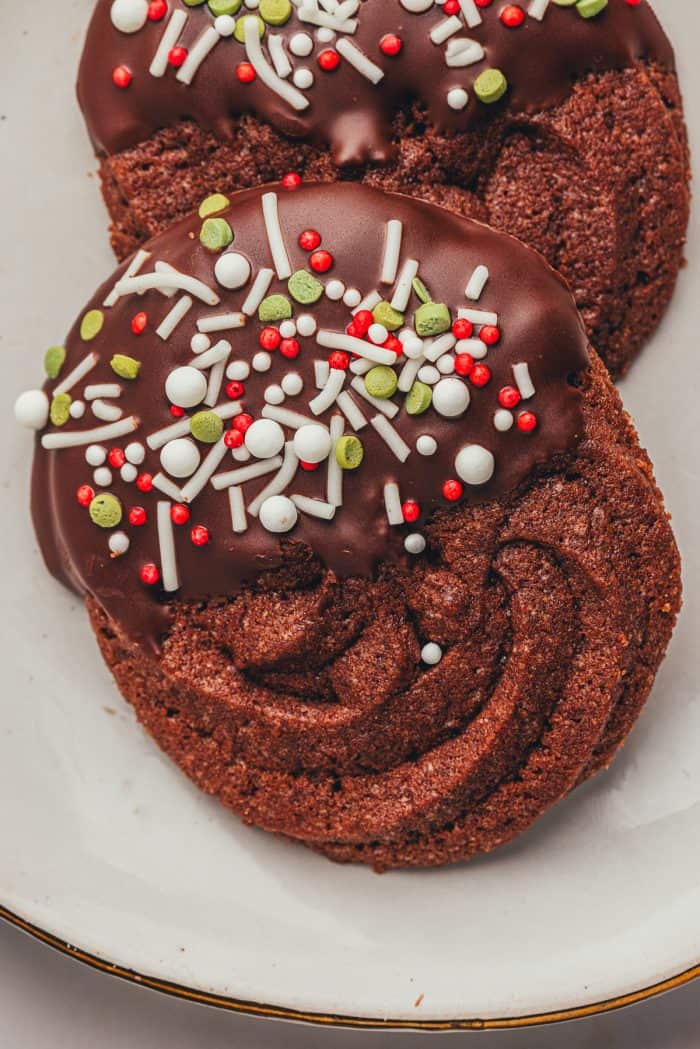
These cookies are flavored with real orange zest—there is no fake orange flavor. Each bite is bursting with the vibrant taste of orange! I can’t help but eat more than one cookie. The orange zest perfectly balances the rich chocolate cookie.
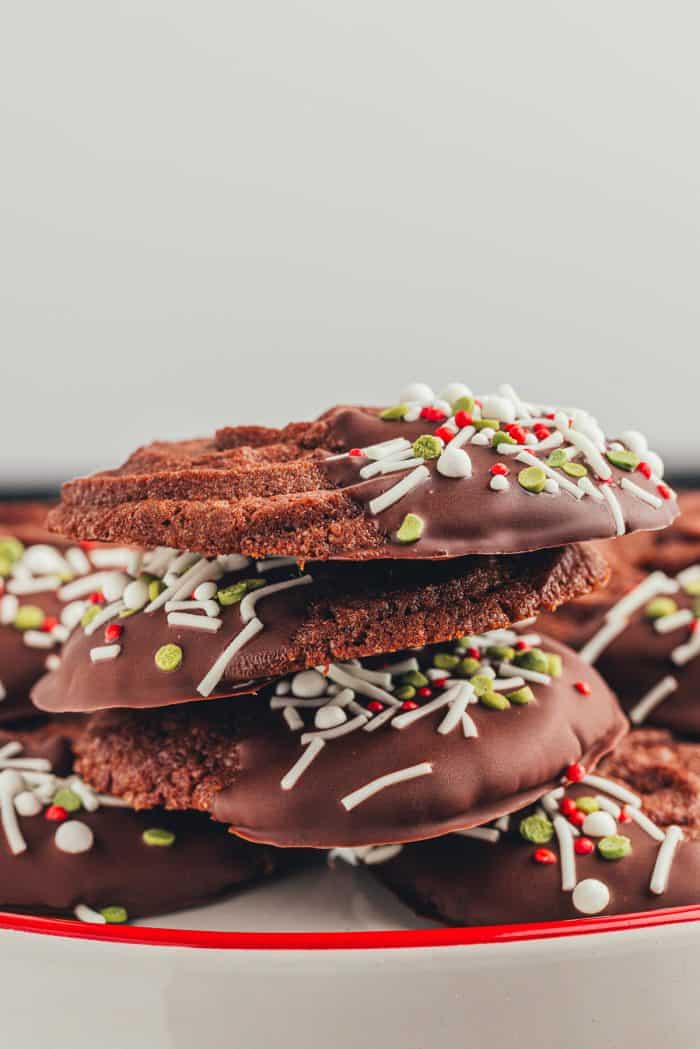
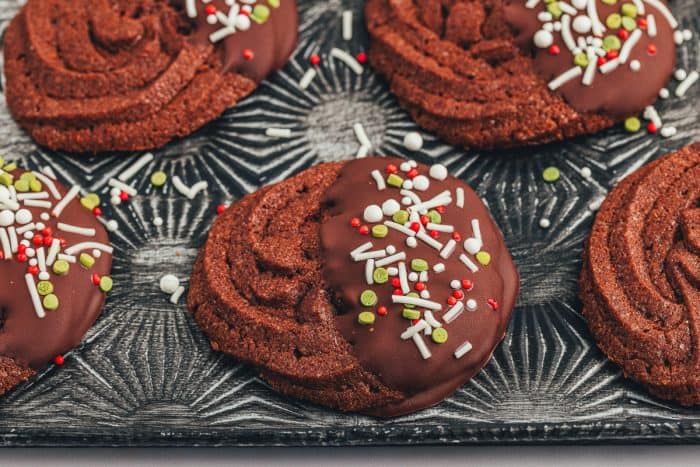
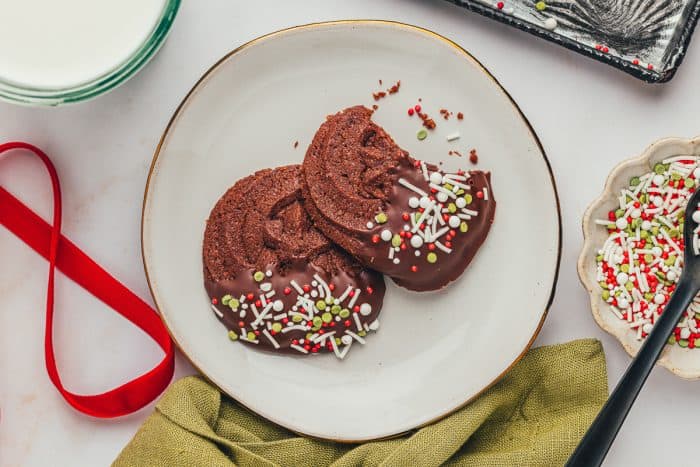
You can have fun decorating the cookies. Since I made them for the holidays, I decorated them with red, green, and white holiday-themed sprinkles. Silver nonpareils would look stunning, too.
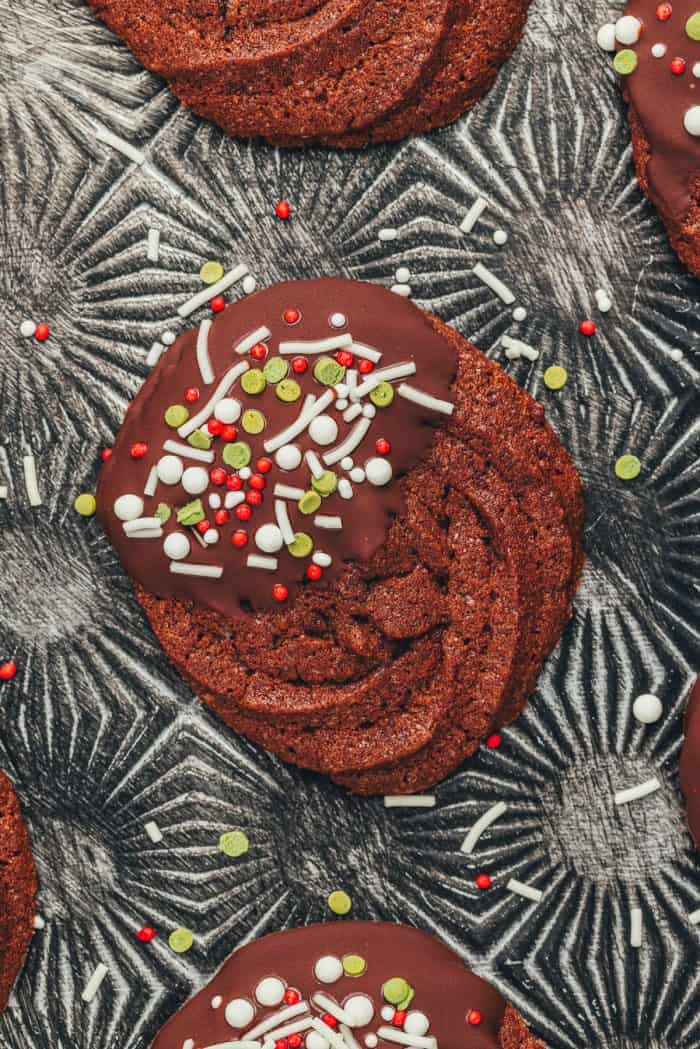
These orange chocolate cookies would be perfect for adding to your holiday cookie boxes. If you need even more Christmas recipe ideas, I have a lot to pick from that your family will love.
Ingredients
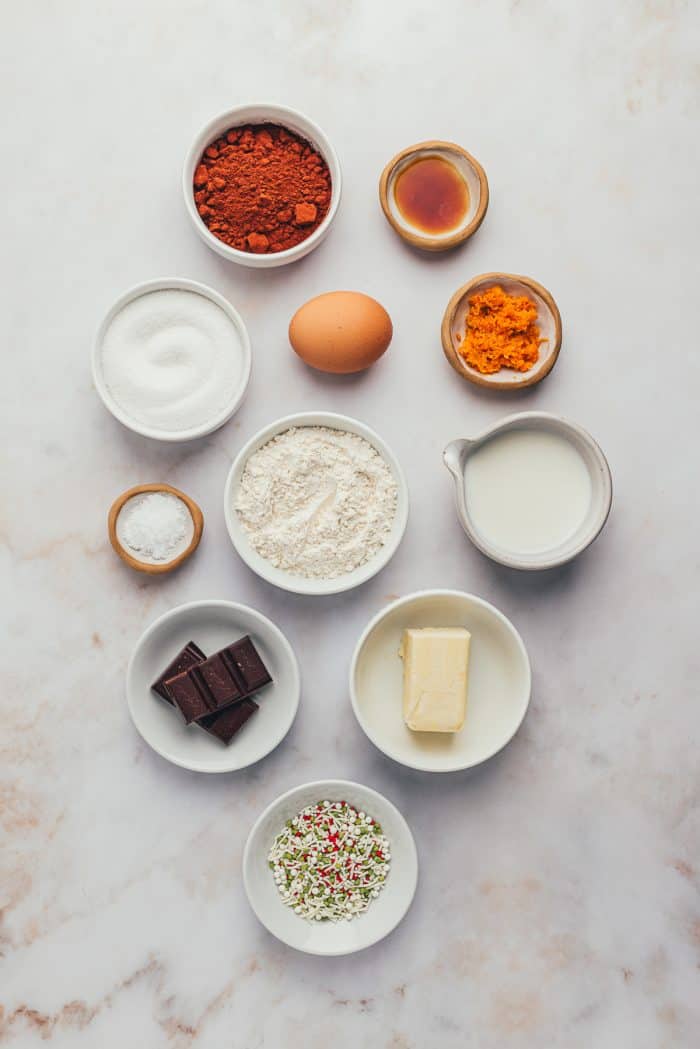
- unsalted butter
- granulated sugar
- a large egg
- vanilla extract
- zest from a large orange
- all-purpose flour
- salt
- Dutch-processed cocoa powder
- milk
- semisweet baking chocolate
- sprinkles, for decorating
How to Make Chocolate Orange Cookies
Line 2 large baking sheets with parchment paper. Once the dough is piped, you’ll need to chill it, so make sure to clear out some space in your fridge or freezer.
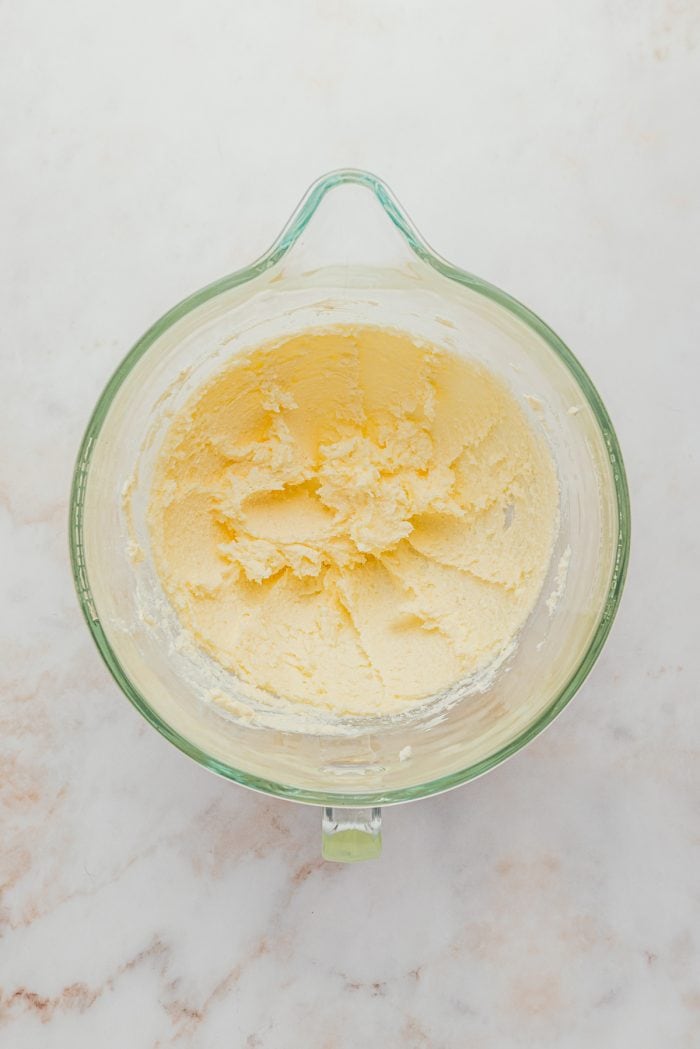
Beat the butter until creamy, for a few minutes.
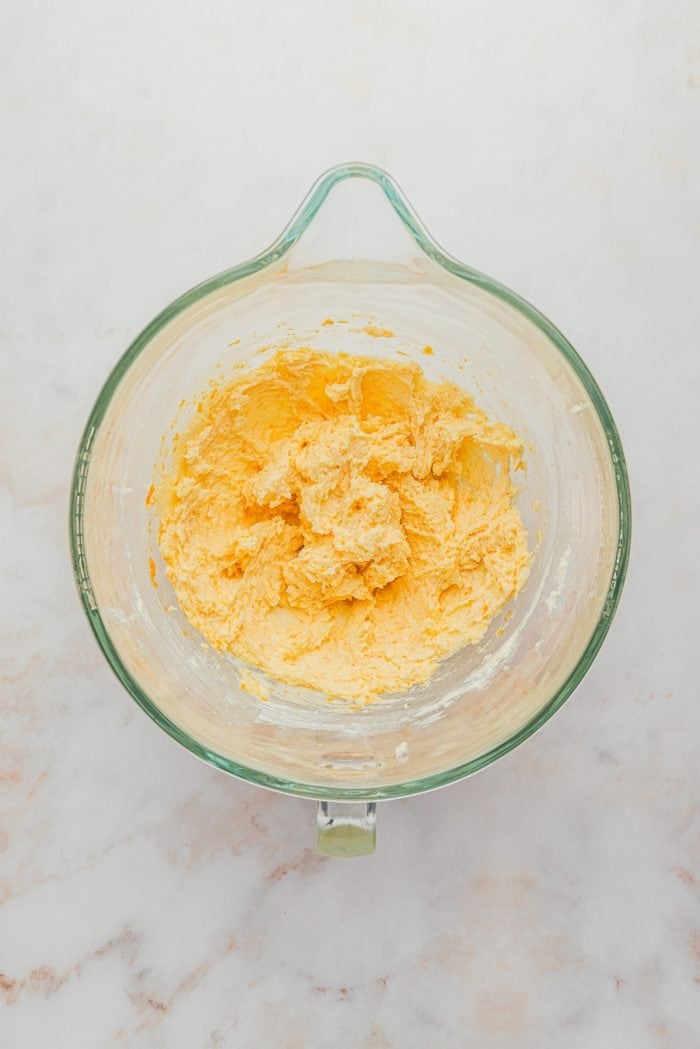
Add the sugar and beat for an additional few minutes, scraping down the sides of the bowl as needed.
Add the egg, vanilla, and orange zest and beat until combined, about 1 minute.
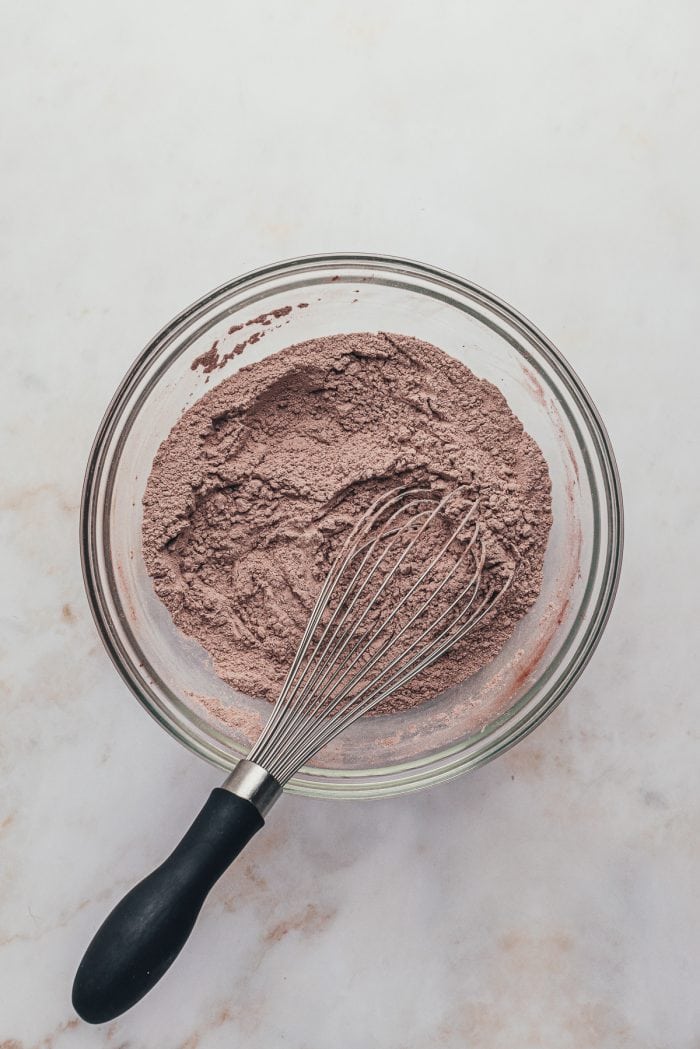
Whisk together the flour, salt, and cocoa powder in a separate bowl. If the cocoa powder is very lumpy, sift it before adding it to the flour and salt.
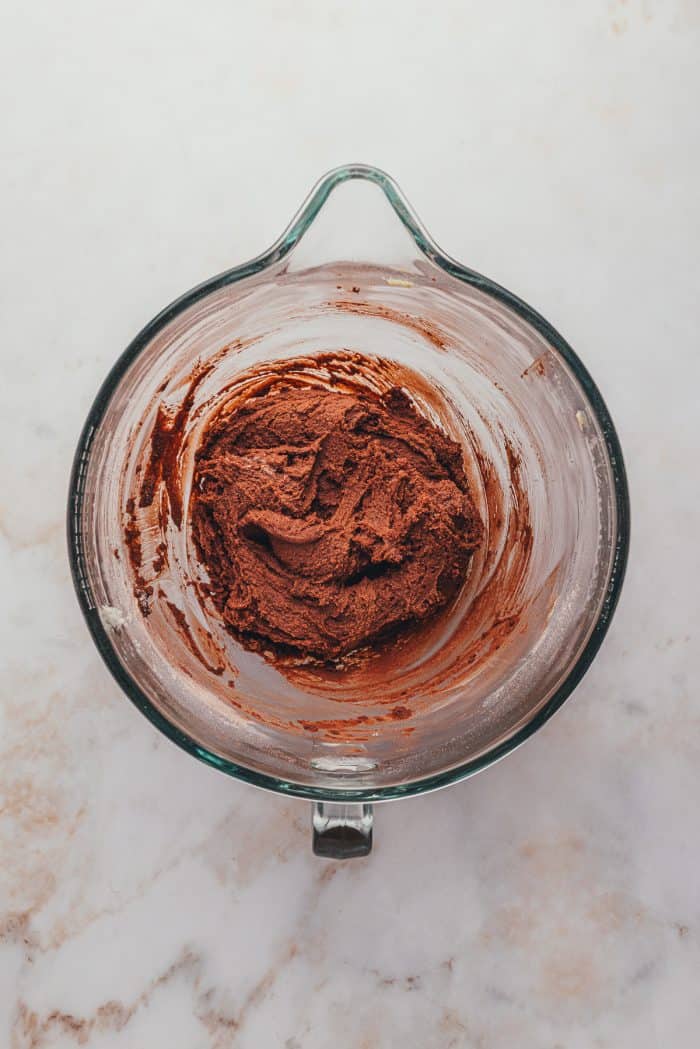
Add the dry ingredients to the mixer on low and mix until fully combined. The dough will be very stiff.
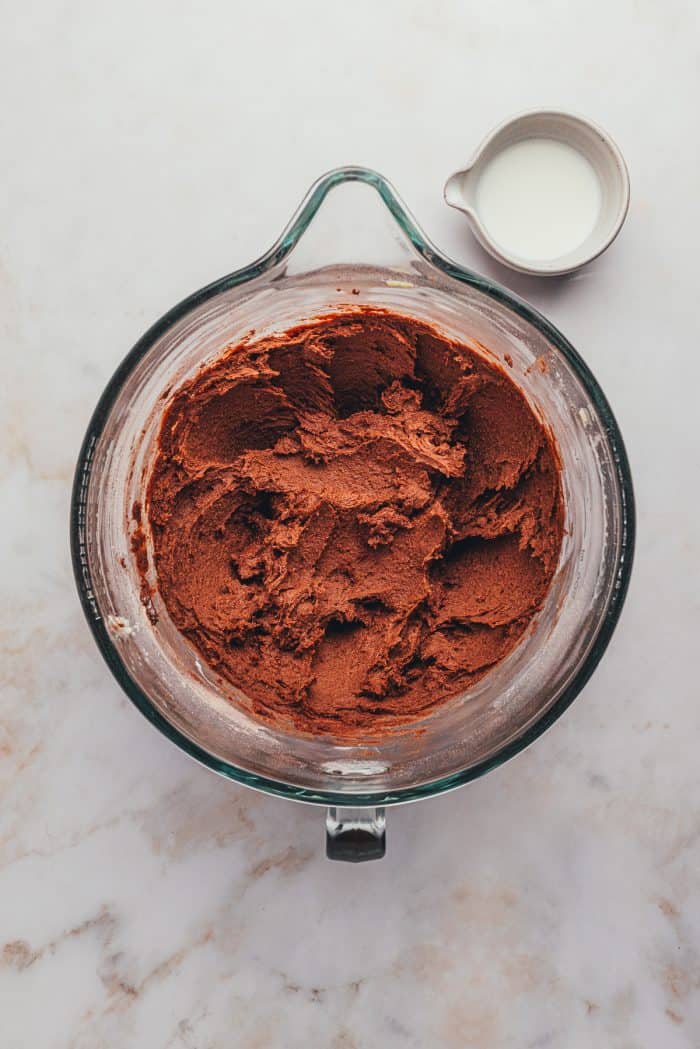
Mix in 2 tablespoons of the milk. The dough should look creamy and thick with a pipeable consistency. It will resemble really thick frosting. If it seems too thick, add an additional ½-1 tablespoon of milk.
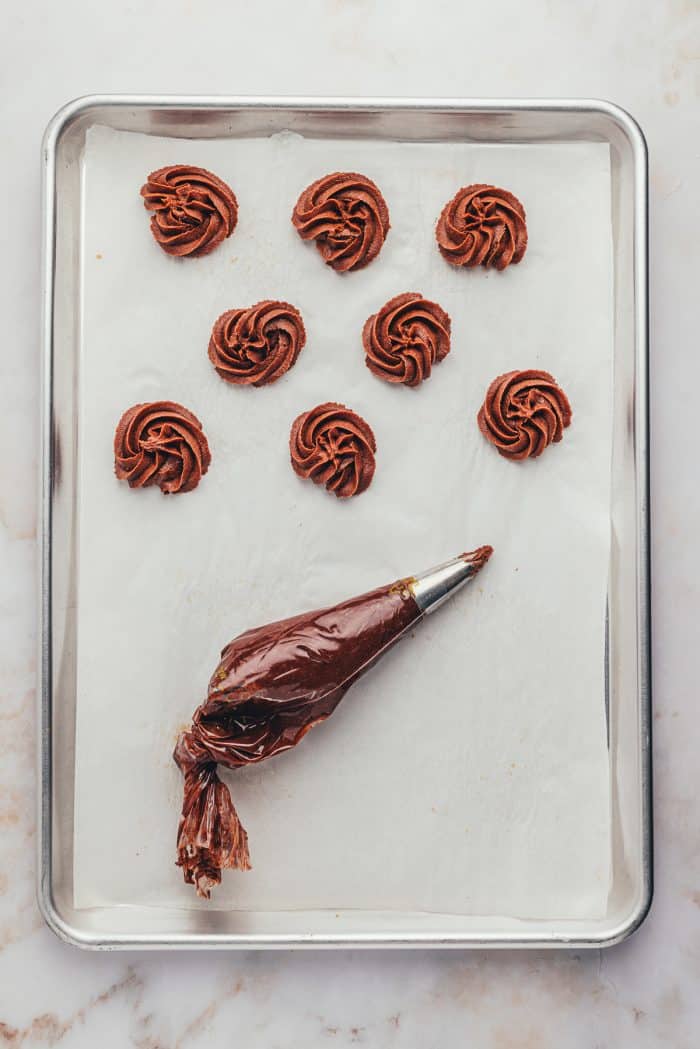
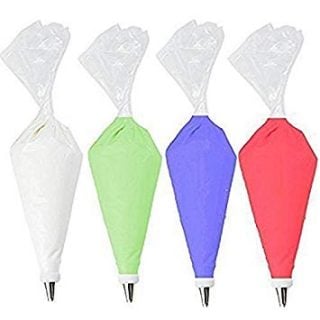
Fill a large piping bag fitted with your largest star piping tip. Pipe a 1 ½ to 2-inch round of dough on the lined baking sheet. Continue, making sure to space each cookie at least 1 ½ inches apart as they will spread when baking.
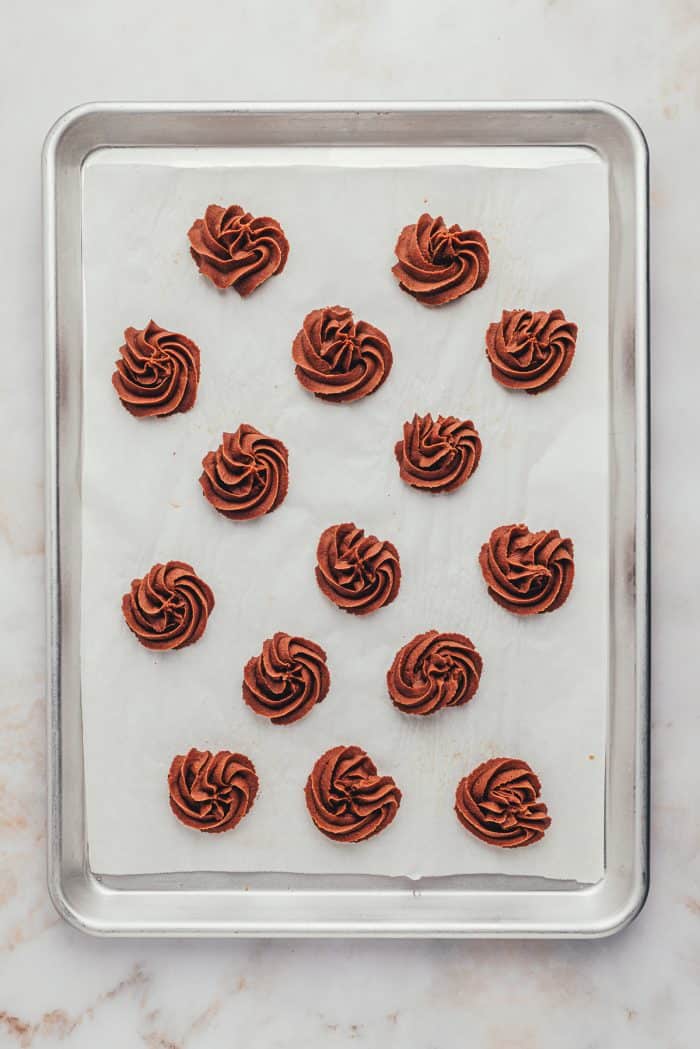
Chill the piped cookies in the fridge for half an hour or until firm to the touch. They can also be frozen for 15 minutes.
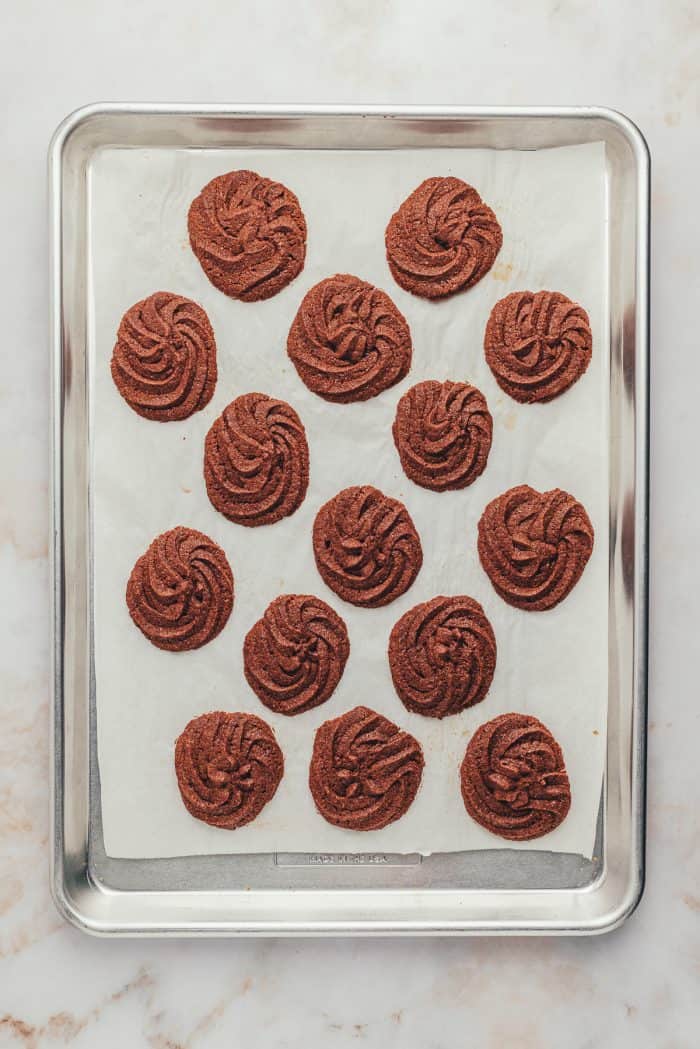
While the cookies chill, preheat the oven to 350 degrees. Bake the chilled cookies until the edges are set.
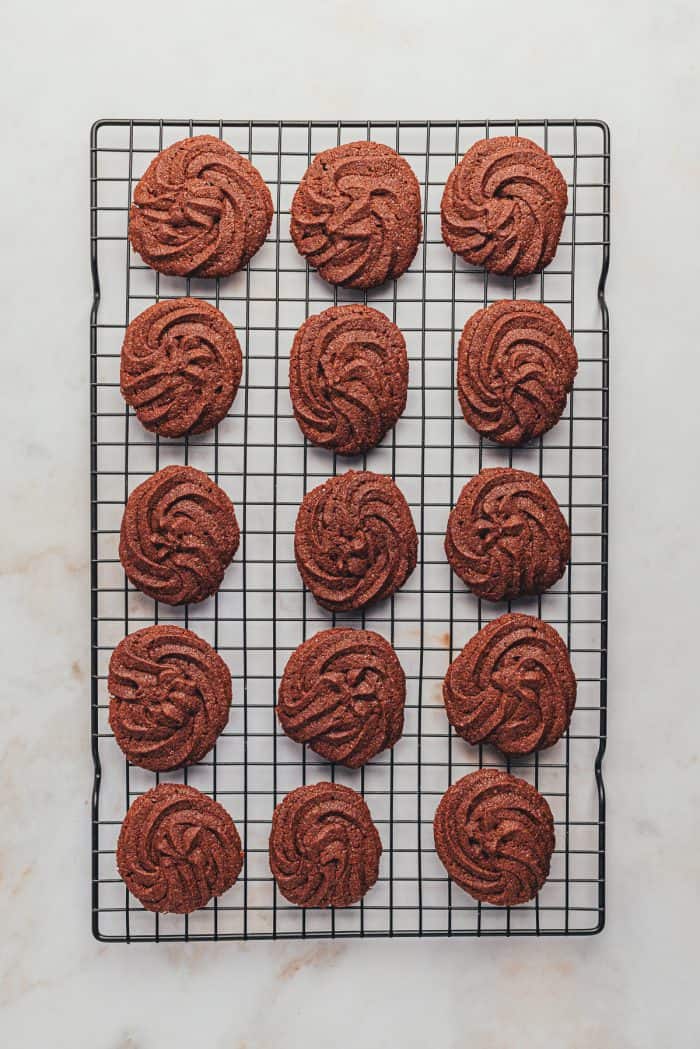
Cool on the sheet briefly before moving to a wire rack to cool completely.
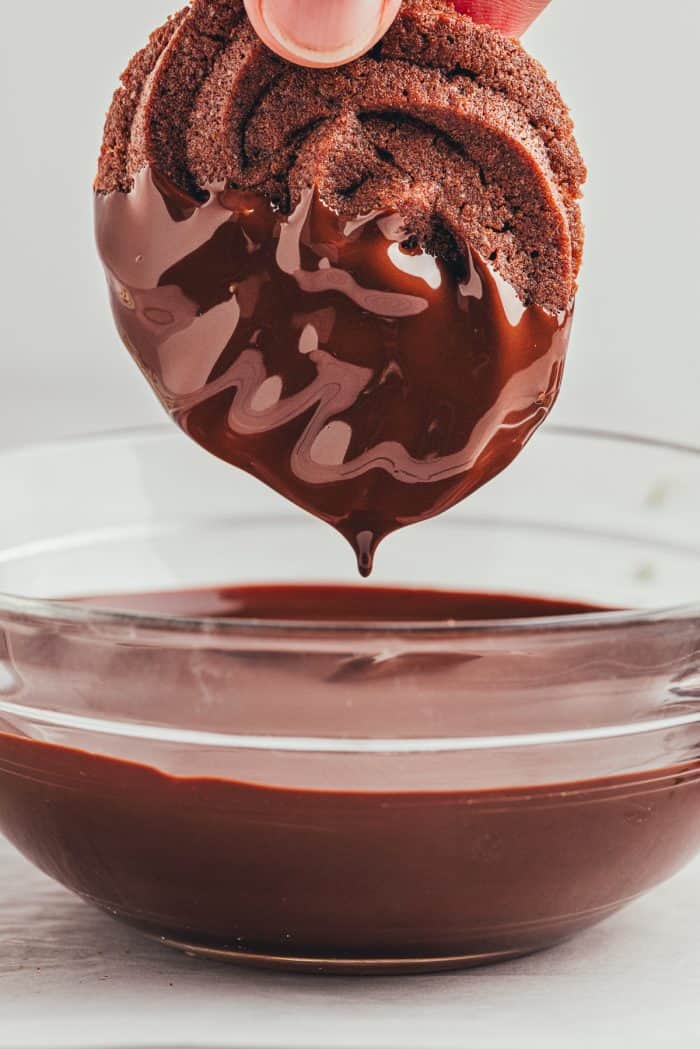
Once the cookies have cooled, melt the chocolate over a double boiler until smooth. Dip one-half of each cookie in the melted chocolate, allowing the excess to drip off.
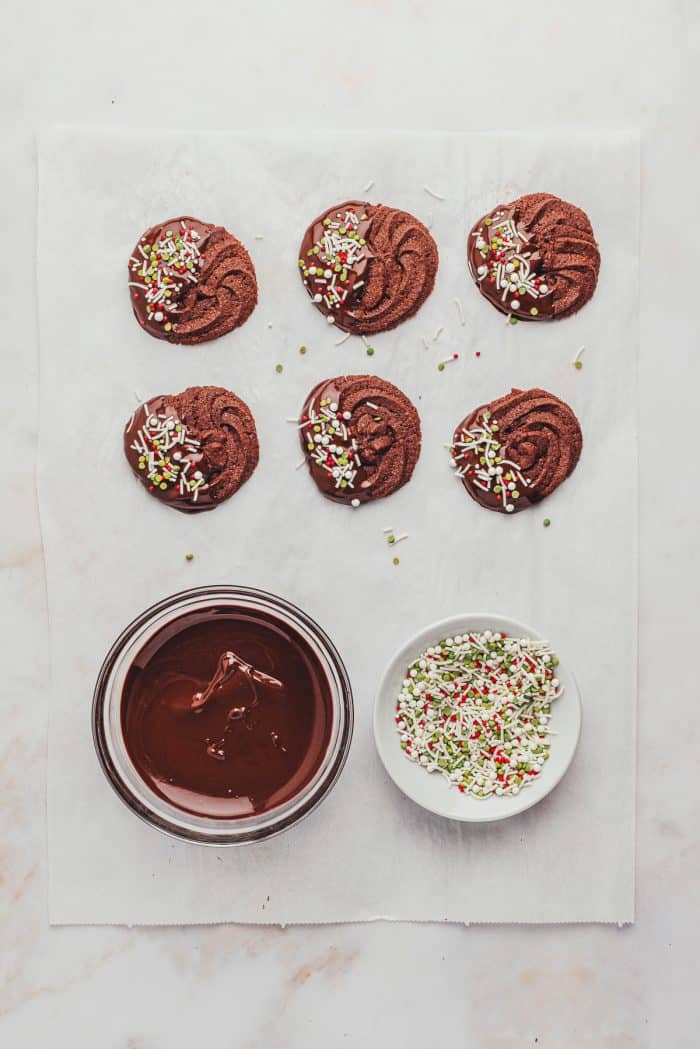
Place the cookies on parchment paper or a cooling rack. Scatter sprinkles over the melted chocolate. Allow the chocolate to set at room temperature or in the fridge.
How to Store
Once the chocolate has set, these orange chocolate cookies can be stored in an airtight container at room temperature for up to 3 days or in the fridge for 1 week. These cookies can also be frozen for up to 3 months.
More Holiday Cookie Recipes
- Brown Butter Sugar Cookies
- Pecan Cinnamon Shortbread Cookies
- White Chocolate Cranberry Oatmeal Cookies
- White Chocolate Peppermint Cookies
- Homemade Snowball Cookies

What do you think of this amazing chocolate orange cookie recipe? What would you serve with these cookies? Let me know in the comment section below.
If you share across social media, make sure to tag #aclassictwist, so I can see your beautiful creation come to life!
Happy holiday baking, friends!
Chocolate Orange Cookie Recipe
Chocolate Orange Cookies
These chocolate orange cookies are rich and buttery, with an irresistible melt-in-your-mouth texture. Rich cocoa powder and vibrant orange zest create the perfect balance of flavors. Each cookie is finished with a dip in melted chocolate and a shower of sprinkles, making them a treat for both the taste buds and the eyes.
Ingredients
- 1 cup (2 sticks) unsalted butter, softened
- 1 cup granulated sugar
- 1 large egg, at room temperature
- 2 teaspoons vanilla extract
- 1 large orange, zested (about 1 heaped tablespoon)
- 2 cups all-purpose flour
- ½ teaspoon salt
- 6 tablespoons Dutch processed cocoa powder
- 2-3 tablespoons milk, at room temperature
- 6 ounces semisweet baking chocolate
- 3-4 tablespoons sprinkles, for decorating
Instructions
- Line 2 large baking sheets with parchment paper. Once the dough is piped, you’ll need to chill it, so make sure to clear out some space in your fridge or freezer.
- Using an electric mixer, beat the butter until creamy, about 2-3 minutes. Add the sugar and beat for an additional 2 minutes, scraping down the sides of the bowl as needed. Add the egg, vanilla extract, and orange zest and beat until combined, about 1 minute.
- Whisk together the flour, salt, and cocoa powder in a separate bowl. If the cocoa powder is very lumpy, sift it before adding it to the flour and salt. Add the dry ingredients and mix until thoroughly combined with the mixer on low. The dough will be very stiff. Mix in 2 tablespoons of the milk. The dough should look creamy and thick with a pipeable consistency. It will resemble really thick frosting. If it seems too thick, add an additional ½-1 tablespoon of milk.
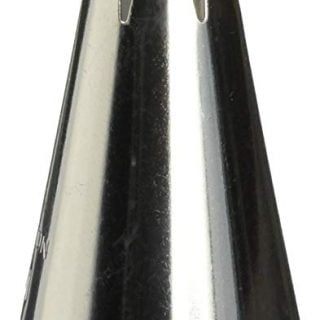
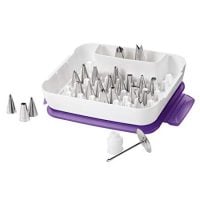
- Fill a large piping bag fitted with your largest star piping tip (I used a Wilton 1M tip). Pipe a 1 ½ to 2-inch round of dough on the lined baking sheet. Continue, making sure to space each cookie at least 1 ½ inches apart as they will spread when baking. Chill the piped cookies in the fridge for 30 minutes or until firm to the touch. This can also be done in the freezer for a total of 15 minutes.
- While the cookies chill, preheat the oven to 350 degrees. Bake the chilled cookies for 14-16 minutes or until the edges are set. Cool on the sheet for 10 minutes before moving to a wire rack to cool completely.
- Once the cookies have cooled, melt the chocolate over a double boiler until smooth. Dip one half of each cookie in the melted chocolate, allowing the excess to drip off. Place the cookies on a piece of parchment or a cooling rack. Scatter sprinkles over the melted chocolate. Allow the chocolate to set at room temperature or in the fridge.
Notes
- The size of your piping tip will determine the thickness of the cookies and how much they hold their definition once baked. Try to use the largest star tip you have available.
- These cookies can be made with a cookie press rather than a piping bag if you have one. If you choose to use a cookie press, you can omit the milk in the recipe.
- Piped cookies that are chilled in the freezer rather than the fridge will most likely need an additional 1-2 minutes of baking time.
- The chocolate will be set in 1-2 hours at room temperature or in 20 minutes in the fridge.
- Can I still make these if I don’t have a piping bag? Yes, you can make these without a piping bag! Use a large gallon-sized zip-top bag instead. Snip off one of the corners to make an opening about ½-inch wide then pipe thick lines about 1 ½ to 2-inches long instead of swirls.
- What is the best way to store these cookies? Once the chocolate has set, they can be stored in an airtight container at room temperature for up to 3 days or in the fridge for 1 week.
- Can I use natural cocoa powder instead of Dutch-processed cocoa? Yes, you can use natural cocoa powder instead of Dutch-processed as there is no leavener in this recipe. I prefer Dutch-processed cocoa powder in these cookies as it yields a deeper chocolate flavor and gives them a darker color.
- Be prepared to use a little muscle when piping the cookies, especially if you have a smaller piping tip. Avoid the desire to add more milk to make the dough easier to pipe as it will make the cookies spread more in the oven and lose their shape. The more cookies you pipe, the easier it will become as your hands will warm up the dough.
- Don’t skip the chilling time! Chill the piped cookies for at least 30 minutes in the fridge. This helps them retain more of their shape in the oven and keeps them from spreading too much.
- The piped cookies can be chilled for up to 24 hours. Make sure to cover them if you plan on chilling them for longer than an hour to keep them from drying out.
- Make sure to scatter the sprinkles over the chocolate before it has a chance to set. This ensures they stick and stay in place.
Recommended Products
As an Amazon Associate and member of other affiliate programs, I earn from qualifying purchases.
Nutrition Information:
Yield:
32Serving Size:
1Amount Per Serving: Calories: 105Total Fat: 4gSaturated Fat: 2gTrans Fat: 0gUnsaturated Fat: 2gCholesterol: 7mgSodium: 40mgCarbohydrates: 15gFiber: 1gSugar: 7gProtein: 2g

