Rosemary Olive Oil Bread
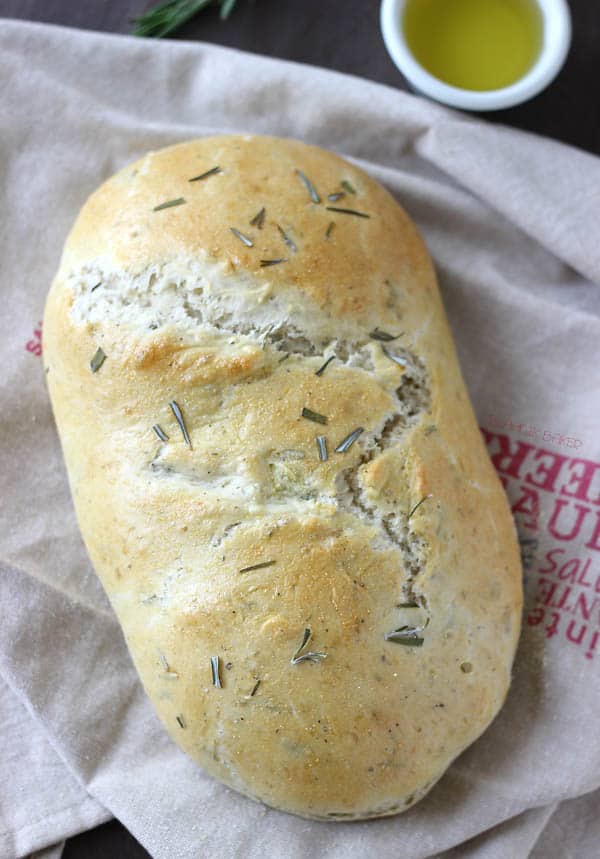
How was the long weekend? I hope you guys had a relaxing one and got some time to get into the summer spirit. I had my best friend visiting so it was a great weekend hanging out with her and catching up. We shopped, baked, went to the gym (after all that baking!), had a movie date and spent numerous hours talking. It was the perfect girl’s weekend. After she left, I started some weekly prep. I figured we should start the week with a warm loaf of bread. This rosemary olive oil bread is the best thing I baked yesterday and I did bake a few things (coming soon!!).
Our local grocery store carries a rosemary bread that the hubs and I love to get every time we are making a fresh batch of pasta and it was the inspiration for this loaf. Remember the not so terrific process behind this honey whole wheat bread? Well, that did not happen this time! This gal has been learning and is no longer scared of yeast. (Thanks for all the encouragement!)
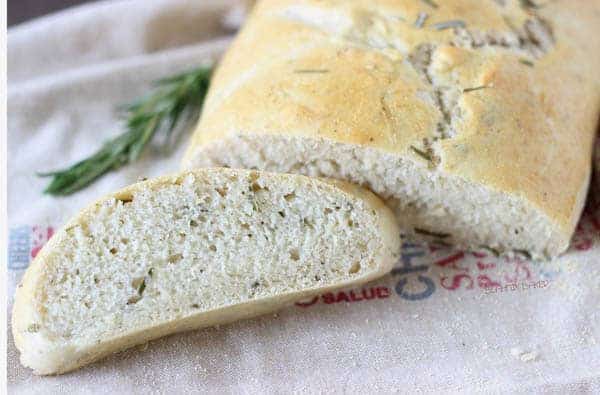
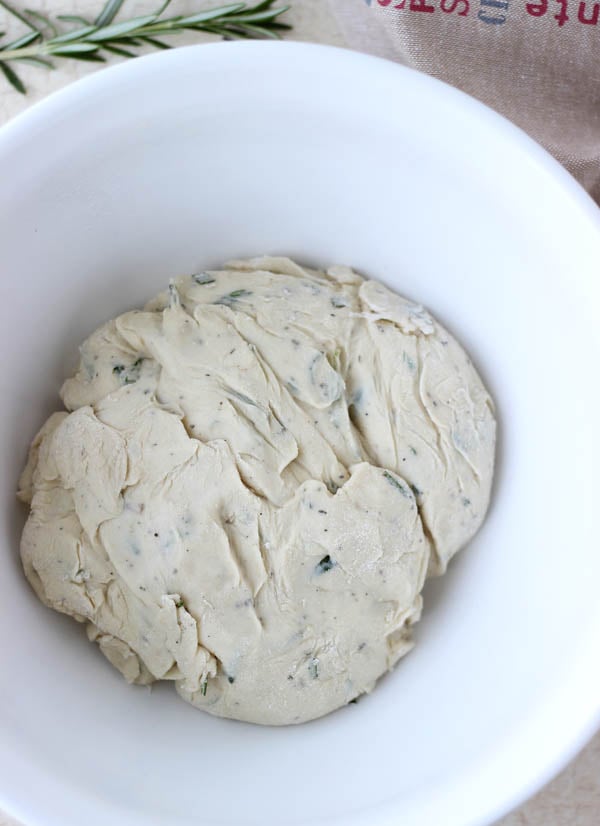
This rosemary olive oil bread came together very easily, under 3 hours with most of that being downtime as the dough rises. First to get the dough ready, proof the yeast. I used Red Star Yeast and thanks to the good folks over there I am well stocked with their high-quality yeast (One of you will be too soon, but more on that later!). Once the dough is formed and kneaded, let rise until doubled for about an hour. This is what the dough looks like before rising:
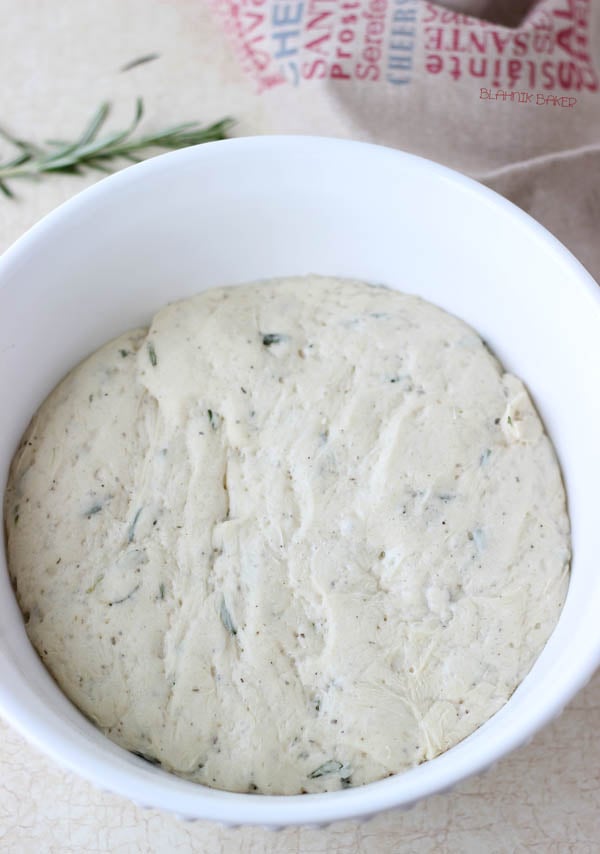
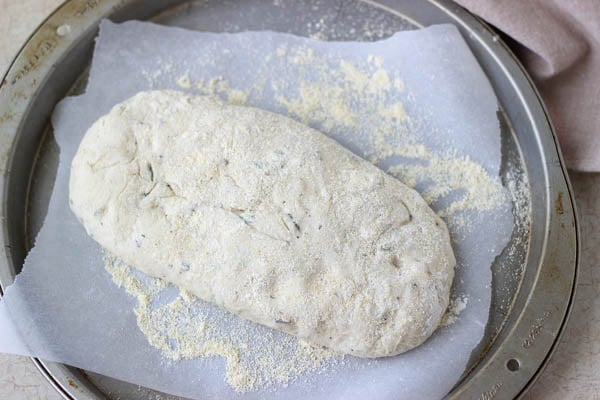
And here is what it looks like after it has doubled in size:
After the first rise, punch down the dough and form the loaf. Let rise again until double, about 45 minutes before baking.
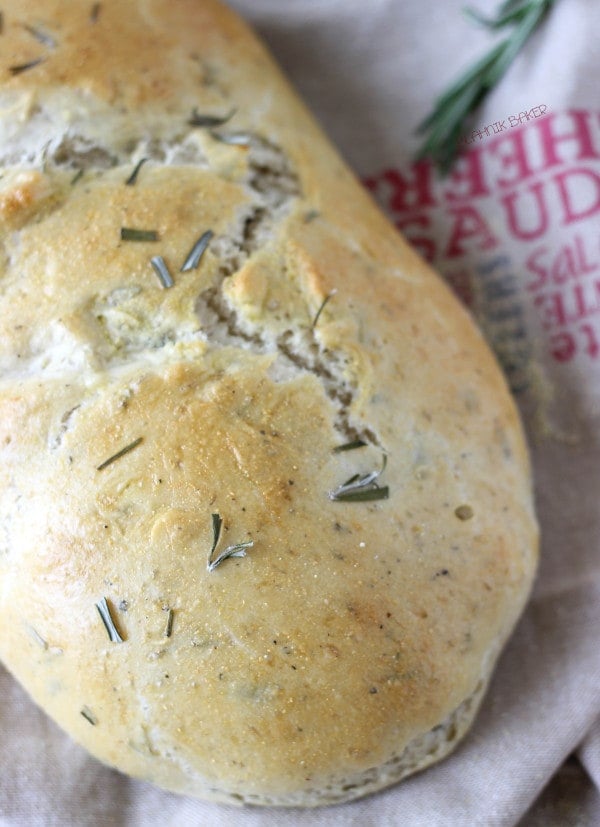
Easy right?? Look how beautiful and crusty that loaf looks. And you know the best part? It smells great!! There is nothing like the smell of freshly baked bread, especially herb bread in one’s apartment. Just wonderful.
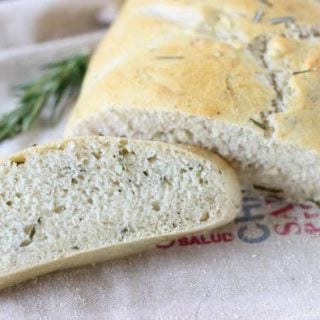
The rosemary in the bread is present but not overpowering and thanks to the olive oil the bread is extra soft. It is soft on the inside with a perfectly crunchy crust. I think this bread is best enjoyed warm and that is how we enjoyed half of it last night; warm, right out of the oven. But wrapping in an airtight container at room temperature will preserve it for a few days.
I am no longer in camp yeast phobia!!! Thank you Red Star Yeast for helping me along this journey. I know I still have a long way to go but with everything, it will take practice and patience. But now that the fear is gone, I can’t wait to fill my house with the sweet smell of fresh bread and get my carb-overload on!
Rosemary Olive Oil Bread
This rosemary olive oil bread is very soft on the inside with a golden crunchy crust.
Ingredients
For Dough
- • 1 cup warm water (110 degrees F)
- • 1 tablespoon sugar
- • 1 package Red Star active dry yeast (about 2¼ teaspoons)
- • 1 ½ cups all-purpose flour
- • ½ cup bread flour + more for kneading
- • 2 tablespoon fresh rosemary, chopped
- • ¼ teaspoon Italian seasoning
- • ¼ teaspoon freshly ground black pepper
- • ½ teaspoon salt
- • 2 tablespoon extra virgin olive oil
- • 2 tablespoon cornmeal
- • 1 egg + 1 tablespoon water, lightly beaten
- • 1 tablespoon fresh rosemary, chopped for sprinkling
- • 1 teaspoon coarse sea salt for sprinkling (optional)
Instructions
- Combine the warm water, sugar and yeast in a small bowl. Let sit for 10 minutes to proof.
- In a medium bowl or the bowl of a stand mixer if using, whisk together the flours, rosemary, Italian seasoning, black pepper and salt. Add the yeast mixture together with the olive oil. Mix until just combined and dough starts to form. Transfer to a well-floured surface and knead for 5 minutes until dough is elastic. OR using the hook attachment of a stand mixer, knead for 5 minutes. If dough is sticky, add in some flour, a tablespoon at a time.
- Lightly grease a bowl and transfer dough to it. Cover with a towel and place in a warm area and let rise until dough doubles in size, about an hour.
- Once dough has risen, punch it down and transfer to a lightly floured surface. Form into a round or long loaf. Dust a pizza stone or pan with the cornmeal and place the loaf on top. (I used a round pizza pan and lined it with parchment paper. Dusted the parchment with cornmeal and placed the loaf on there.) Cover the loaf with a damp towel and let rise for 45 minutes.
- About 30 minutes into dough rising, preheat oven to 400 degrees F. Place a pizza stone or pizza pan in the oven as it preheats. (I placed two baking sheets underneath my pizza pan to prevent the bottom of my loaf from burning.)
- Once dough has risen, brush the top with egg wash. Using a sharp knife, cut two to three slices across the top of the loaf. Sprinkle with rosemary and coarse sea salt.
- Carefully place loaf in preheated oven and bake until top is golden brown and is hollow when tapped, about 20-25 minutes.
- Remove bread from oven and let cool slightly before slicing.
- Dip in olive oil or balsamic vinegar.
Notes
Adapted from Table for Two

Yummy I want to make this bread! Can I make it in my bread machine? I don’t think I can make it otherwise. What you think!
Thank you 👍
Yes, you can. However you will have to adjust the instructions to following your bread machine process.
This looks amazing. Have you ever tried baking this in a Dutch oven, I see so many done that way of baking, seems to make a crunchy crust? Look fwd to trying it
Yes, I have tried it in a dutch oven. It turns out great.
Can this bread be baked in a Dutch oven?
Hi Vicki, yes it can be. Just make you you preheat the dutch oven in the oven prior to putting the dough in it.
I have my dough rising at the moment for this recipe right now, but I have to say step 5 has me baffled. I place the pizza stone in the oven with or without the dough. The previous step had me put the dough on the stone, but then step 6 has me putting on an egg wash when the dough is done rising. I’m just not understanding 5 and 6 clearly. Help.
Hi Sherray – sorry for the confusion. But you heat the pizza stone without the dough on it. You want the stone to be very hot when you transfer your dough to it. Step 7 is where you place the bread in the oven. Hope that helps!
Thought i’d hop on here and post a comment about actually making it! I’ve made 4 loaves now for parties and other people and have gotten great feedback! Some of the kids thought it was a little spicy and strong rosemary flavor-but adults loved it. It has a great consistency-not too light, not too dense. I tried one loaf without rosemary and it was also yummy. The pepper makes it a bit spicy which is fun in a bread. I did have a tricky time trying to keep it from flattening out after I formed it into a loaf. Maybe I need more flour? I think it would make a great sandwich bread and may try sticking it in a loaf pan. Thanks for the recipe!
Hi Annie! Thanks for the feedback. I always love hearing from folks trying these recipes. So glad to hear you enjoy this recipe.
Just made this! Very delicious but mine turned out very flat. Not sure what I did wrong as it was my first time making homemade bread. Any tips? Would def make it again
I’m sorry Laura and happy that it was very delicious! Bread making takes time and the most common issue is yeast. Make sure your yeast is not old and you allow the bread to rise.
I just made this recipe tonight. It. Was. Amazing. My husband and I ate almost the entire loaf! It was my first time making a loaf of yeast bread and it turned out perfectly. Thank you for a delicious, easy to follow recipe!
Hi Bekah! I am so glad to hear that you loved this recipe. It is one of my favorites and I love how easy it is! Thanks for coming back and letting me know 🙂
Hi there,
The bread looks amazing!! just wondering if we absolutely have to use the bread flour or if we can just use more of the all purpose flour in place of the bread flour. I just reeeeeally don’t want to make another trip to the store!
Thanks, Alysia
Hi Alysia, I am sorry but I did not test this recipe with all purpose flour. I only used bread flour and can assure you that gives you the right tenderness and looks like the picture. However, I see no reason why experimenting with all purpose flour will be bad. The bread might be denser?? Or have a different texture but if you willing to risk it..then go ahead 🙂
Looks amazing.
Can i get this all prepared in the afternoon and wait to bake it until dinner time? Would I just leave in on the counter until it goes into the oven?
Beth, yes you can! Just let it sit on the counter covered with a damp towel until you are ready to bake it. I hope you love this wonderful bread!
Love love love this bread! Pinned! I definitely need to show this to my husband for him to make…he’s the bread guru in the fam. 🙂