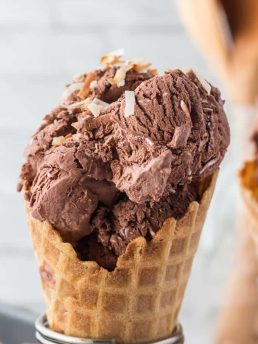
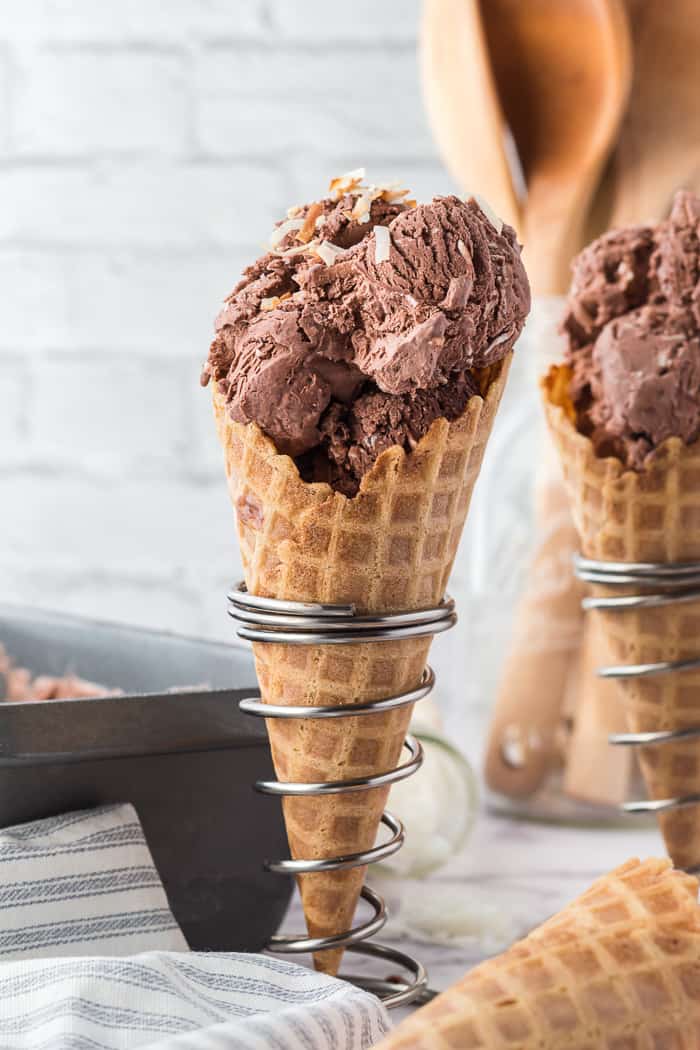
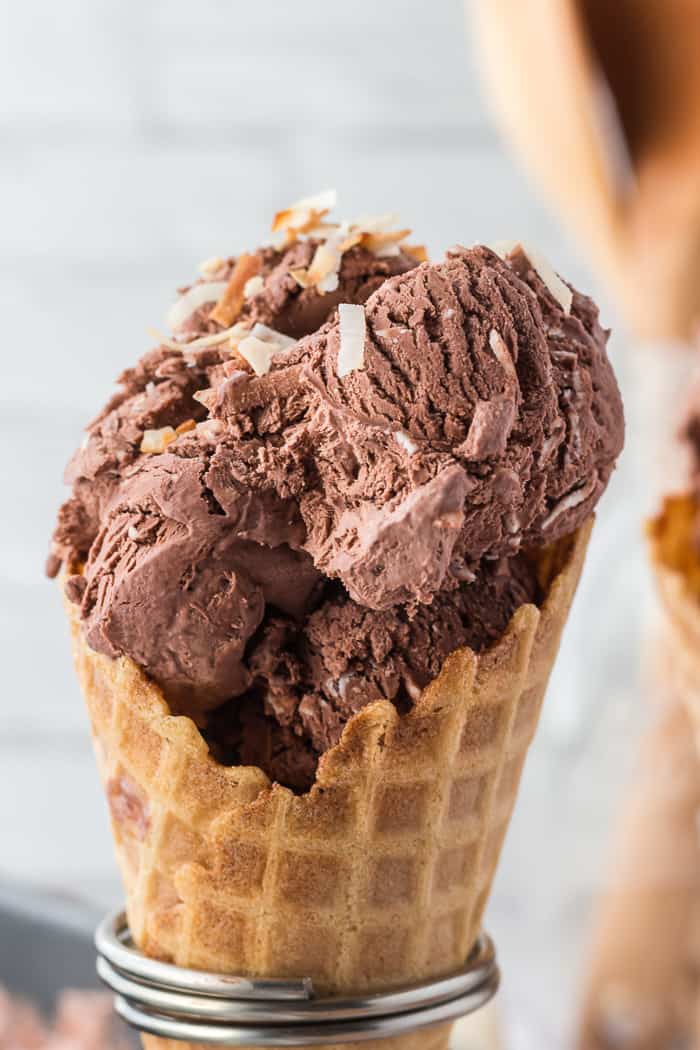
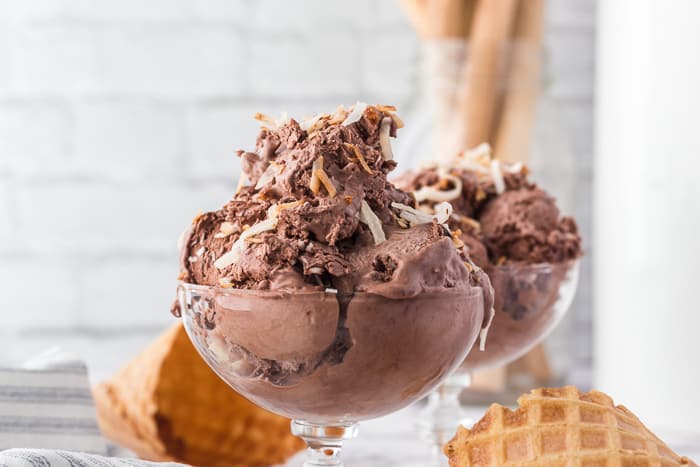
No Churn Chocolate Coconut Ice Cream
As the summer heats up, we all need new ice cream recipes to keep us cool. This no-churn chocolate coconut ice cream is a new favorite around my house and one I think you will love too!
As the name implies, you do not need an ice cream maker for this recipe. I know not everyone has one so sharing recipes for no-machine is a must for me! I have a great ice cream recipe archive, many of which use an ice cream maker but I have a few that are no-churn. Like this No-churn snickerdoodle ice cream or no-churn chocolate kit kat ice cream. Both are incredible and I am adding this chocolate coconut ice cream to the mix.
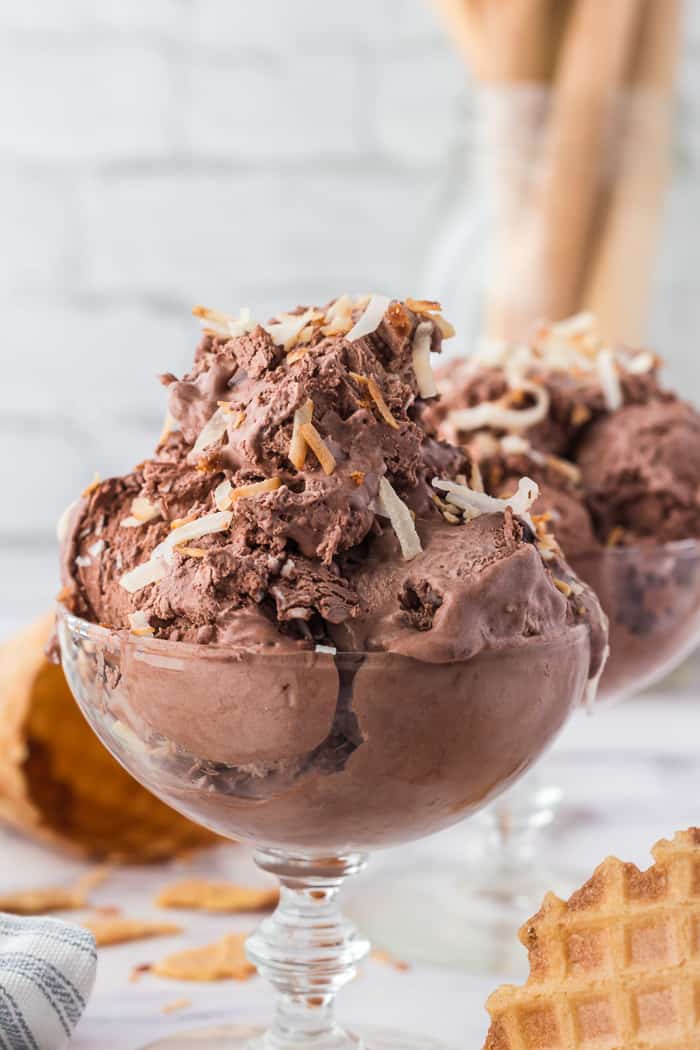
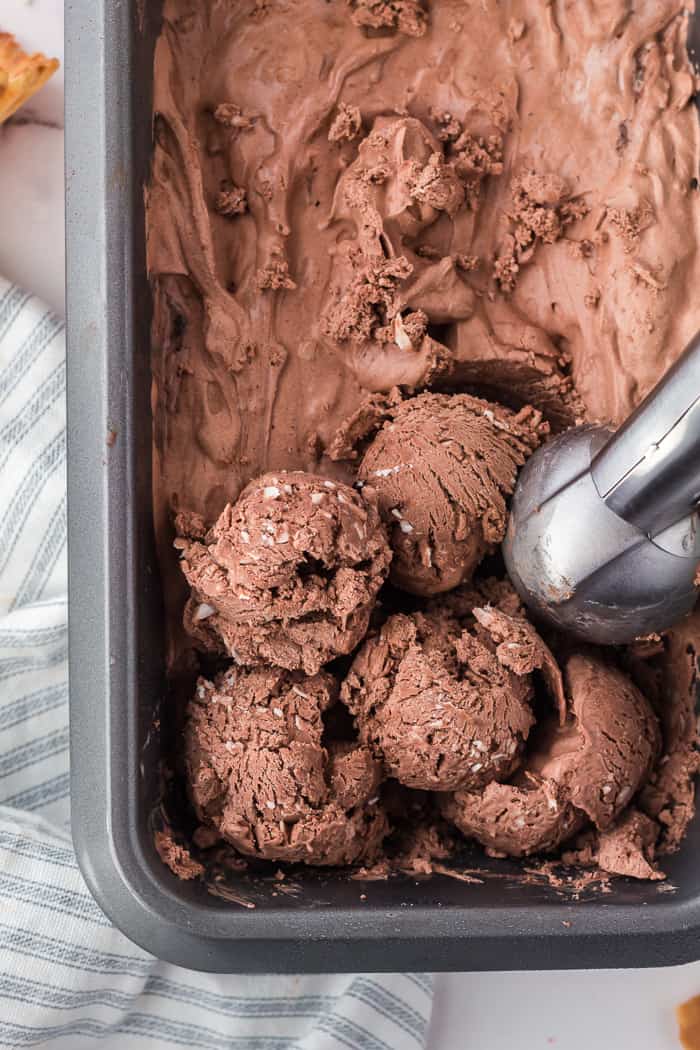
Rich chocolate base, cream of coconut mixed in, and chewy coconut for texture make this ice cream a real keeper. It is indulging yet refreshing. if you are a coconut and chocolate fan, or almond joy candy fan, then you will enjoy this ice cream.
Let me walk you through the process of making this ice cream.
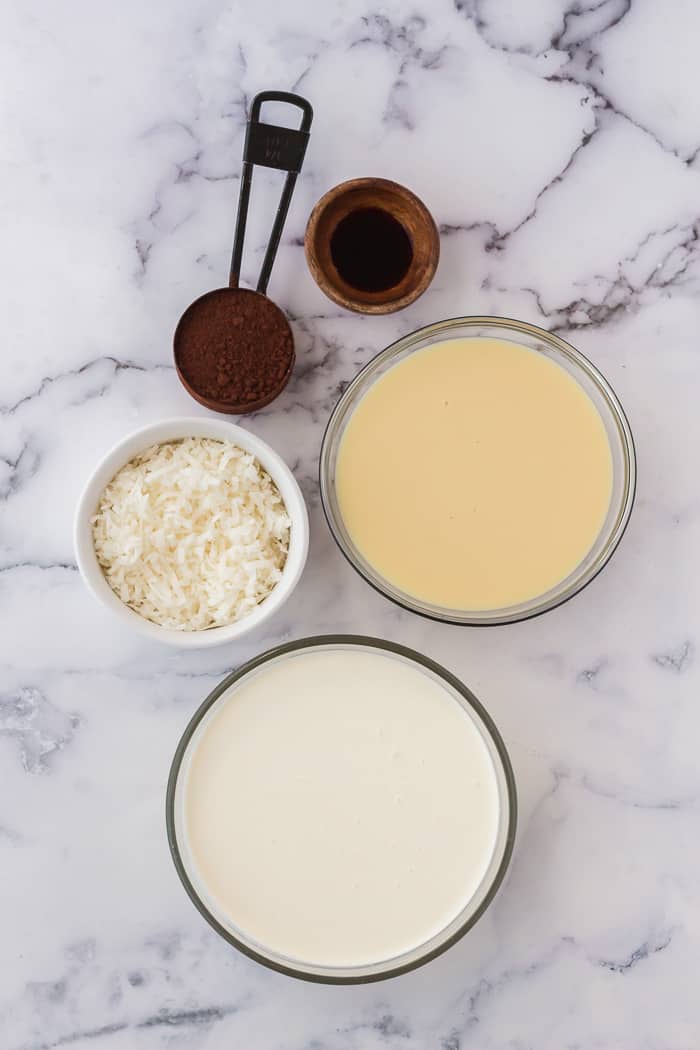
Gather your ingredients. Measure them out!
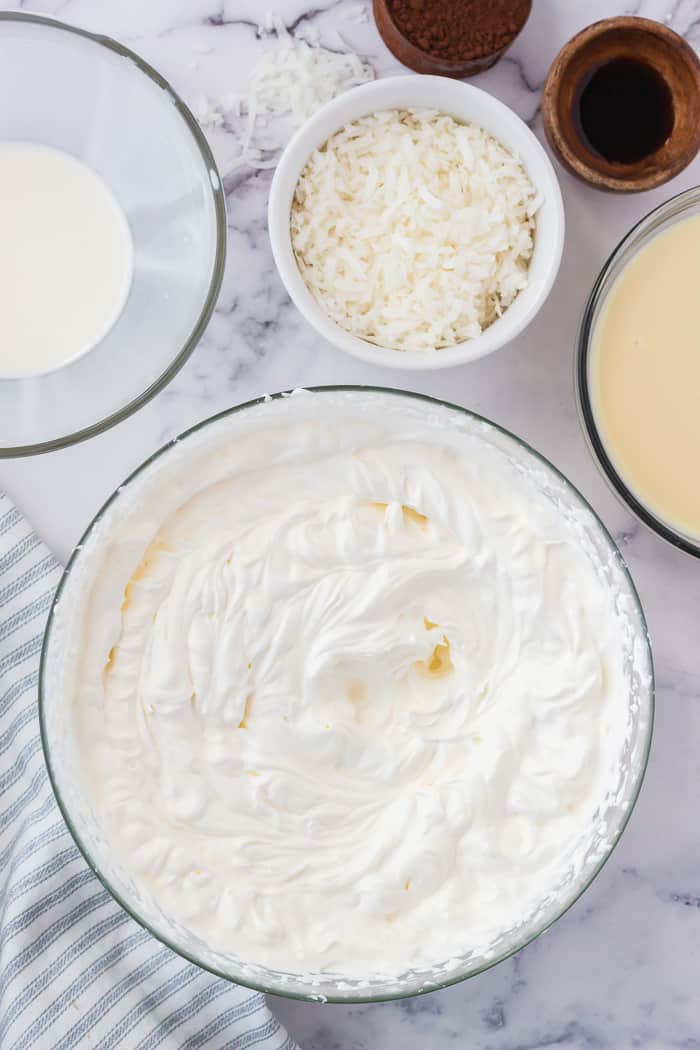
Start by whipping your heavy cream and your cream of coconut.
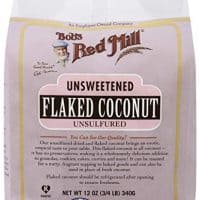
Then add in your condensed milk, cocoa powder, and shredded coconut.
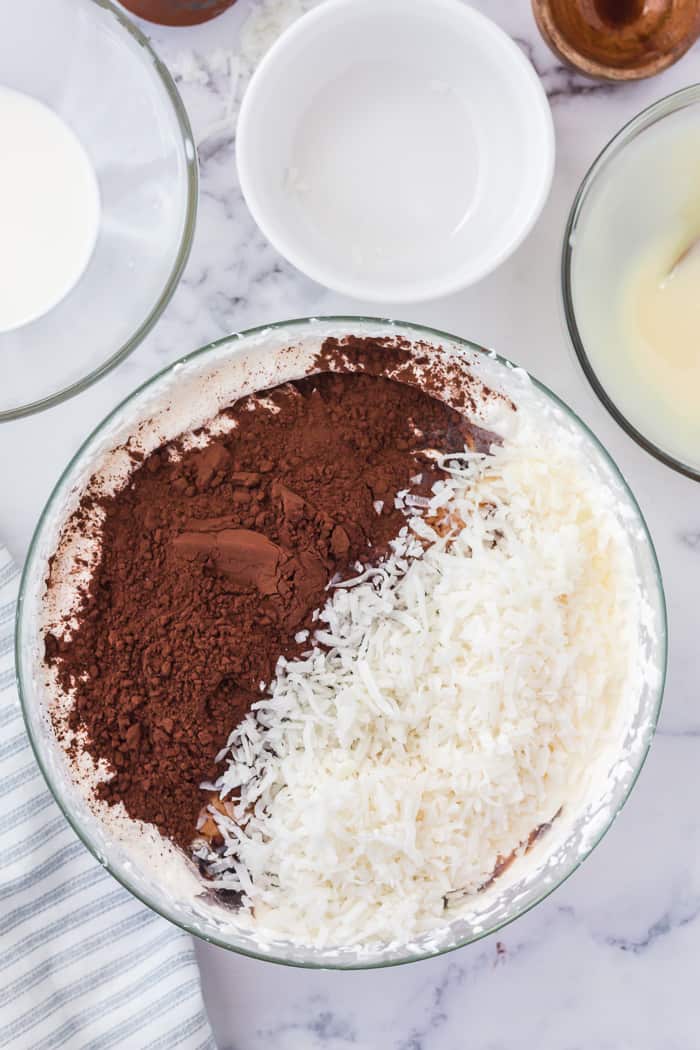
Fold these ingredients in very well into your whipped cream mixture. We want it incorporated but we also don’t want to over mix and deflate the air we whipped into the cream.
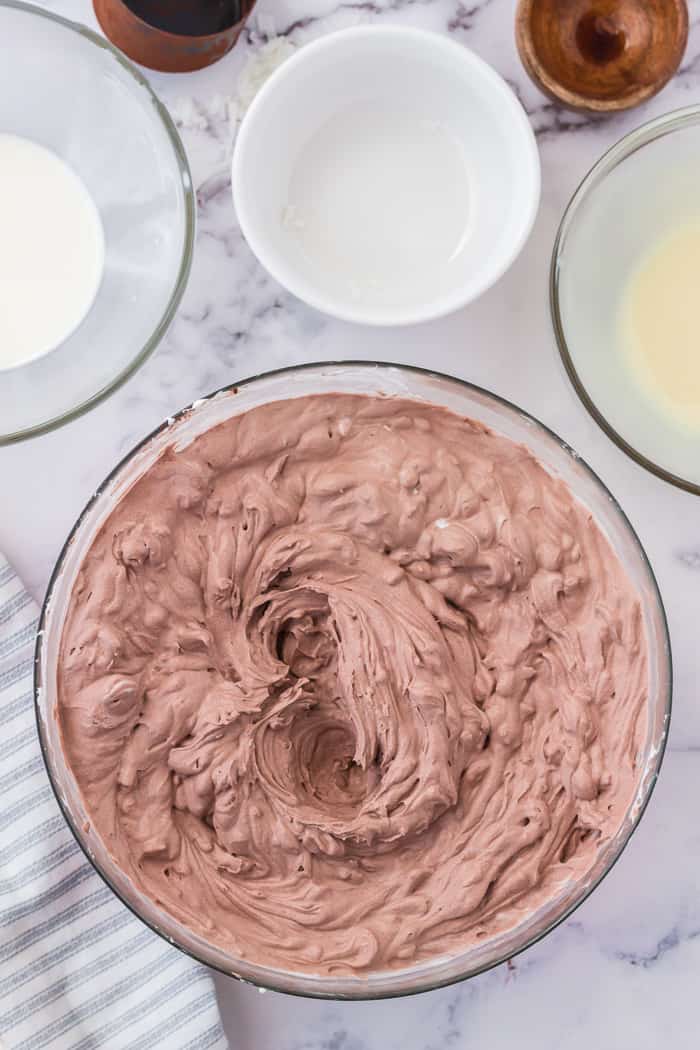
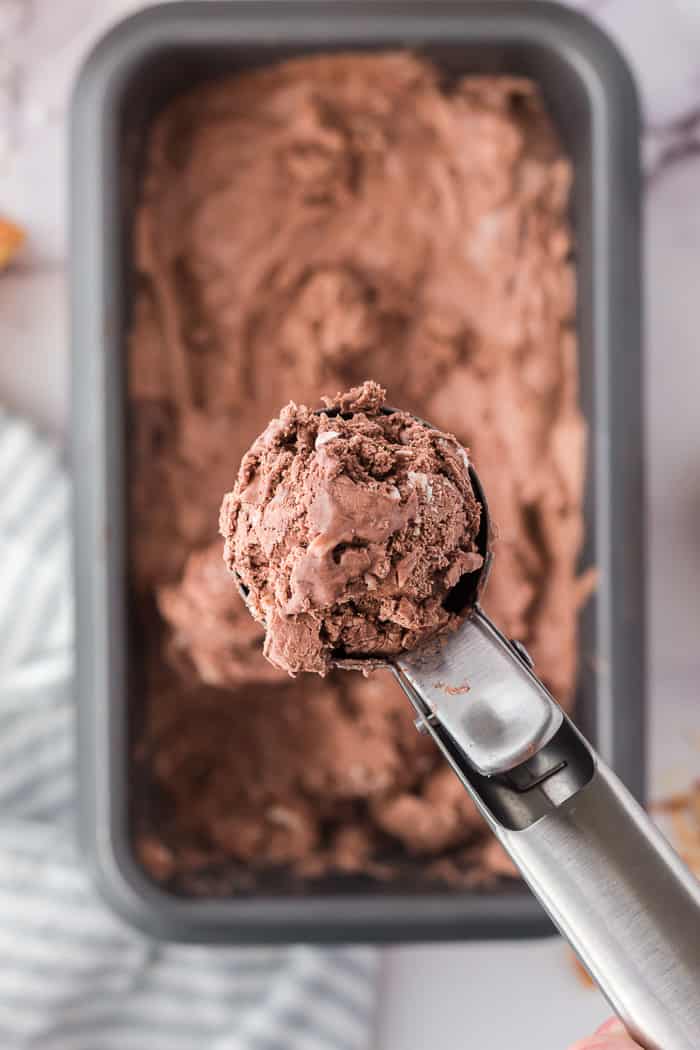
And that’s really it!! We transfer the mixture next to a loaf pan.
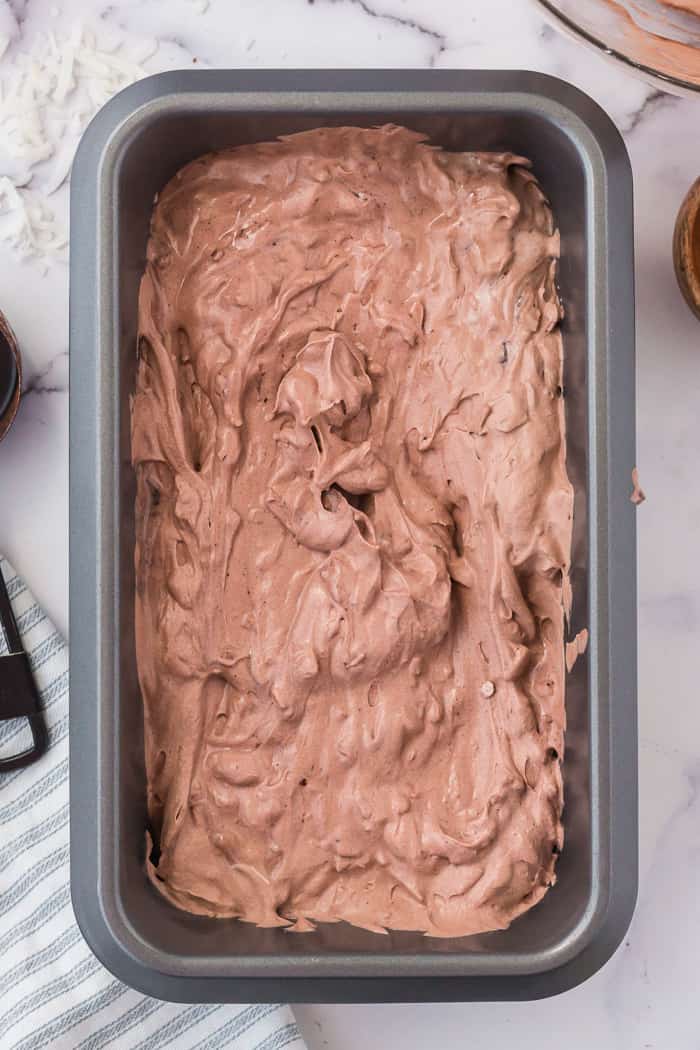
Smooth as much as possible and freeze.
And that’s it!!
I hope you make sometime this summer to make some homemade ice cream. Even if you don’t have an ice cream maker, this no-churn chocolate coconut ice cream will be a great place to start.
Enjoy!

No Churn Chocolate Coconut Ice Cream
Ice cream at home has never been made easier with this No Churn Chocolate Coconut Ice Cream. Creamy chocolate and tropical coconut mesh perfectly for the optimal bite each time.
Ingredients
- 2 ¼ cups heavy whipping cream, cold
- 1/2 cup cream of coconut (or coconut cream)
- 1 cup sweetened condensed milk
- 1 ½ teaspoon pure vanilla extract
- 1 cup sweetened or unsweetened shredded coconut
- ¼ cup dark cocoa powder
Instructions
- In a medium-sized mixing bowl or stand mixer, whip the heavy cream until stiff peaks begin to form. Add in the cream of coconut and mix for an additional minute.
- Once whipped, add the condensed milk, vanilla extract, shredded coconut, and cocoa powder to the cream. Gently fold the ingredients together until homogenous. Be sure to fold the ingredients until no pockets of condensed milk remain.
- Pour the ice cream mixture into a 9x11 inch loaf pan and place it in the freezer for 4-6 hours, or until the middle of the ice cream is firm.
- Allow the ice cream to thaw slightly before serving.
Notes
- If you do not have dark cocoa powder, you can use regular cocoa powder. The chocolate flavor just won’t be quite as strong.
- Keep this ice cream covered with plastic wrap once it has been set and it will last for 2-3 months in the freezer.
- You can substitute the sweetened condensed milk for the same amount of cream of coconut. This will elevate the coconut flavor in the ice cream, and it is better for you due to the natural sweetener in the coconut cream.
- For a fun topping, toast some shredded coconut on the stovetop for 3-5 minutes, or until they are golden brown.
Recommended Products
As an Amazon Associate and member of other affiliate programs, I earn from qualifying purchases.