How to Make a Letter Cake
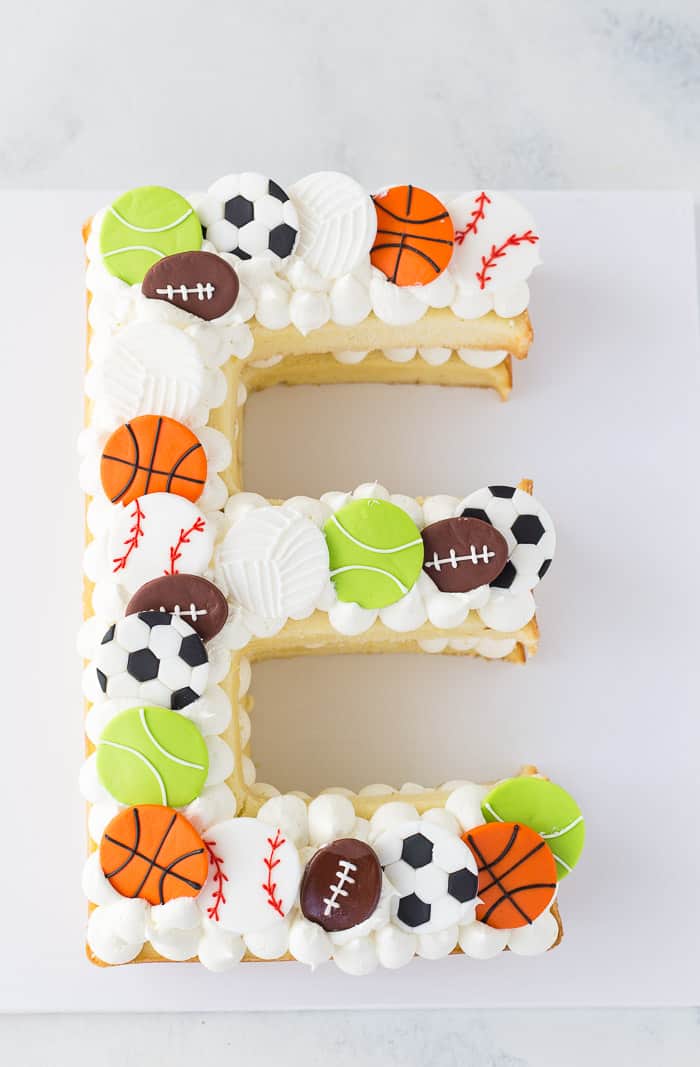
Happy New Year friends! I hope you all had a great holiday season and having a great start to the year. I have another easy tutorial for you today. Since you all LOVED my last how to make a number cake tutorial so much, I decided to document how to make a letter cake for you as I was baking it for my son’s birthday. It’s pretty much the same as the number cake but if you haven’t seen that post, I’ve laid it out here for you.
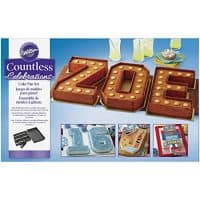
My toddler turned 3 this past summer (how’s that even possible?) and I decided to make good use of my versatile new favorite baking set. This celebration cake pan by Wilton is a MUST for all you moms with kids or bakers making celebration cakes.
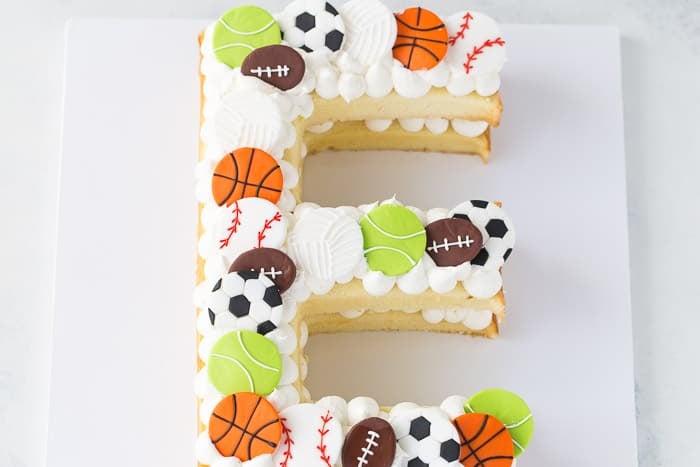
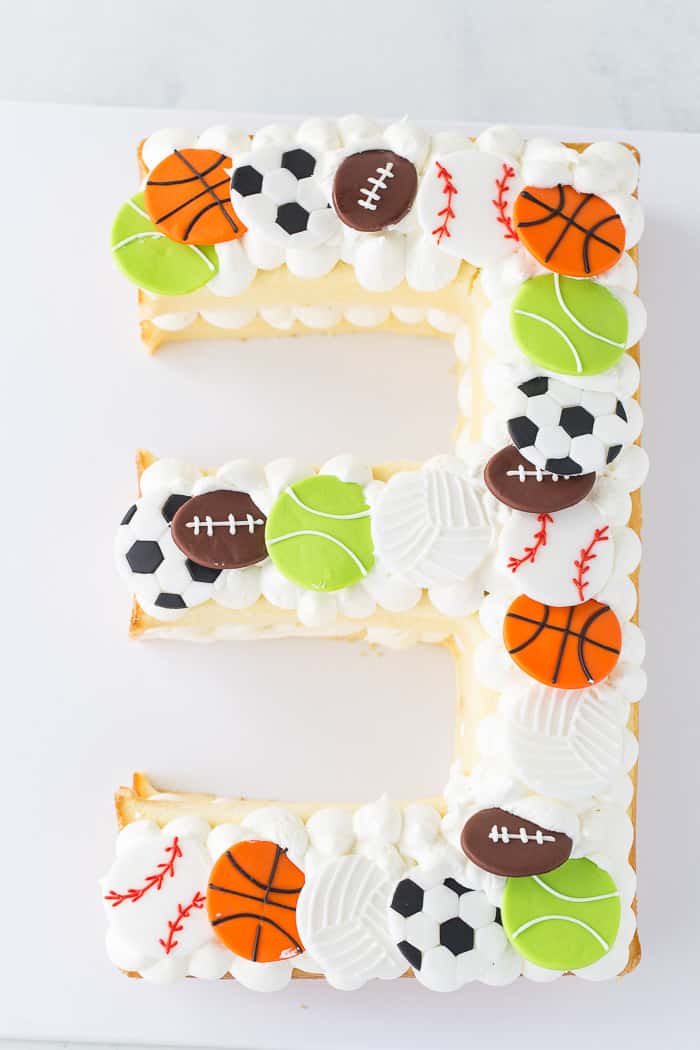
I am sure you have seen the number cake trend all over the internet. Earlier this spring, I baked a number 17 cake for my niece and you all loved it and asked for a tutorial. After that, I’ve been trying to use the cake pan as much as possible. For my son’s birthday, I decided to do a letter instead of a number. His initial “E” was an easy cake to make with the molds of the pan. Turns out that his initial “E” is also an upside down “3”.
Although the trend of these letter cakes is cookie based, I prefer a real cake for birthday celebrations plus kids love having a slice of cake too at a birthday party. So I baked a thin layer of my favorite vanilla cake for the layers. You can use any that you like. If you wanted a light themed, choose vanilla or white cakes (lemon cake, coconut cake etc). However, for a darker look, you would want to use chocolate cake. I’ve yet to try it but I think it would look great.
For this letter cake, I made a buttermilk cake for my layers. I baked two layers and didn’t have to slice each layer in half as I did for the number cake. You can slice each layer if you like to make a four-layer letter. The below recipe as written is enough to bake you two layers of your letter cake. If however, you are making two initials, like E and S, you will need to double the recipe.
Here’s your step-by-step guide on how to make a letter cake:
- Align the sections of your cake pan using this Wilton Countless Celebration Cake Pan. Make sure you have your letter outlined as directed by the instructions that come with the pan. If you are making two initials like ES, be sure to have each outlined correctly before pouring your batter into the pan.
- Grease your cake pan including the section dividers using baking spray. I swear by this PAM baking spray.
- Prepare your cake batter. You can use your favorite cake recipe, vanilla or chocolate. The recipe below is a favorite buttermilk cake recipe. You do not need to double the recipe for a single initial. As written, you will get two layers for a single initial. However, if you need to make two initials be sure to double the recipe.
- Spoon the batter into the prepared pan and bake for the recommended time of your recipe. Note that since you are baking in a special pan, you will need to adjust your baking time. I started checking my cake after 12 minutes.
- Let cake cool in pan for at least 10 minutes before inverting onto a wire rack to cool completely.
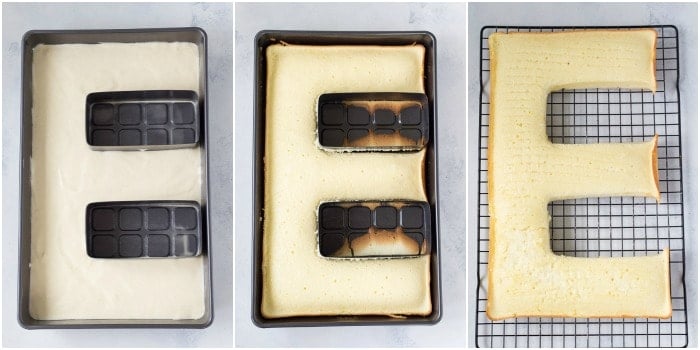
- If using just one pan, repeat the process and bake your second cake layer of the same letter.
- You can slice each letter into two if you would like more layers. For my letter E pictured, I kept it to two layers and didn’t slice each cake after baking.
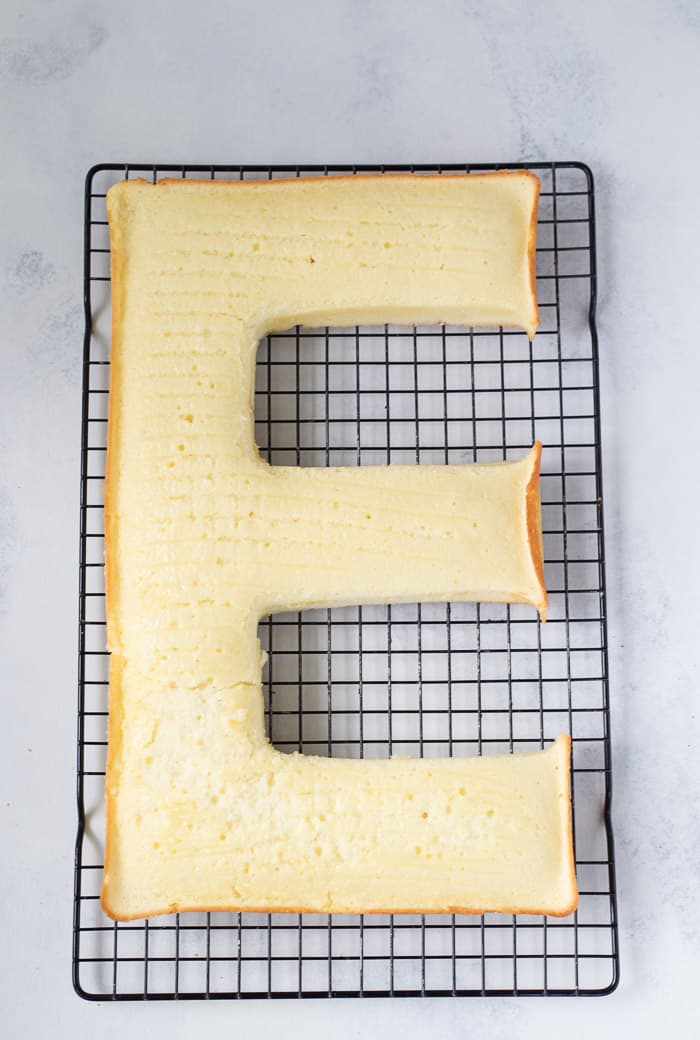
- While the cakes cool, prepare your whipped cream cheese frosting, recipe below. You can also use homemade whipped cream as frosting.
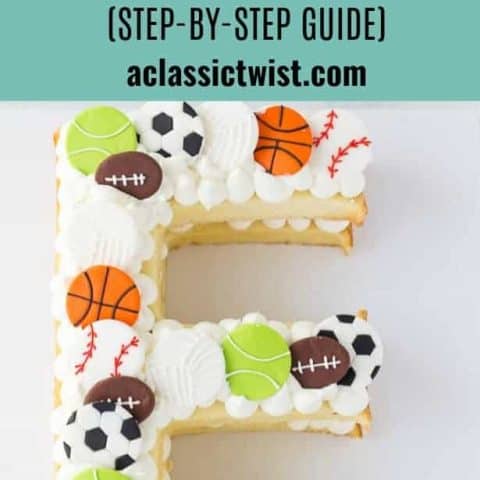
- Gather your decorations. You can use any combination of decorations, colors etc. to personalize the cake for your celebration. I used ball-themed fondant decorations for my toddler’s party. You can make these little fondant circles or purchase them on Etsy. Since it was for a kid’s party, I wanted to make sure everything on the cake was edible in case one of the kids swiped a bite when no one was looking.
- When ready to decorate, fit a pastry bag with a large round tip and fill the pastry bag with the frosting.
- Place your first layer of cake on a cake plate or serving board.
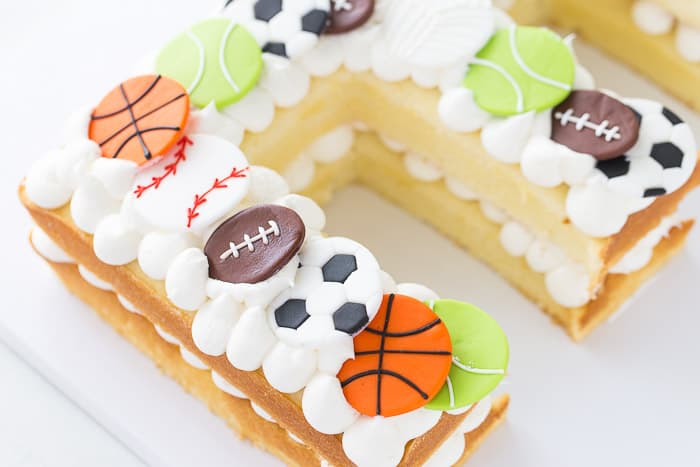
- Pipe frosting all over the cake in dollops using the round tip. You want the dollops to be at least 2-inches tall to create height and drama.
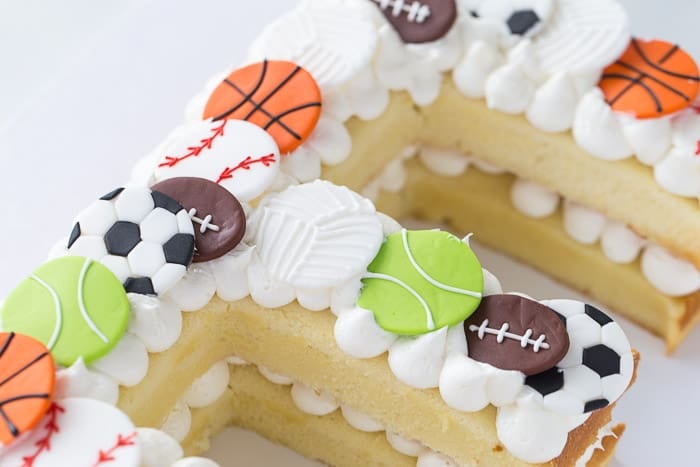
- Place the second layer of cake over the frosting gently. Repeat the process until your last layer.
- Repeat the dollop frosting on top of the last layer.
- Top with your decorations and sprinkles.
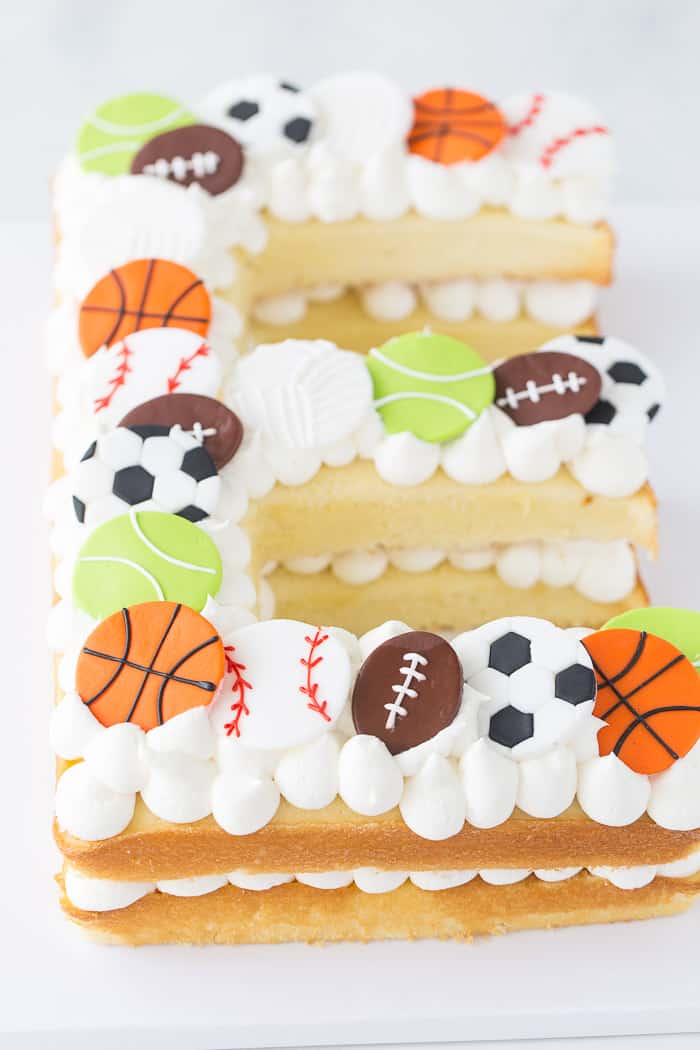
And that’s it! Your step-by-step guide on how to make a letter cake. It is really simple and a great way to add some fun to your celebration cakes. I tell you, that celebration pan was a great investment and I can’t wait to keep making more letter and number cakes.
Let me know in the comments below if you have any questions.
If you love specialty cakes check out my step-by-step tutorial on how to make a makeup cake.
How to Make a Letter Cake
Looking to make a letter cake for your next celebration? This easy step-by-step guide will walk you through how to make a letter cake.
Ingredients
FOR THE BUTTERMILK CAKE:
- 1 1/2 cups cake flour, sifted
- 1 cup granulated sugar
- 2 teaspoons baking powder
- 1/2 teaspoon salt
- 1/2 cup (1 stick) cold unsalted butter, cut into pieces
- 3 whole eggs, room temperature
- 3/4 cup buttermilk, room temperature
- 1 teaspoon vanilla bean paste or pure vanilla extract
- 1/4 teaspoon pure almond extract
CREAM CHEESE WHIPPED CREAM FROSTING:
- 8 ounces cream cheese, room temperature
- 2 cups heavy whipping cream, very cold
- ¾ cup powdered sugar
- 2 teaspoons pure vanilla extract
Instructions
FOR CAKES:
- Preheat oven to 325 degrees F. Grease one letter cake pan with baking spray and set aside.
- In the bowl of an electric mixer, combine the dry ingredients and mix on low-speed until well blended.
- Increase speed to medium-low and add the cubes of butter, one at a time mixing each one for a few seconds before adding the next. Mix until there are no large chunks.
- Add eggs, one at a time and mix well between each addition. In a small mixing bowl, whisk together the buttermilk, vanilla and almond extract. Increase mixer speed to medium and add in the wet ingredients in 3 parts, mixing until incorporated and scraping down the bowls after each addition. DO NOT over beat otherwise, you will end up with dense cakes.
- Divide batter into prepared pan, filling about ⅔ full. Bake cake until a toothpick inserted into the center come out clean, 17-20 minutes. Remove cake from oven and let cool in pan for at least 15 minutes. Invert onto a cooling rack and let cool completely.
- Repeat baking of second letter cake with remaining batter.
- Using a wire cake leveler, slice each letter cake into two equal halves (if you want a 4-layer cake).
FOR THE CREAM CHEESE WHIPPED CREAM FROSTING:
- Pre-chill the bowl of your stand mixer and whisk in the freezer for 10 minutes. Beat the cream cheese until smooth. Add the cold heavy cream, powdered sugar and vanilla extract to the chilled bowl. Whisk on medium-high speed until stiff peaks form. Be careful not to over whip the heavy cream.
ASSEMBLY:
- Working with one letter at a time, place one layer of the number onto a cake platter. Using a pastry bag fitted with a large round tip, pipe the whipped cream frosting over the cake in dollops. You can choose to evenly spread the frosting too.
- Place the second layer of the letter cake on top of frosting. Pipe some more frosting on top in dollops.
- Finally, decorate the cake with your desired toppings. I used sports themed fondant cut-outs. Remember to save an equal amount of decorations for your second letter if you are making a two lettered cake.
- Repeat the above steps for the other letter if you are making a double-digit lettered cake.
Notes
- You can find the pan I used here on Amazon
- For a double-lettered cake (e.g. ES ), double the recipe above.
- Buttermilk cake adapted from Sweetapolita.
Recommended Products
As an Amazon Associate and member of other affiliate programs, I earn from qualifying purchases.

what size pipping tip did you use to create the dollops? also, can i use pilllsbury frosting for the dollops?
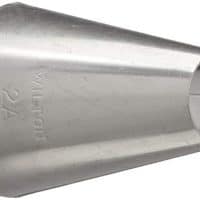
I used Wilton tip 1A which is just a large round tip. I haven’t used premade frosting with this cake but I am sure you can make it work.
Vôtre gâteau a l’air extra. Il me donne envie de me lancer . Où avez-vous trouvé ces décors de ballons (en sucre ou en chocolat ?). Merci 😊
Thank you! I got the decorations from Etsy. They are fondant decorations so edible.
Hi I’m making this cake for my brother and I just wanted to know is their another cake recipe that would suit this I’ve never used buttermilk before and I wanted to play it safe and see if there was a different recipe i could use
Hi Katie, buttermilk is just whole milk + 1 teaspoon lemon juice or white vinegar. You can also just use whole milk for the recipe if that is your preference.
Hi! Your cake looks delicious! I can’t wait to make it this week! I have just bought the letter pan and I’m wondering, when I am baking the first layer, will the remaining batter be ok to use after the time it takes to cool and prepare the tin for the second bake? I’ve read that you should bake cakes straight away after batter is prepared.
Thanks!!!
Yes, the batter will be fine at room temperature while the cake bakes and cools. Once you ready to bake the next number, just stir the batter.
Were do u buy cream cheese. Wat else beside cream cheese do use. S
Hello Shaira, I usually get cream cheese in my local grocery stores. If this is not something you can easily get, you can make a buttercream filling for the cake instead of butter.
Hi Zainab,
So glad to find your recipe online. I would like to make a number cake ( number 10) for my twins . There bday is coming. I really liked the recipe for your number cake. I just have one question. This recipe above is good for one number right? So for 2 numbers i just double the amount? I never used a number pan.That’s why i just need to know the quantity of the ingredients. I got Wilton’s Number Pan as well. Thanks in Advance.
Hi Nahshid, happy birthday in advance to your twins!! you are correct. The cake above will give you one number so you will need to double for two. Or you can use the How to make a number cake recipe for the two-digit number you are making. I hope that helps!
Could you use American Butter Cream Frosting?
Yes, you can!
So you didn’t torte? You stacked two different cakes?
Correct. I baked two different “E” cakes. The recipe as written will give you two different cakes. I prefer baking thinner cakes than torting then since they are so soft and I am clumsy.
I really enjoyed this recipe, however, my only problem is that the cream cheese icing wasn’t stiff enough to hold the second layer. Do you have any advice as to how i can stiffen the icing recipe? the dollops of icing flatten a lot when i add the second lawyer of cake.
Cream cheese is notorious for always being runny and not my favorite to decorate. I usually refrigerate the icing for at least 30 mins before piping it. That helps most times. But for this recipe, I have heavy cream in it so that heavy cream whipped up should help with sturdiness.
Hi! How do you store a cake like this if making a day ahead?
I wrap the cooled cake in plastic wrap and stored at room temperature. I encourage you to assemble the cake the day you intend to serve it just because the frosting is a heavy cream-based and could deflate when refrigerated.
AMAZING!! You shared a unique cake making technique. I really like it and will definitely try this cake for my son on his birthday.
I want to make one of these shaped like a C, however my only option is to use a round cake pan and use a round cookie cutter to cut out a center and then trim it up to look like a C. Do you think this would look weird having exposed cake “insides” showing on in inner rim where I had to cut it! It’s going to be strawberry flavored of that matters! Or if you have any suggestions on how to make a C another way!
Brooke are you using the cake pan I linked in the post? it is an easy solution to getting the numbers and letters right.
1-HOW IS HE 3???!
2-This cake is adorable AND super pretty and classy at the same time! And it looks DEEEELISH
Right? He is getting so big! It’s very easy to pull up too!