How to Decorate A Sheet Cake

Hello hello, friends!! I have a quick tutorial for you today. I am showing you, with step-by-step images, how to decorate a sheet cake. This Valentine’s Day sheet cake is an easy way to tackle one of my favorite recent trends.
Every now and then, I indulge in food trends although I should say cake trends as those are what catch my attention. A few years ago I showed you how to make a number cake because my niece wanted one for her birthday. It was such a hit that I made a letter cake for my son’s third birthday. This year, I decided to try the decorated sheet cake trend that has been popular on Instagram.

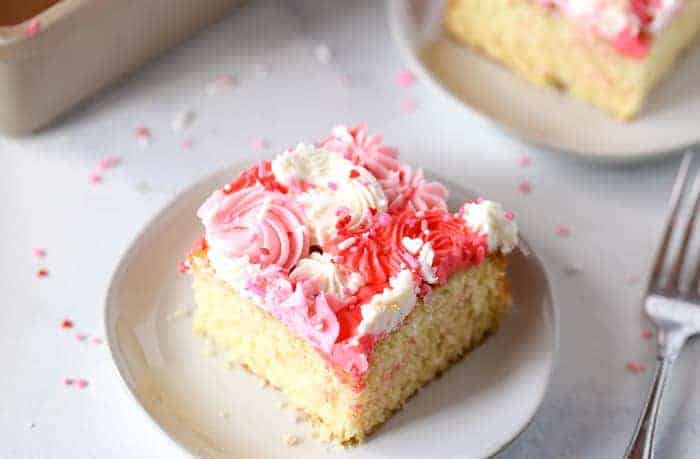
If you haven’t seen them, these decorated sheet cakes are basically your normal sheet cakes taken up to the next level by buttercream piping designs. Unlike the store-bought sheet cakes that decorate parts of the cake or the borders, these decorated sheet cakes are decorated all over with buttercream frosting and different piping designs.
One thing I love about this trend is that it is EASY! I am not one for complicated things, I love to keep my cakes and decorating simple. Look at this white chocolate rose cake, it is my typical style and I think that’s why I was attracted to this cake trend. Also, it does help that this trend is very forgiving. As long as you know how to use a decorating bag to pipe, you got this.
Okay enough of the babbling, let me walk you through how to decorate a sheet cake.

Step 1: Bake your sheet cake with your favorite recipe.
Below, I shared a new recipe for a yellow birthday cake that I loved. I’ve made it a few times and it is solid. Feel free to use it for your sheet cake but you can always use your favorite cake recipe. A chocolate cake, vanilla cake or coconut cake. Anything that you want. Just make sure you make it in the size of the pan you want for your decorated sheet cake.
Step 2: Make your favorite buttercream recipe.
I have also shared with you below my whipped vanilla buttercream recipe. It is perfect for decorating and piping. if you decide to use your own buttercream recipe, please make sure it is firm enough to hold up to piping.
Step 3: Color your buttercream
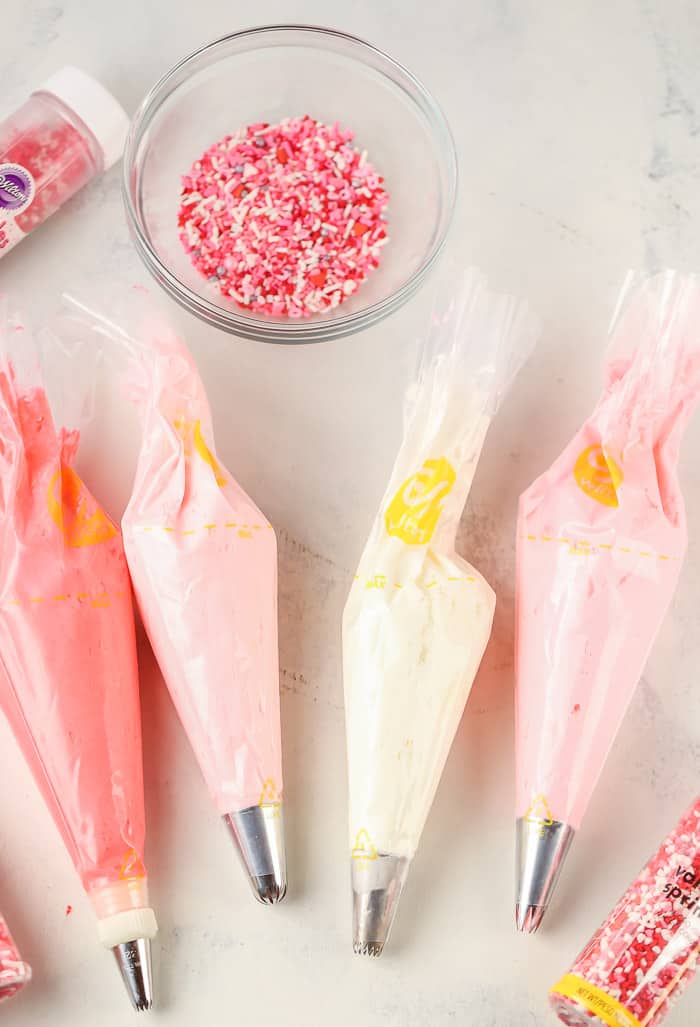
You will need to decide how many colors you want for your sheet cake. for this valentine’s day sheet cake, I went with three colors; dark pink, light pink and white.
I suggest you pick a color palette with 3-4 colors, ideally three to make sure the colors all go together.
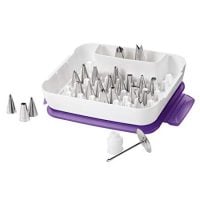
Step 4: Select your favorite decorating tips
One last decision. What designs would you like for your decorated sheet cake? Choose the decorating tips that will give you these designs. My favorites are Wilton tips 1M, Tip 104, Tip 21, Tip
Fit your decorating bags with your tips and you are ready to go.

Step 4: Pipe Buttercream over your Sheet Cake
Now for the fun part. Use your decorating bags fitted with the tips to just pipe your heart away, I suggest starting with an outline if you are going to do any shapes. If not, then start with one color/shape and do that on different parts of the cake. Then switch to a different color and repeat.
As you fill in the cake, be sure to step back and see how it looks. Focus on how the different colors are spaced. If anything is off, adjust with piping and filling in spaces.

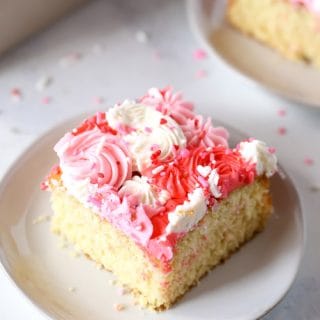
You really can’t go wrong with beautiful colors and designs. This is why I think this trend is one I can get behind.
There you go – this is my short write up on how to decorate a sheet cake. I hope you give this Valentine’s Day Sheet Cake a go and this fun trend.
How to Decorate A Sheet Cake
A classic buttermilk yellow cake that is moist and tender is decorated with fluffy buttercream in this sheet cake.
Ingredients
For the Vanilla Cake:
- 2 1/4 cups all-purpose flour
- 2 teaspoons baking powder
- 1 teaspoon baking soda
- 1 teaspoon salt
- ½ cup (1 stick) unsalted butter, at room temperature
- 1 1/4 cup granulated sugar
- 3 large eggs, at room temperature
- 1 teaspoon vanilla extract
- ¼ teaspoon pure almond extract
- 1 1/4 cup whole milk, at room temperature
For the Buttercream:
- 1 1/2 cups (3 sticks) unsalted butter, softened at room temperature
- 1/2 teaspoon salt
- 4 cups powdered sugar
- 1 teaspoon vanilla extract
- 2-3 tablespoons heavy cream
Instructions
- Preheat oven to 350 degrees F. Grease a 9 x 13-inch cake pan with baking spray or butter and flour.
- In a large bowl, whisk together the flour, baking powder, baking soda, and salt.
- In another large bowl, using a stand mixer with the paddle attachment, cream together the butter and sugar until light and fluffy, about 3 to 5 minutes on medium to high speed.
- Add in the eggs, one at a time, mixing until just combined after each addition. Scrape down the sides of the bowl as needed. Beat in the vanilla and almond extract.
- Reduce the speed to low. Add in the dry ingredients all at once and mix until just combined.
- Add in the milk all at once and beat on low until just combined.
- Increase speed to medium-high and mix the batter for about 3 minutes.
- Transfer batter to prepared pan.
- Bake for 25-30 minutes or until a cake tester inserted into the center comes out clean or with a few crumbs.
- Remove from oven and let cool completely in pan before frosting.
For the Frosting:
- In the bowl of your stand mixer fitted with the paddle attachment, beat the butter on medium speed until light and fluffy, about 5 minutes.
- Add in the rest of the ingredients and mix on low until combined. Increase speed to medium-high and beat until fluffy, about 5-6 minutes.
- Divide frosting into three equal parts. Color two parts pink color of your choice. Leave the third part white.
- Grab your favorite decorating tips (I used Wilton tips 1M, tip 4B, tip 199, tip 104 and tip 21), and pipe out rosettes, swirls and stars. You can design the cake with whatever shapes you like. Have fun with the possibilities.
- For the heart in the middle, trace out the heart shape with a toothpick, and then pipe out the shape before filling in the rest of the cake surface.
Notes
Vanilla Cake adapted from Joy The Baker
Recommended Products
As an Amazon Associate and member of other affiliate programs, I earn from qualifying purchases.


Buttermilk or whole milk? Error ingredients and instructions not the same!
whole milk!!
I did it!!!!! No joke, your instructions were just what I needed, thanks so very much. It tasted great too but the curb appeal was outstanding. Thanks so much.
YAY!!! Great job!!! I’m so glad it was helpful.