Mini Red Velvet Bundt Cakes with Cream Cheese Frosting
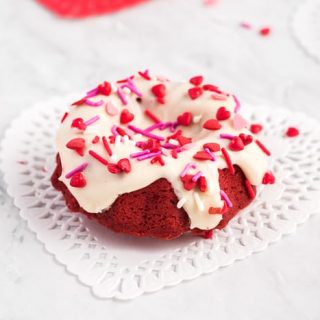
These mini red velvet bundt cakes are moist, decadent, and tangy with traditional cream cheese frosting! Perfect for your Valentine’s Day.
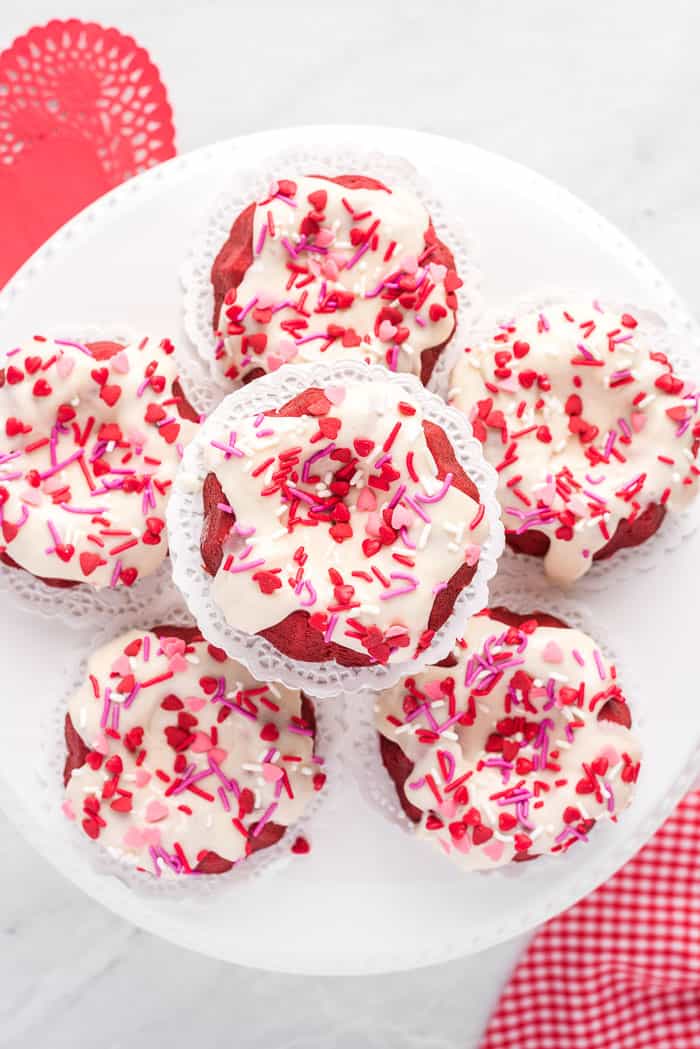
You guys, I feel like a very accomplished food blogger today. I am posting Valentine’s day recipe a whole month in advance of the actual day!!! Woot woot!! I didn’t even start my Christmas baking that early. But I am very excited about all the cuteness that revolves around Valentine’s day and the new mini bundt pans I got for Christmas, that I couldn’t wait to start with these mini red velvet bundt cakes with cream cheese frosting. And of course, this gives you time to think about what you would like to make for your Valentine! I have a few more ideas coming up!
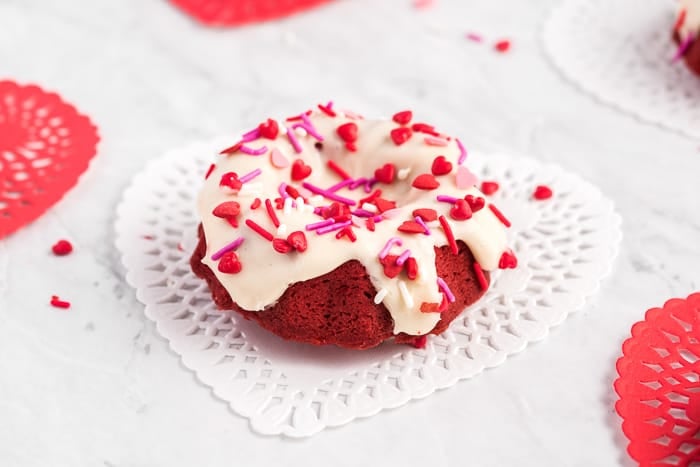
Red velvet cake and I have a special bond. In fact this particular red velvet cake recipe. It was the first recipe I EVER baked in a lame attempt to be romantic (so not) a month after the boy gave me the big diamond ring. I can’t say it landed me the man but it sure guaranteed he wasn’t going anywhere 🙂
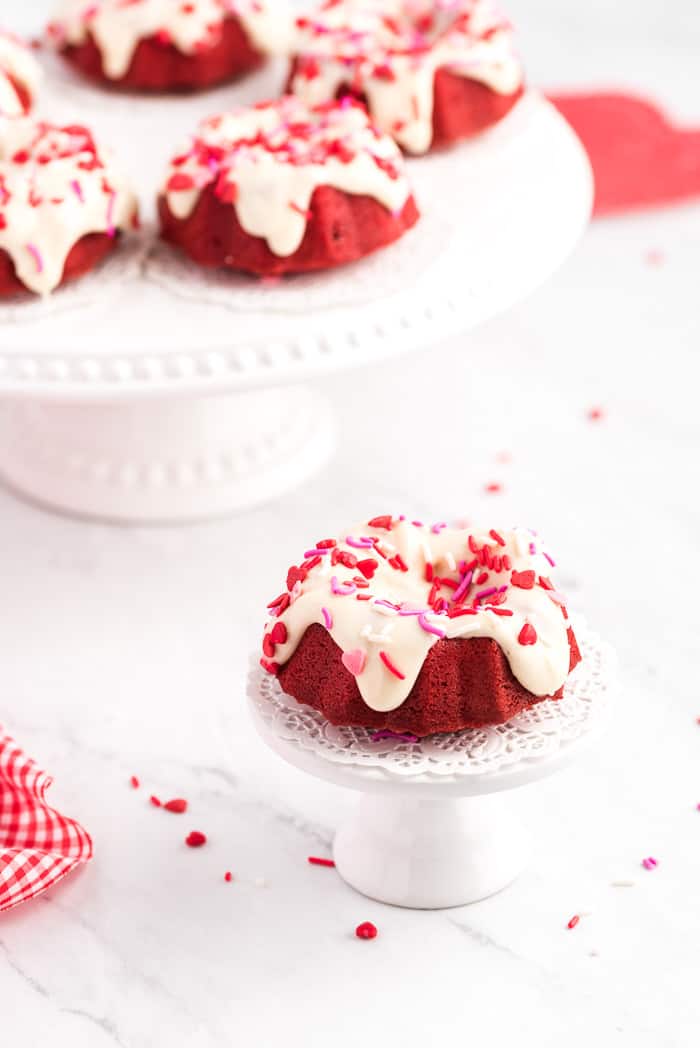
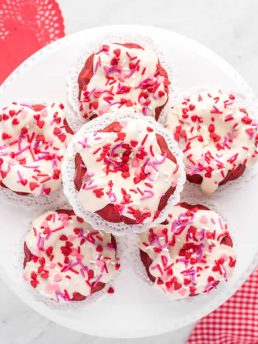
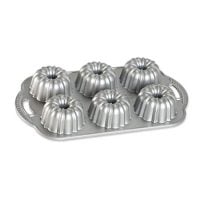
These mini red velvet bundt cakes are perfect for Valentine’s Day! I started with my FAVORITE red velvet cake recipe, baked in mini bundt cake pans (Thanks Laura!) and topped them with a traditional cream cheese frosting!
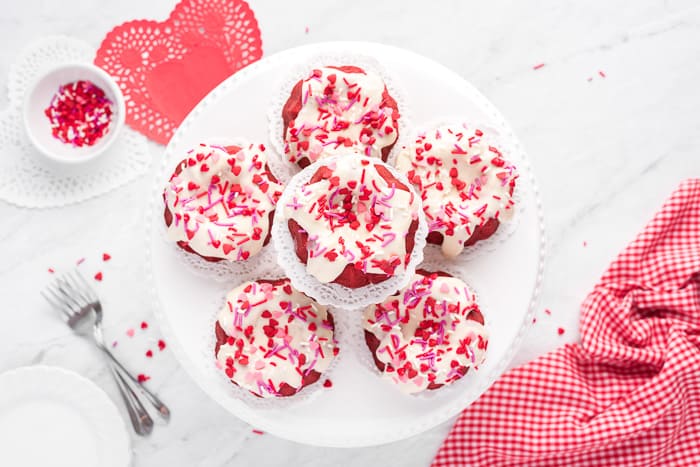
The red velvet cake is soft, fluffy, and not too sweet. Just right! And the cake is nicely complemented with the sweet tangy cream cheese frosting. Absolute perfection if I can say so myself!!
The mini bundt sizes are so cute and will be perfect for individual servings on Valentine’s day. Or you can be all romantic and share your mini cake with your Valentine. You know like two cutie pies eating with one fork (so not happening in my hood…enjoy your cake on your OWN plate dear!).
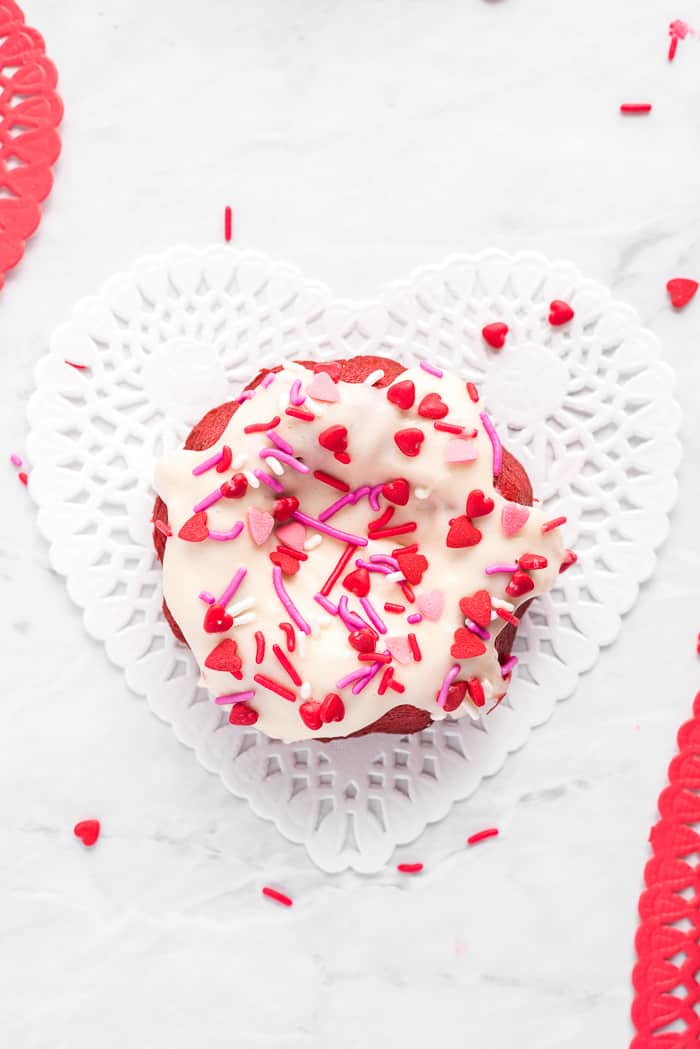
Below I will walk you through how to make these mini bundt cakes with some pictures. Hope it is helpful!!
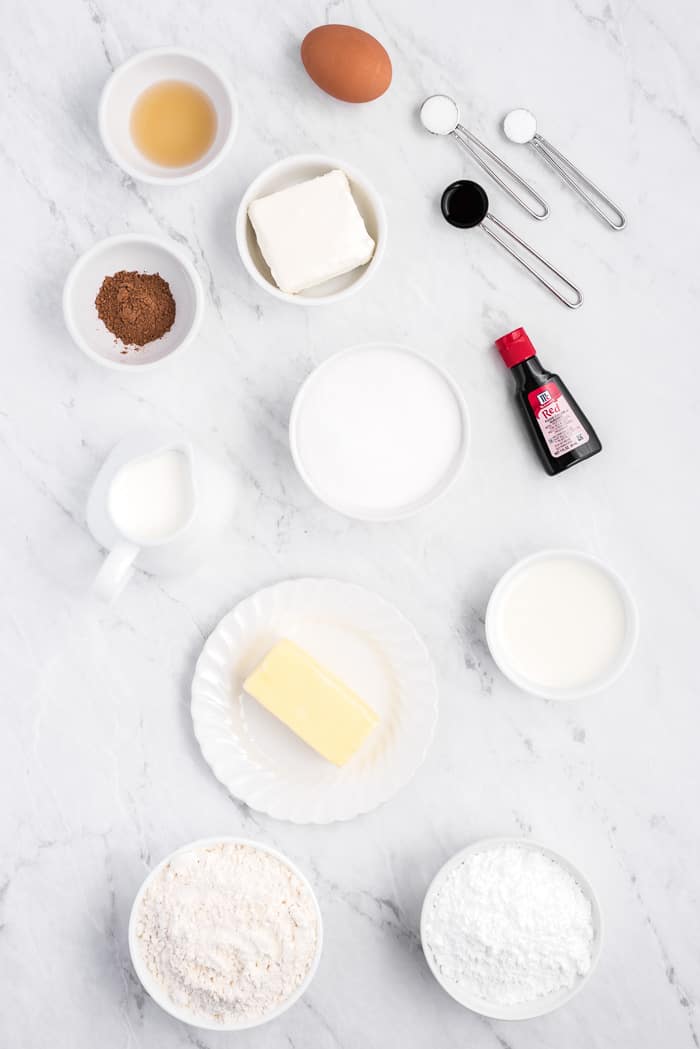
Gather your ingredients! Always good to start off by measuring everything you need so you can focus on the steps of the recipe.
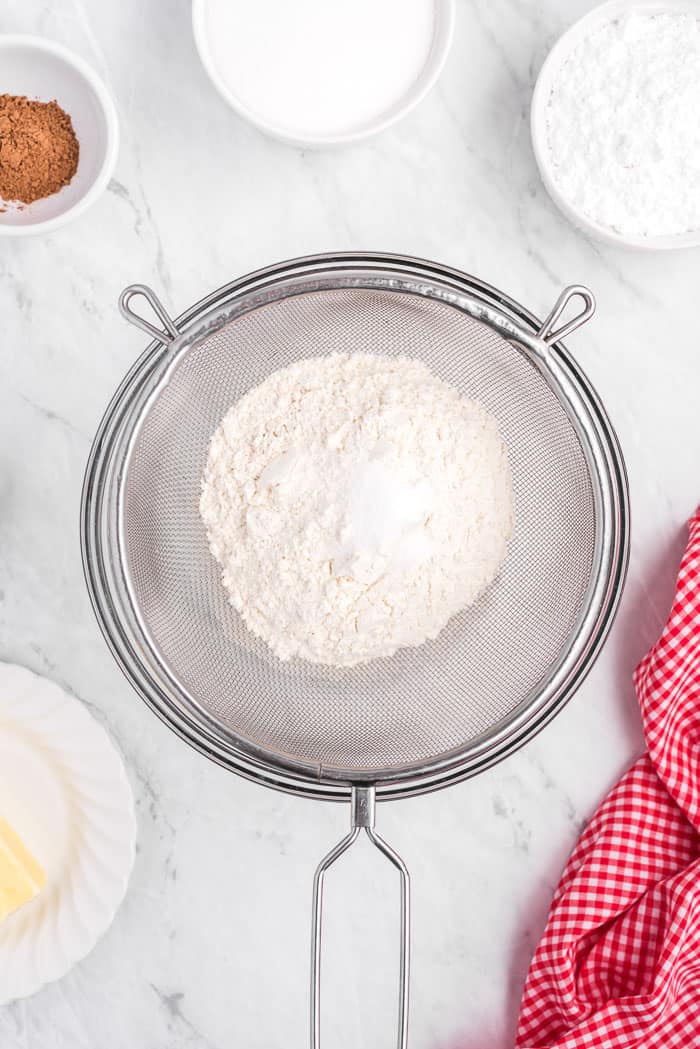
Sift the dry ingredients together.
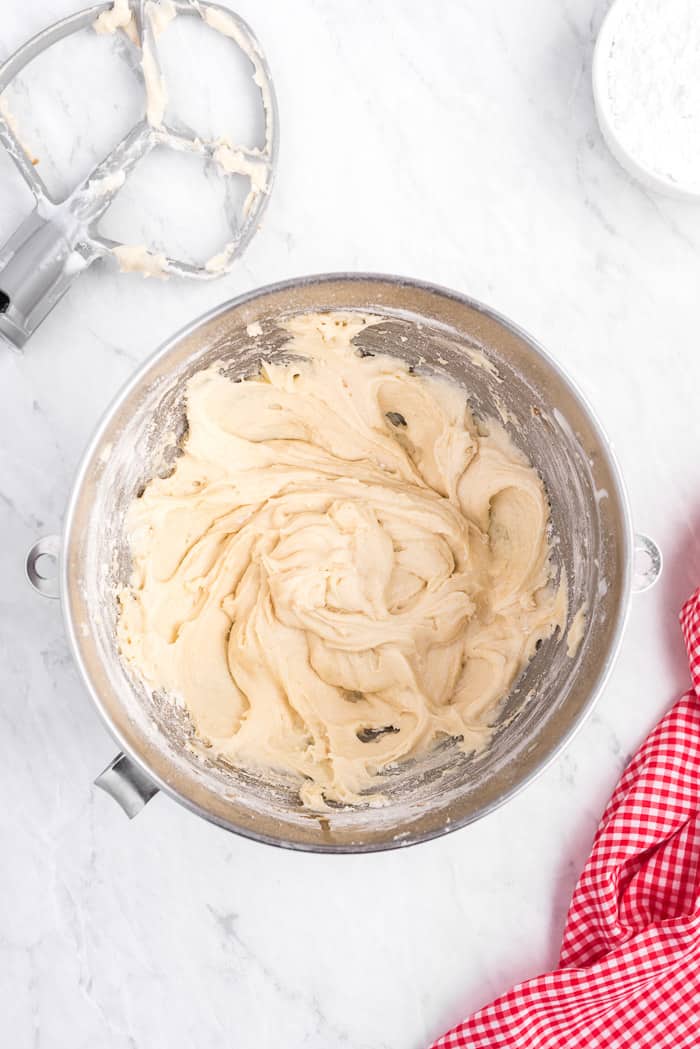
Then cream the butter and sugar together. Add in eggs. Then flour and buttermilk alternating.
For the red coloring, mix the cocoa powder with the food coloring.
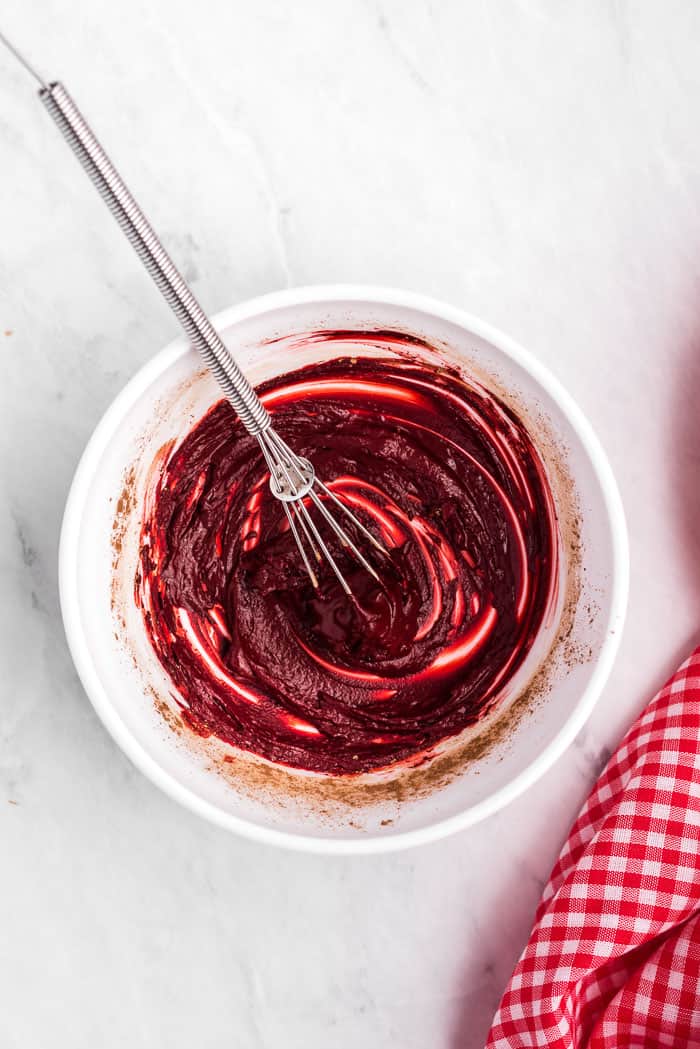
This thick paste once added into your batter, gives you that gorgeous red color we all love.
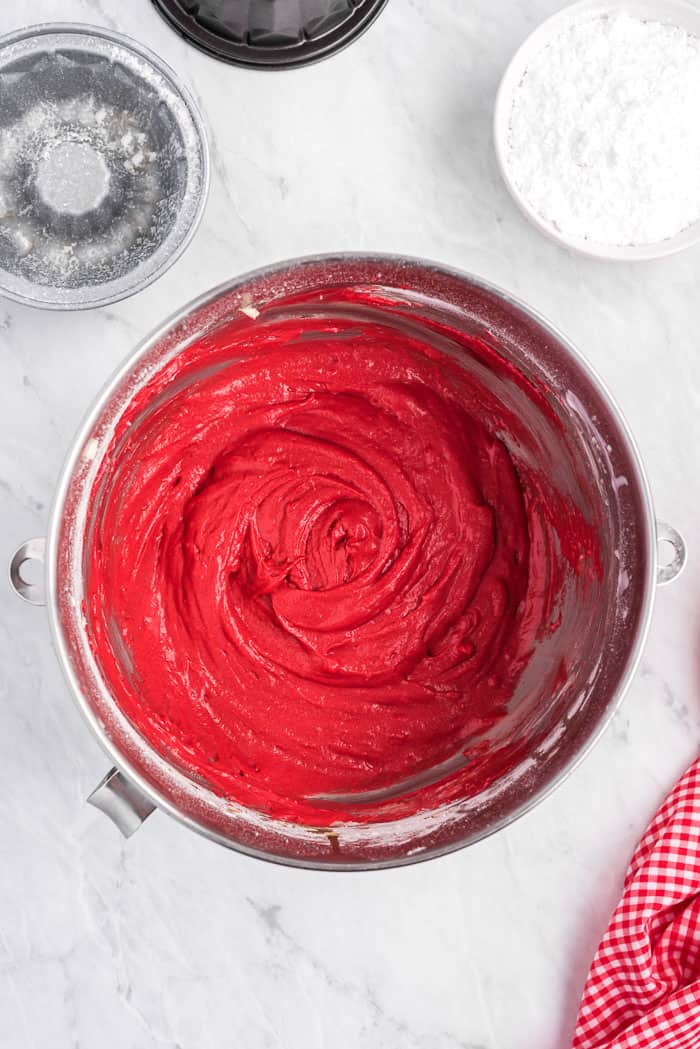
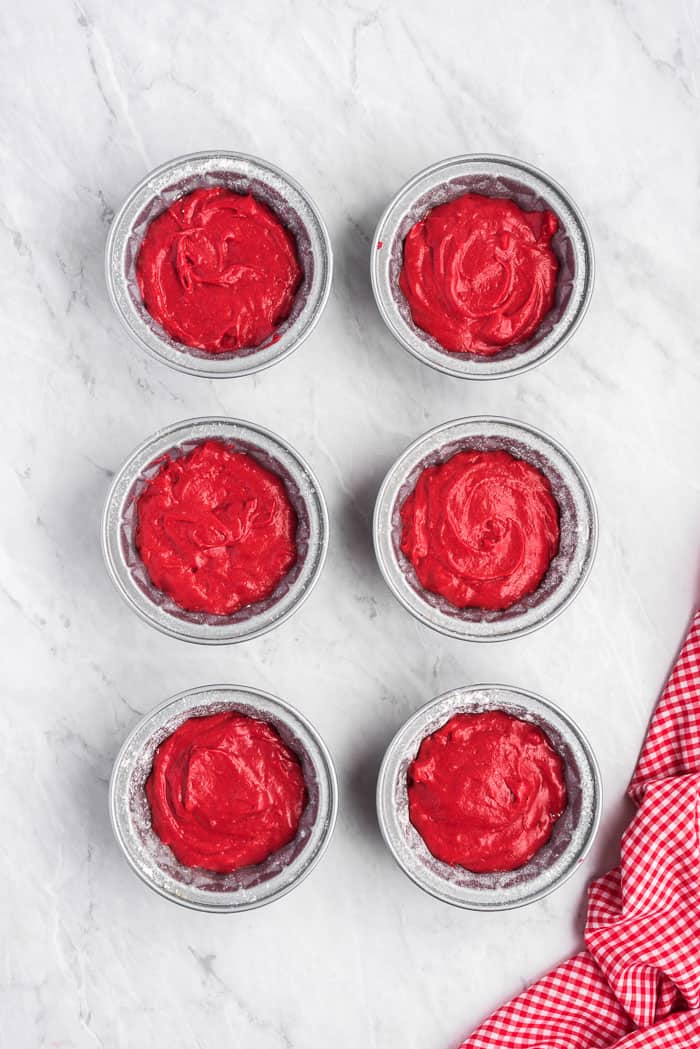
Divide your batter into the prepared pans.
Bake to perfection!!
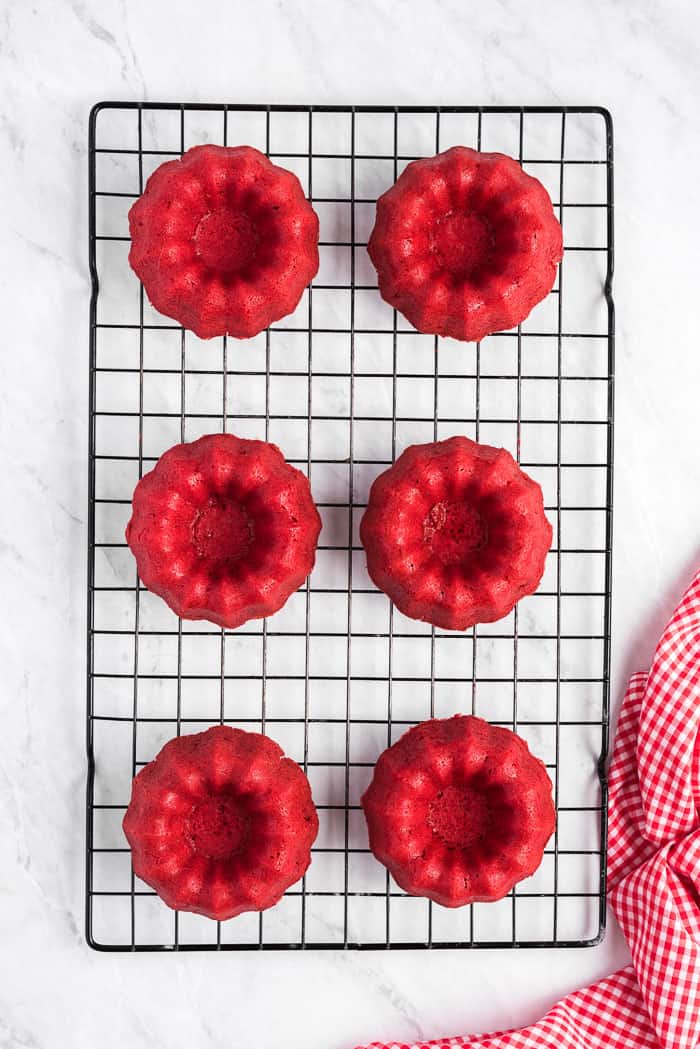
While the bundlettes cool, make your frosting. It is your classic tangy cream cheese icing.
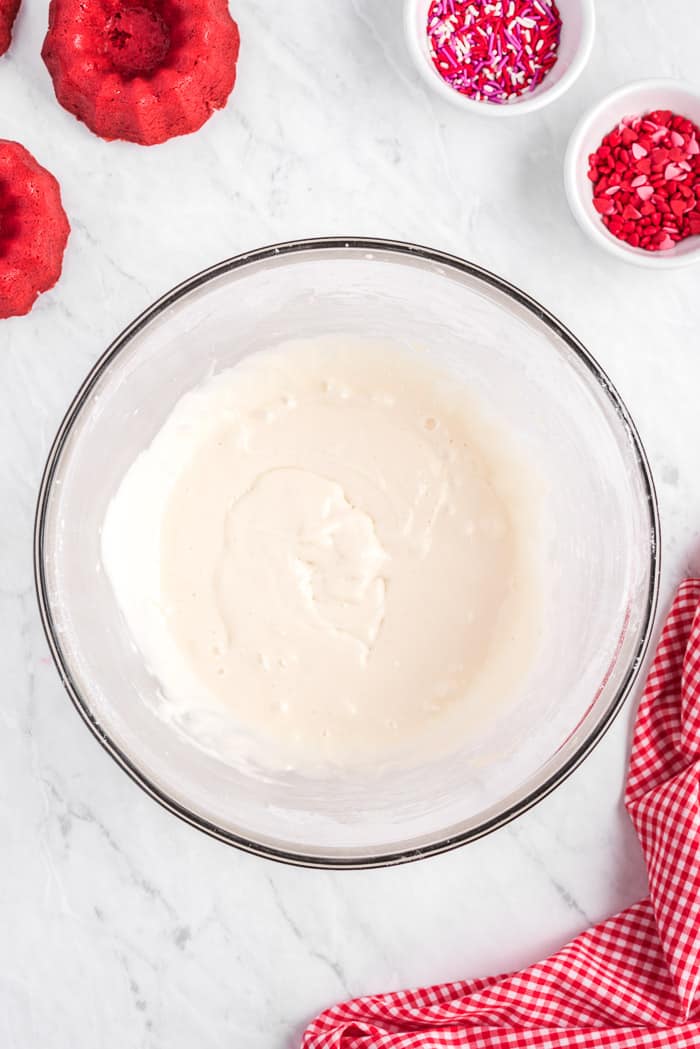
Top each bundt with as much icing as you desire!! No one is judging 🙂
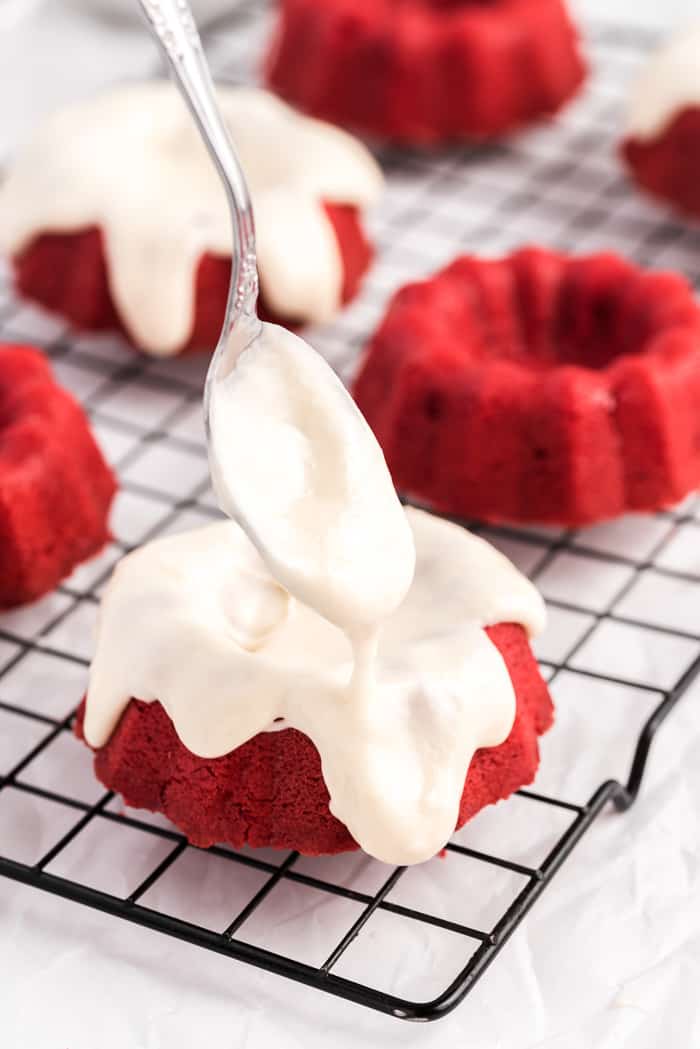
The same goes with the sprinkles. Add as much as you like.
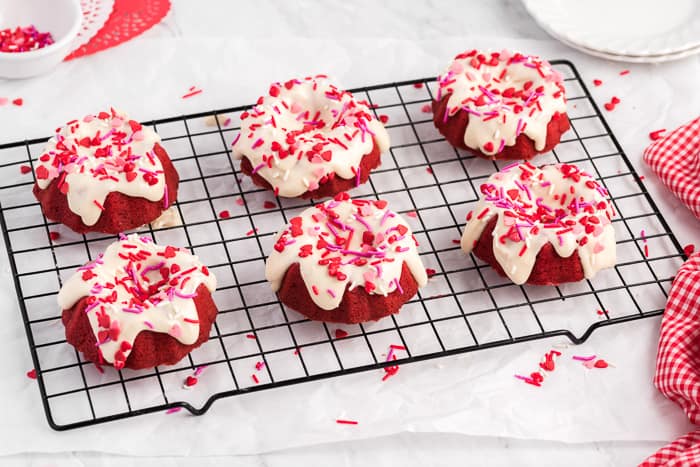
There you have it! I hope you enjoy these mini red velvet bundt cakes.
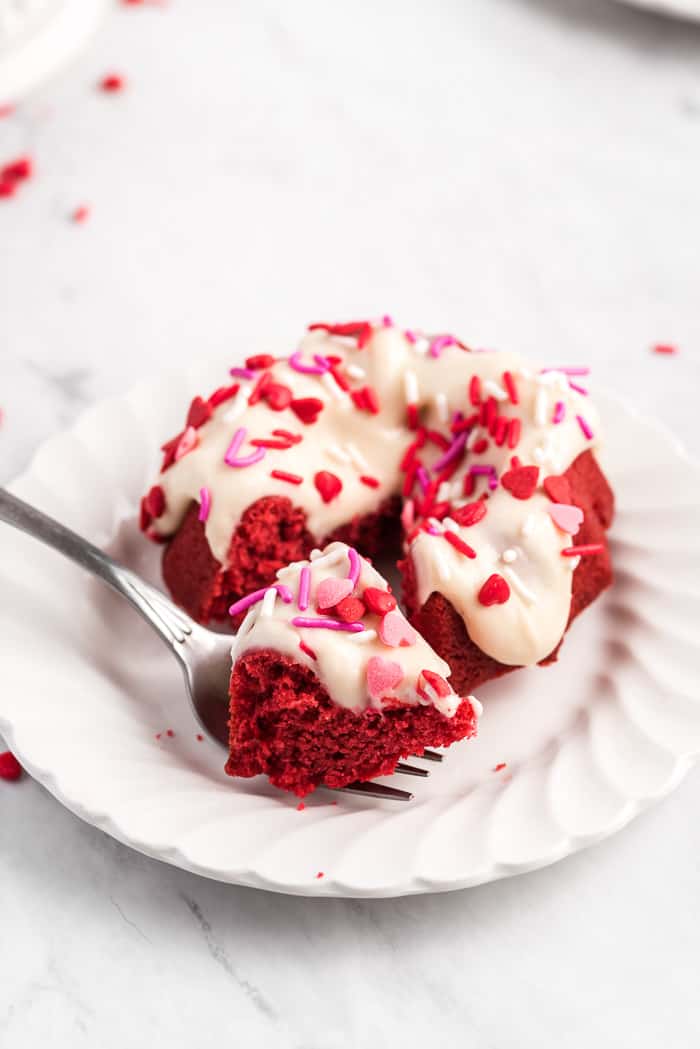
Mini Red Velvet Bundt Cakes with Cream Cheese Frosting
My favorite Red Velvet cake is moist, decadent and tangy with traditional cream cheese frosting! Dressed up in mini bundts and sprinkles, these are perfect for any Valentine’s Day celebration!
Ingredients
For Red Velvet Cake:
- 1 ¼ cups all-purpose flour
- ½ teaspoon salt
- 1 cup granulated sugar
- ½ cup unsalted butter, softened
- 1 large egg
- 2 teaspoons cocoa powder
- 2 teaspoons liquid red food coloring
- ½ cup buttermilk
- 1 teaspoon pure vanilla extract
- ¼ teaspoon baking soda
- 2 teaspoons cider vinegar
Cream Cheese Frosting:
- 4 ounces cream cheese, softened
- 1 teaspoon pure vanilla extract
- 1 cup sifted confectioners' sugar
- 3-4 tablespoons milk (or more for drizzling consistency)
Instructions
- Preheat oven to 350 degrees. Grease and lightly flour (or use baking spray) 6 mini bundt pans.
- In a medium bowl, sift flour and salt together, set aside. In the bowl of an electric mixer fitted with the paddle attachment, cream the butter and sugar until light and fluffy, about 3-5 minutes. Add the egg and mix well. Alternate the flour mixture with the buttermilk, beginning and ending with flour mixture. Mix in the vanilla extract.
- In a small bowl, mix the red food coloring and cocoa powder until a paste forms. Add this to the batter and mix well. In another small bowl, mix together the baking soda and cider vinegar. It will foam. Add to the batter immediately and mix until well combined in batter.
- Divide the batter evenly into the prepared pans. Bake for 15-20 minutes, or until a toothpick inserted into the center comes out clean and the cake springs back when touched. Let cool for 5-10 minutes in pan and then turn out on wire racks and cool completely.
- In a large mixing bowl, beat the cream cheese and vanilla until smooth. Add the sugar and milk. Mix on low speed for a minute and then increase to medium-high speed to beat until well combined. If the frosting is too thick, add milk to loosen to drizzle consistency.
- Drizzle the frosting over the cakes. Decorate with sprinkles and hearts.
Recommended Products
As an Amazon Associate and member of other affiliate programs, I earn from qualifying purchases.

Wow awesome blog. Thanks Again. Really Great.
It’s a really unique and informative article. Great work! Much appreciated, keep posting many more…. I added it to my bookmark website list and will be checking back in the near future and I also have a site
This might be a silly question but I’m not much of a baker…if it’s not eaten, should it be refrigerated overnight? Thanks!
You can store these at room temperature or refrigerator in an air-tight container for up to 3 days.
There is something very wrong with this recipe. i tried it twice and it is too moist, like not enough flour? 1 1/4 cups where all other recipes are 2-2 1/2? What a waste of many ingredients.
Hi Gloria,
I am very sorry to hear this. I know for sure it is not the recipe and the flour ratio. This is my go-to red velvet recipe and I have been using it in cupcakes, cakes and these mini bundts (http://blahnikbaker.com/red-velvet-cupcakes-white-chocolate-cream-cheese-frosting/). I know the cake recipe works and a lot of other readers have successfully made this recipe. I would suggest making sure your liquids are accurately measured as it sounds like you have too much moisture.
I am going to make these for my church’s July 4th picnic and maybe use some red/white/blue sprinkles on top for a festive touch.
That would be perfect!!! Let me know how it goes 🙂
These are adorable!! You are so skilled. Thanks for sharing the recipe. Hope mine turn out to be as good as yours!
These were delicious BUT…they stuck horribly to the mini bundt pan. I’ve never had this issue with my pan before and I sprayed and floured as directed. Any suggestions? Was my flour layer too thin perhaps? (I always turn my pan over and tap to remove the excess.) By the look of things I could tell they were sticking as soon as I pulled out of the oven. I’ve never made red velvet before but it seems to be such a light and airy cake that I wonder if it’s just always prone to stick. Thankfully the icing helped to cover up the issue 🙂
Hi Lindsay! I am glad they were delicious even if they didn’t look as well. I have found that evenly flouring bundt pans can be tricky so I use PAM baking spray that already has flour in it and it helps keeps the flour even. Also, letting the cakes cool in the pan for at least 10 minutes helps the cakes loosen and removal easier. Hope that helps!
These are so bright, festive & adorable for Valentines Day – Would love to see these submitted at FoodFotoGallery.com so I can share with all my foodie friends 🙂
These are just like you said….Perfect! I love them! I’d love for you to share them with us at Sewlicious Home Decor! We can’t get enough sweets and a Valentine treat makes it even better!
Marti
I can see why you and red velvet have a special bond…..these little cakes look incredible!! Thanks so much for sharing them with us at Saturday Night Fever!!
Hahah thanks Cathy! I love red velvet very much. Hope you are having a great weekend.
These are beautiful! I LOVE my mini bundt pans and glad to have a new recipe to try.
Congrats on being the most viewed last week at our Best Of The Weekend Party! {sorry this is late}. Have a great weekend. xo
These look yummy! Pinning for later!