Valentine’s Day Chocolate Heart Cookies
Valentine’s Day is in the air, and it is all about hearts. Chocolate heart cookies, red velvet hearts, and red and pink hearts!! Cupid’s symbol all over.

Here at A Classic Twist, it is also my ‘baking’ anniversary. I baked my first cake ever a year ago, in my friend Chrissa’s kitchen, seen here. It was a small step at the time that now looks like a giant leap!

In honor of Valentine’s day and this baking anniversary, I decided to try a new baking bucket list item, cut out cookies. These chocolate heart cookies fulfill my tradition of baking a heart treat for Valentine’s Day while also challenging myself.
Have you ever made cut-out cookies?? They seem very daunting but after you try them you realize they really are not. I decided to try a chocolate version this time around but I do have some Easy Christmas Decorated Cookies and also Spring decorated cookies.
How to make Easy Valentine’s Day Chocolate Heart Cookies


Chocolate Heart Cookies
Chocolate heart cookies perfect for your Valentine!
Ingredients
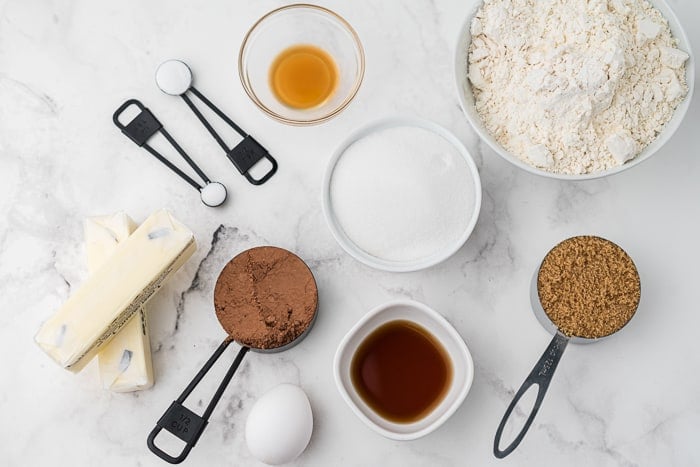
- ½ cup cocoa powder
- 3 cups all-purpose flour
- ½ teaspoon baking soda
- ¼ teaspoon salt
- 1 cup (2 sticks) unsalted butter, at room temperature
- ⅔ cup granulated sugar
- ½ cup brown sugar
- 1 large egg, at room temperature
- 2 tablespoons chocolate liqueur or extra strong coffee (this can be made with about 1 teaspoon of instant espresso dissolved into 2 tablespoons warm water)
- 1 teaspoon pure vanilla extract
Instructions
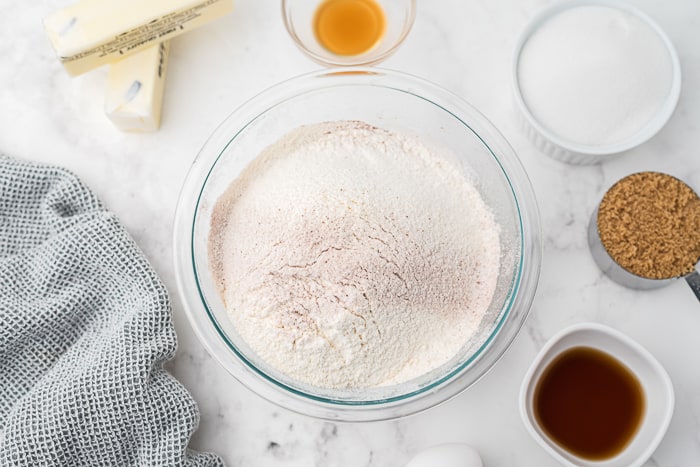
- Sift together (or gently stir with a whisk) the flour, cocoa powder, baking soda and salt. Set aside.
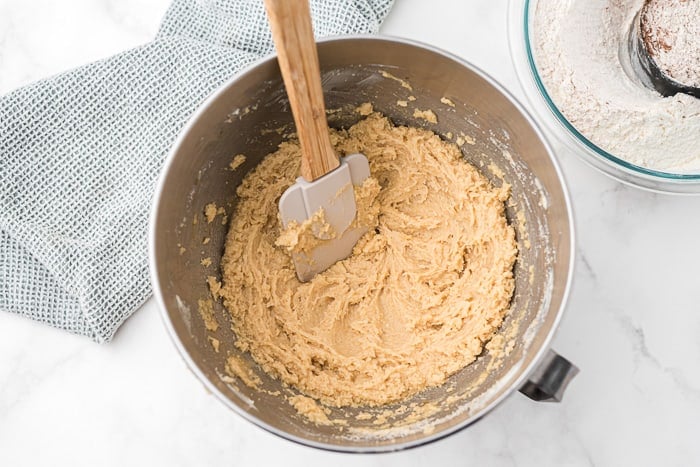
- With an electric mixer cream together the butter, granulated sugar and brown sugar together until fully incorporated and fluffy.
- Beat in egg, coffee or liqueur, and vanilla extract.
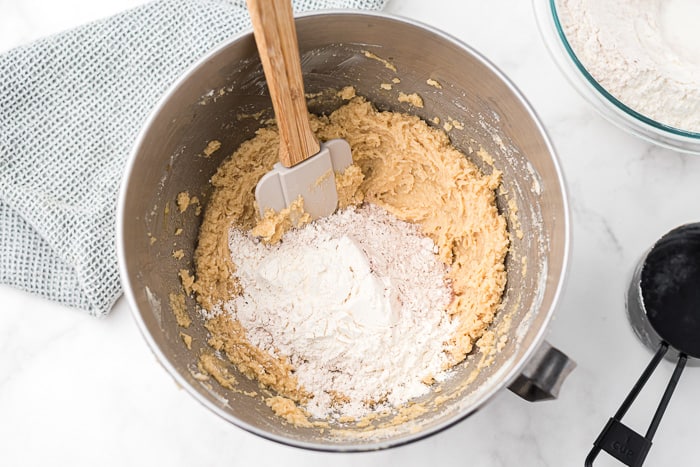
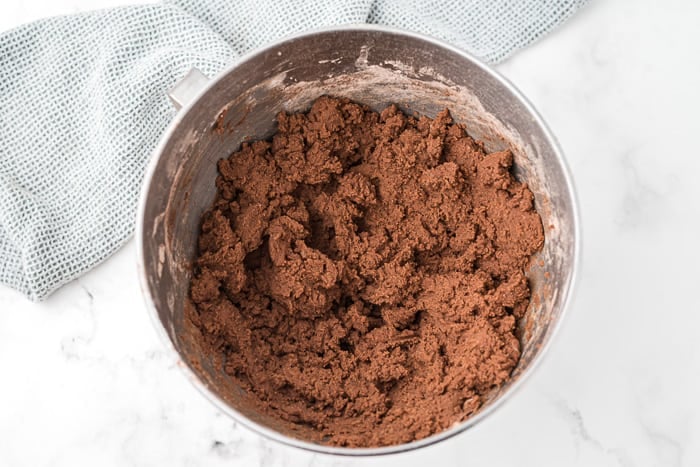
- Add in flour/cocoa mixture about 1 cup at a time. Blend until fully incorporated. (If you are using a hand mixer you may need to add the last cup of flour by hand).
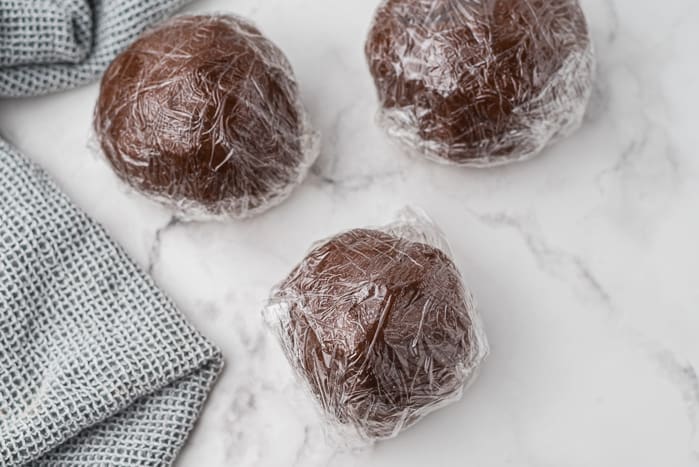
- Divide dough into two or three large balls, pat each into a dice and wrap in a plastic bag. Chill dough in the refrigerator for about 1-2 hours (if you’re in a hurry, you can chill the dough for about 20 minutes in the freezer).
- Preheat oven to 350 degrees F.
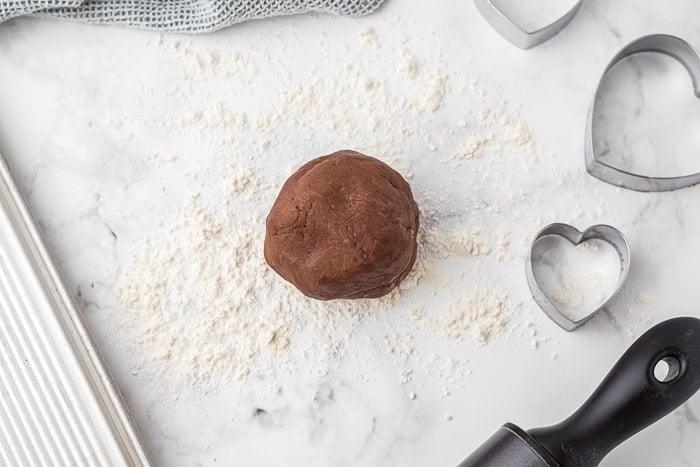
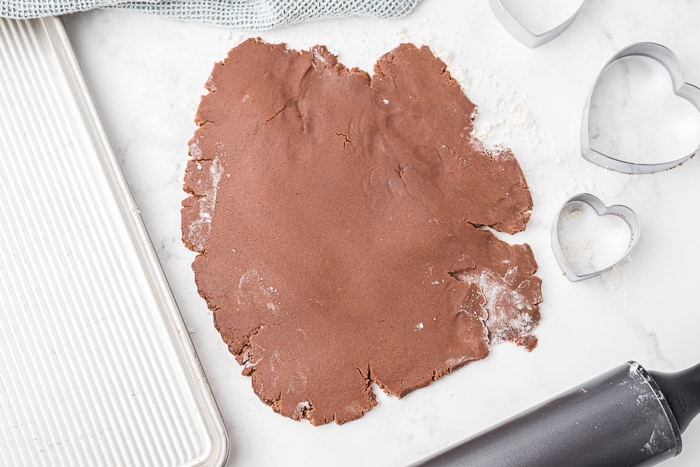
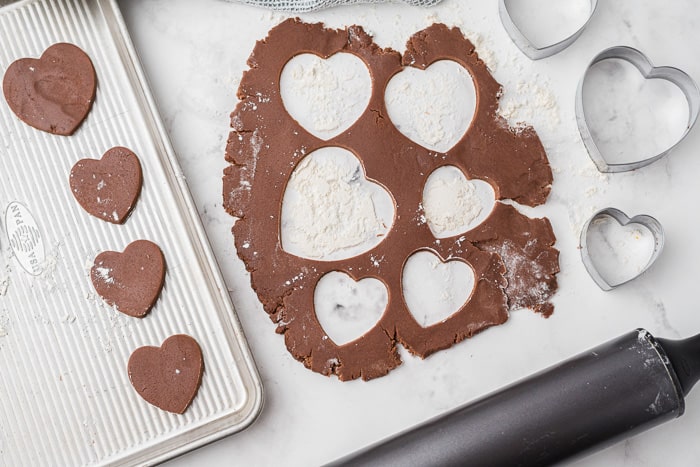
- Once chilled, work with one ball of dough at a time, and roll onto a lightly floured surface. I find it works best to place a sheet of parchment paper on top of the dough, and then roll on top of the parchment. This prevents the dough from sticking to your rolling pin, and you also don’t need to add as much extra flour (as you would without the parchment).
- Cut out desired shapes with cookie cutters and place on a baking sheet.
- Place the baking sheet (with cookies on it) in the freezer about 5 minutes (this helps the dough keep it’s shape when baked).
- Bake cookies for 7-10 minutes (depending on size).
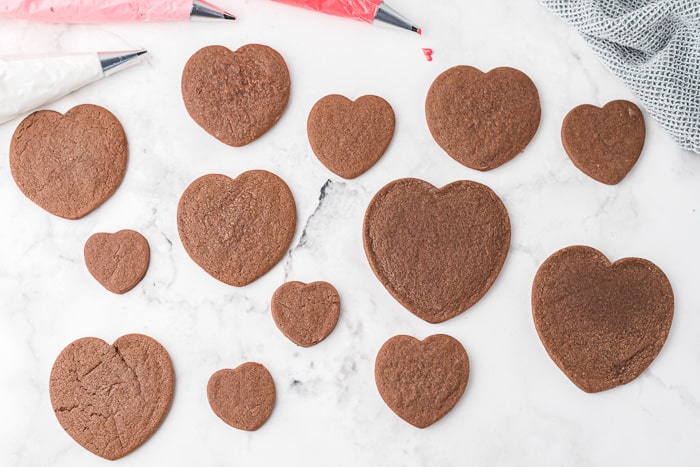
- Allow cookies to cool on baking sheet a few minutes and then transfer to a wire cooling rack.
- Decorate as desired using royal icing or buttercream.
Notes
Cookies and Royal icing adapted from Glorious Treats
Royal Icing Recipe
Ingredients
- ¾ cup water
- 5 tablespoons meringue powder
- 1 teaspoon cream of tartar
- 2.25 pounds powdered icing sugar
- 1 teaspoond vanilla extract
- 1 teaspoon almond extract
Instructions
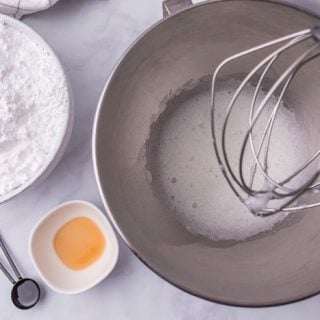
- Whisk together the water, meringue powder and cream of tartar in the mixer bowl for about 1 minute. Add all the sugar and using the paddle attachment, beat on lowest speed for 10 minutes.
- Thin the icing with water, a teaspoon at a time until your desired consistency. Color and enjoy!


I enjoy what you guys ttend to be up too. This type of clever work and
coverage! Keep up the awesoje works guys I’ve included youu guys too my
personal blogroll.
Hello! Do you use Twitter? I’d like to follow you if that would be okay.
I’m absolutely enjoying your blog and look forward to new updates.
So adorable! Love that you re did it!