Dark Chocolate Mocha Mousse Cake
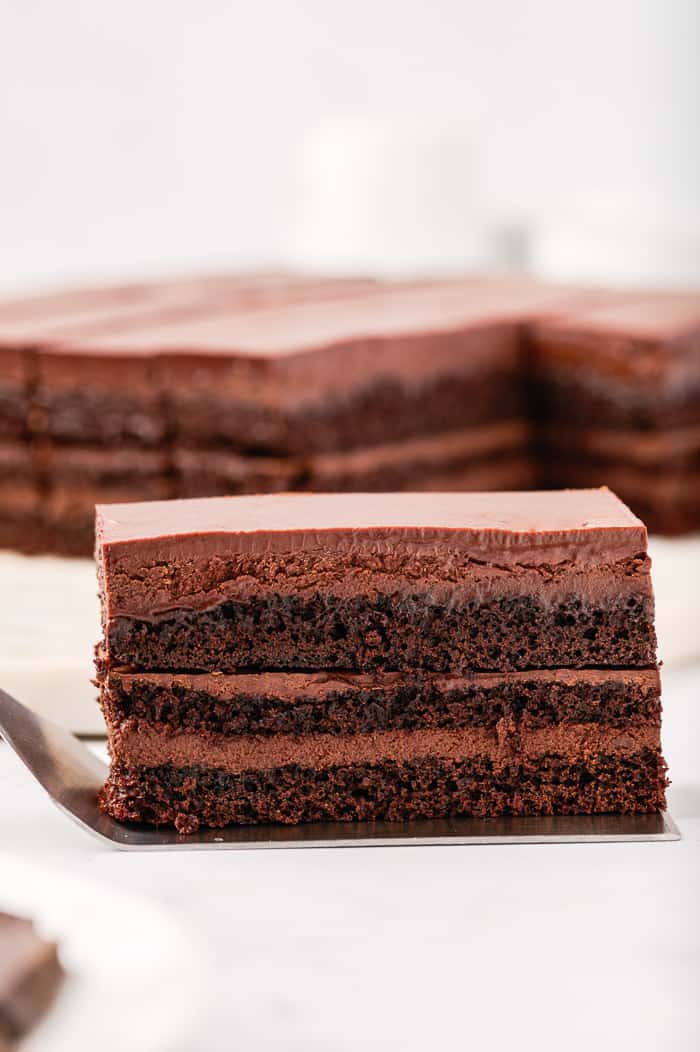
Hey there everyone. Happy Valentine’s Day! I hope you are able to take the extra step of letting the ones in your lives that you love to know it. Whether that is through flowers, doing dishes, chocolate, or taking something off their load, be sure to let them know how you feel about them. If you have no idea how or have a chocolate lover in your life, then this dark chocolate mocha mousse cake is for you.
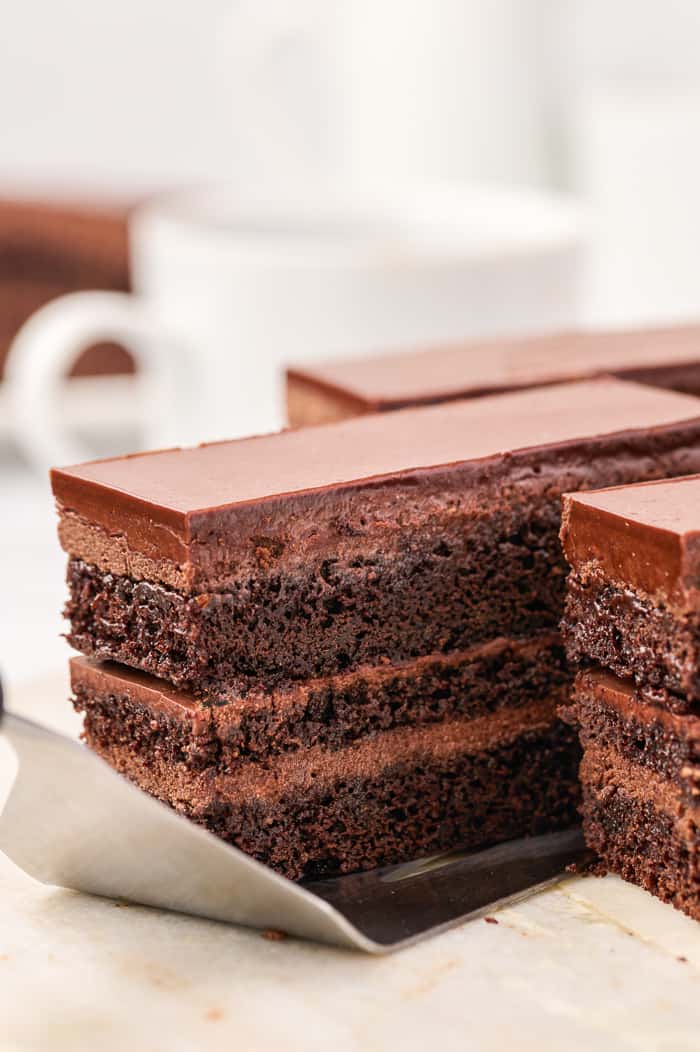
If you’ve been around here a while then you know I am a chocolate lover. After years of baking various dessert recipes with a wide range of chocolate grades, I have learned a few lessons along the way. I always go for good quality chocolate because 1) life is too short to eat anything else and 2) the flavor is always premium.
This brings me to the recipe of the day, Dark Chocolate Mocha Mousse Cake (say that five times fast), which uses Dutch-processed cocoa that has a chocolatey flavor and combines better in most desserts. I also used chocolate liqueur and bittersweet chocolate to counteract the sweetness incorporated in the rest of the cake.
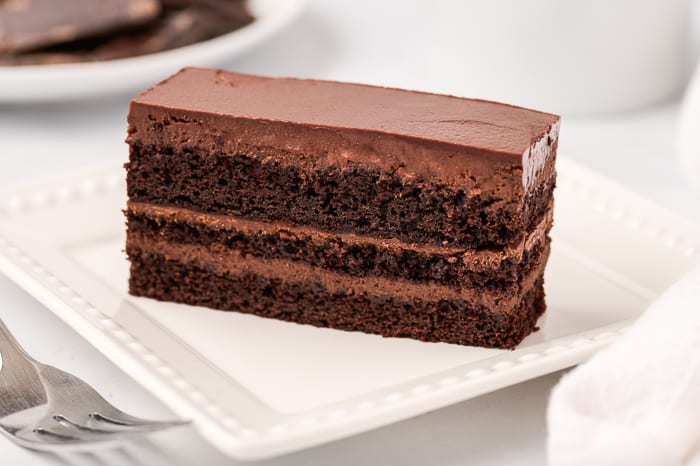
This recipe was in a recent issue of Food Network Magazine and the delicate layers called my name and I knew it would be perfect to make for special occasions like Valentine’s Day. It’s a labor of love to make but also great for those of us who love baking masterpieces. Sorry in advance for the number of bowls you will use 🙂
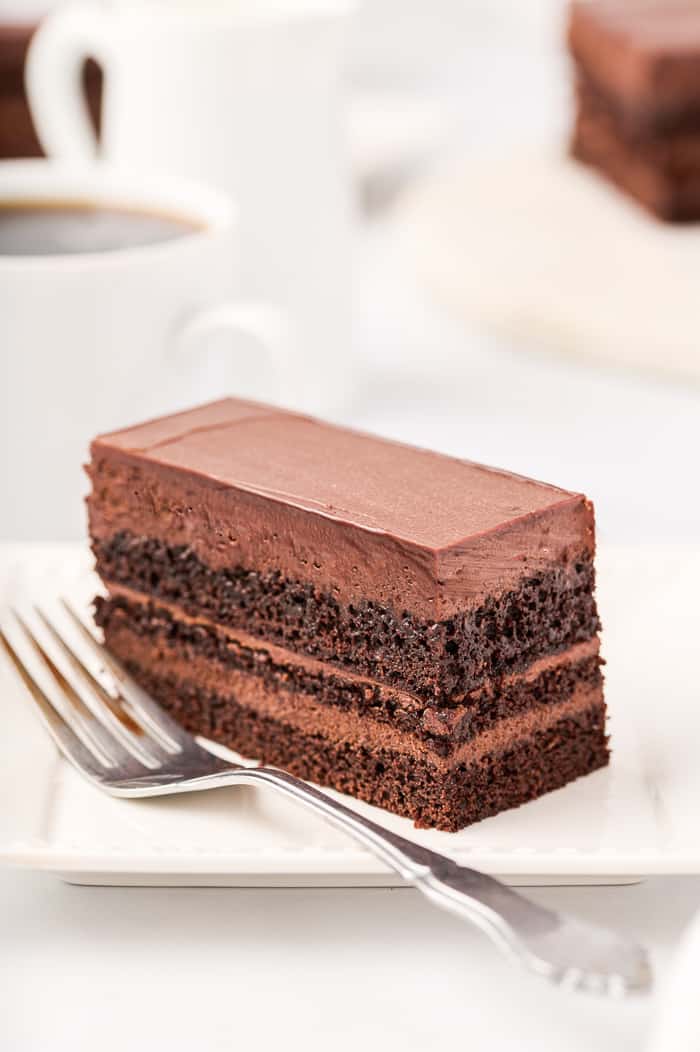
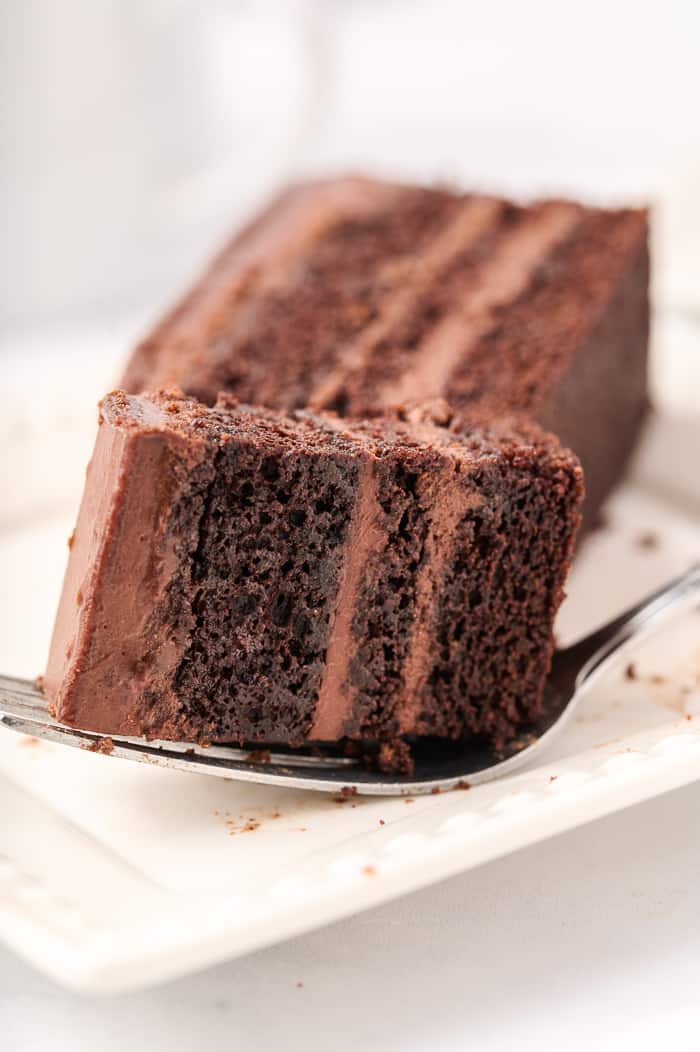
The rich chocolate cake is light, fluffy, and decadent. There is chocolate liqueur soaked into the cake. Then topped with a chocolate mousse that is airy and brings some softness to this cake. It is all topped with a decadent and smooth chocolate ganache. Any chocolate lover will LOVE this cake!! Such a great one that highlights why we all love chocolate so much.
Now that I have prepped your pallet let’s walk through how to make this Dark Chocolate Mocha Mousse Cake! As usual, skip to the end for the recipe if you are not interested in the step-by-step pictures.
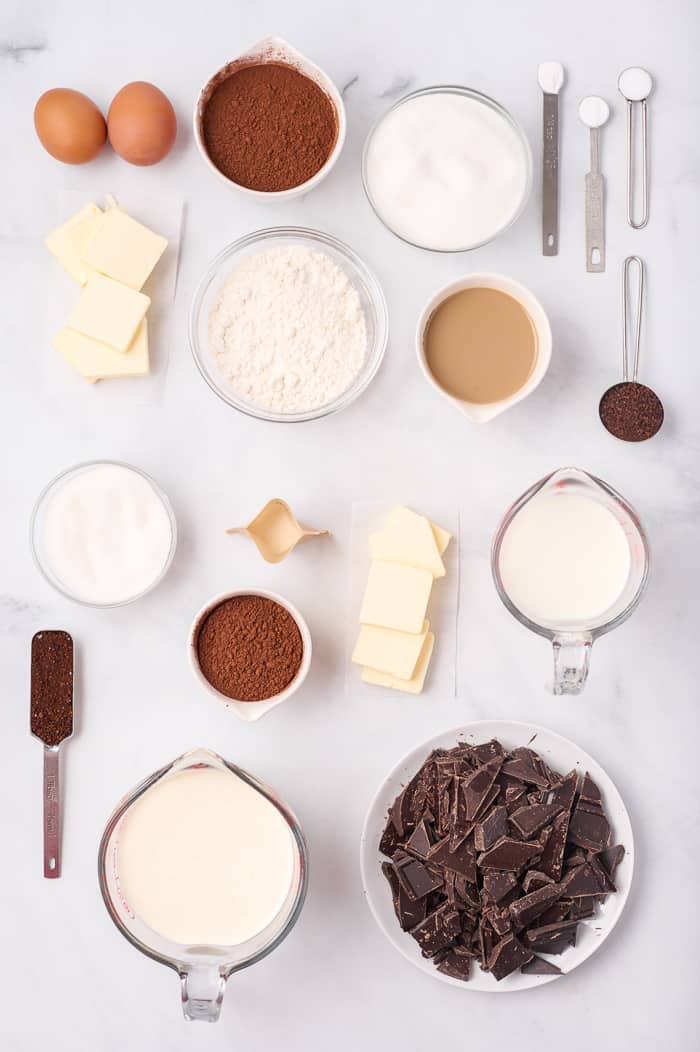
Step 1: Make the Chocolate Cake
First, we make the cake batter which has both espresso and cocoa powder. Milk and butter are warmed together and then this gets mixed with the espresso and powders.
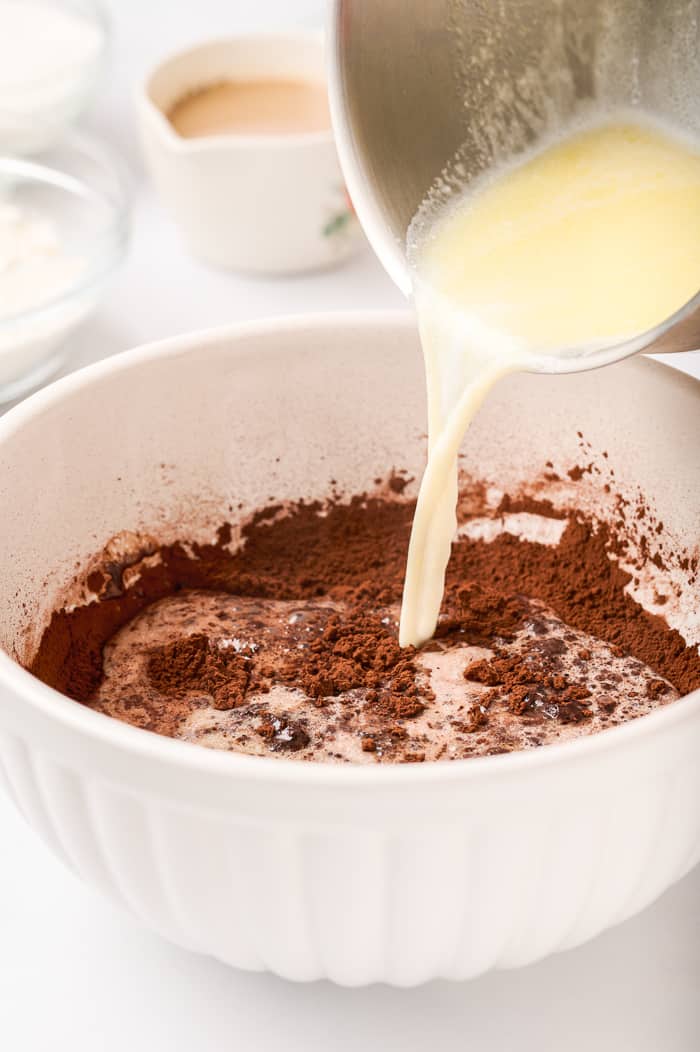
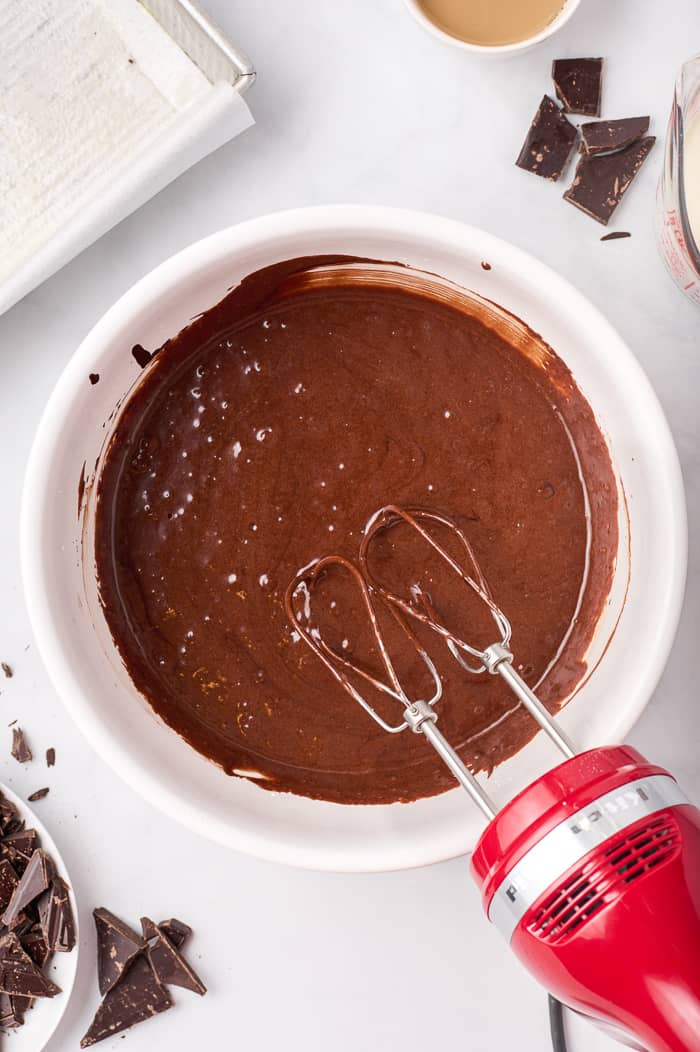
In a separate bowl, we make a cake. First, we combine the rest of the dry ingredients for the cake, besides the sugar. Then we Beat the egg and sugar together with a stand mixer until it’s fluffy (about 30-45 seconds).
We then add that cocoa mixture to these. That’s the cake batter.
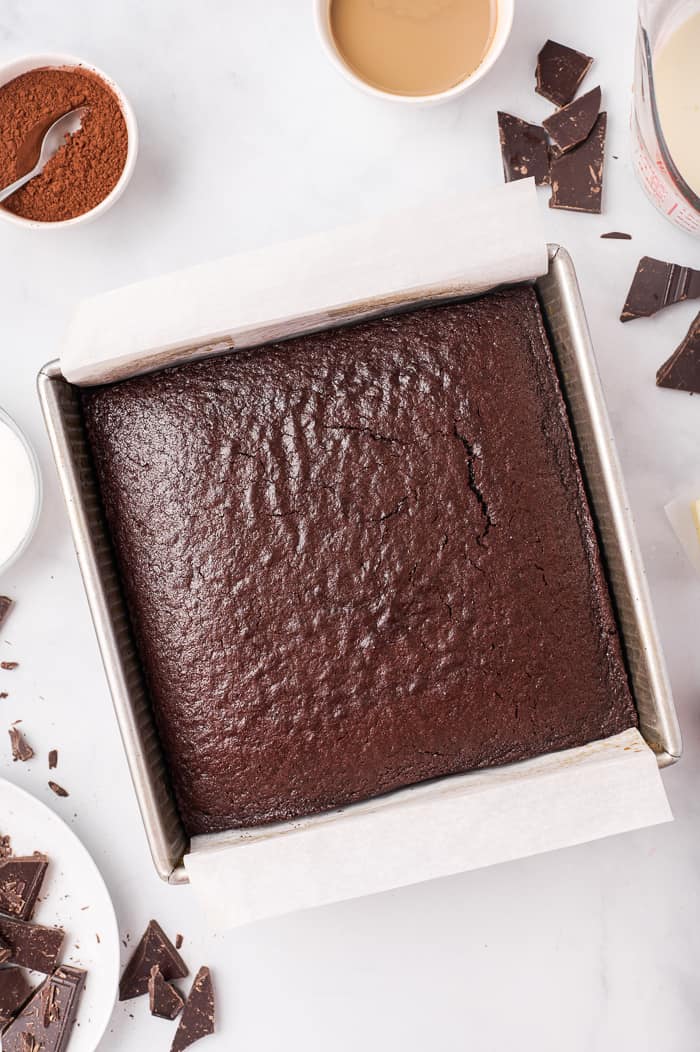
Pour into your prepared baking pans. Bake for about 35 minutes or until a toothpick comes out clean. Allow cooling on the rack.
Step 2: Make your Ganache
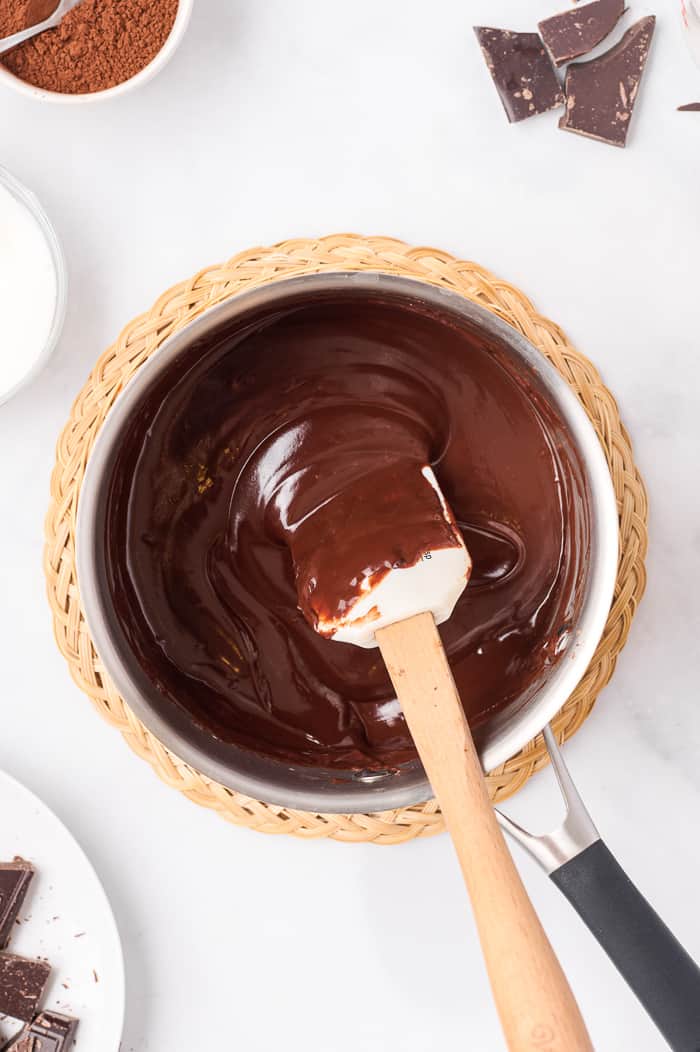
With the same pan, you used for the milk previously, add in ½ heavy cream, 4 ounces of chocolate, and one tablespoon of butter. Continue to stir and boil until the consistency is smooth. Allow it to cool to the side.
Step 3: Prepare the Mousse
Melt the chocolate and butter. Bloom the gelatin with some heavy cream. Then whip the remaining heavy cream to soft peaks with espresso powder. Add in the gelatin and whip to stiff peaks.
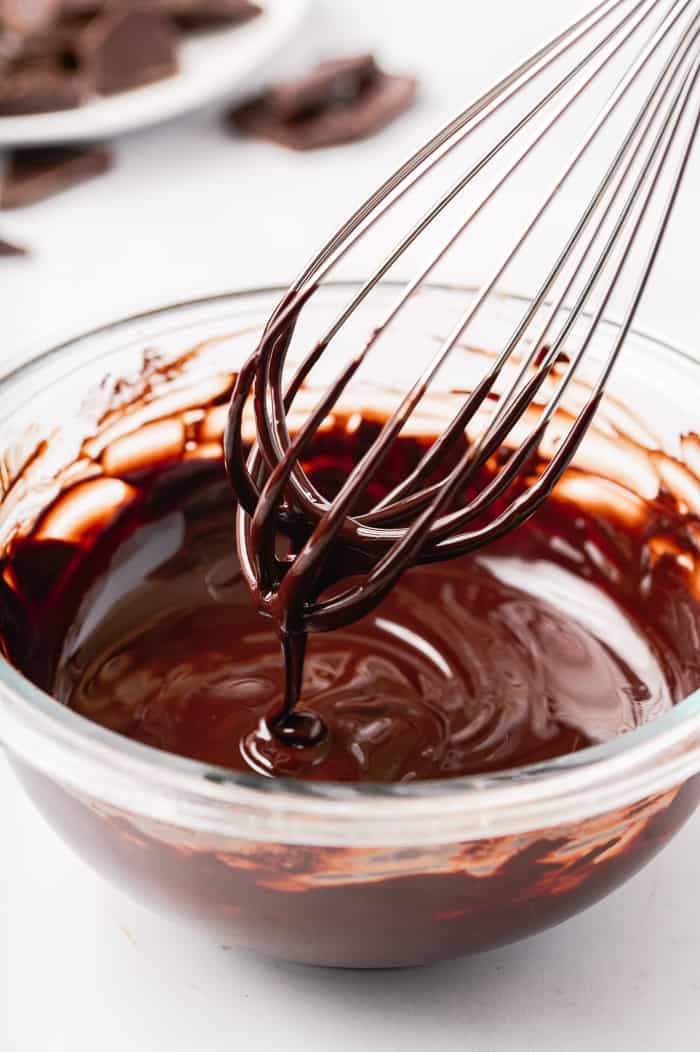
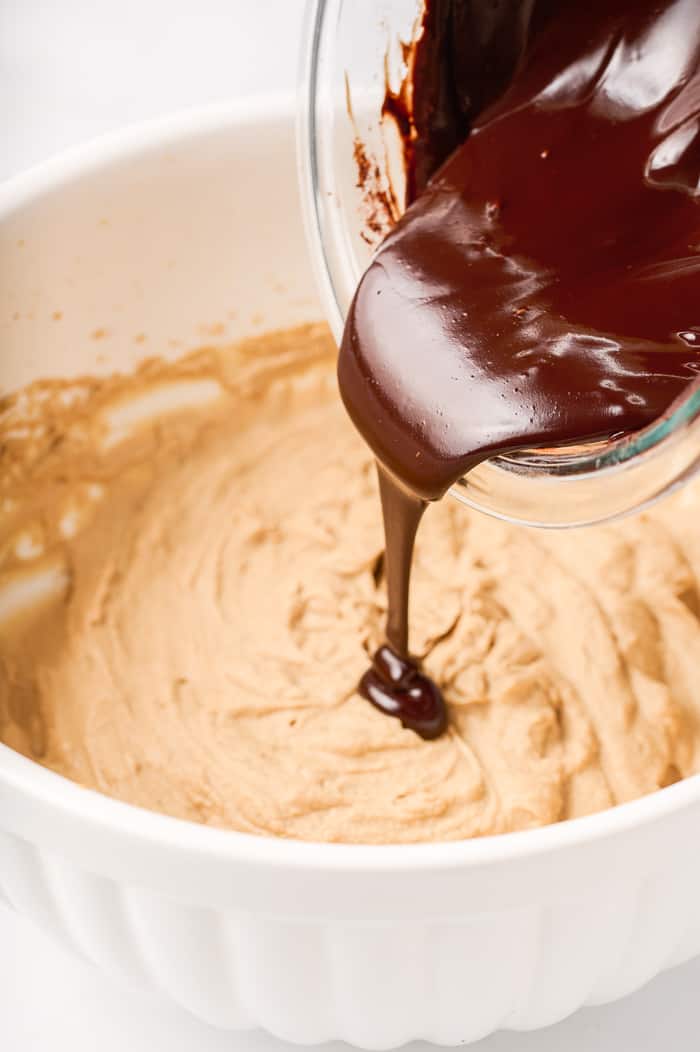
Fold chocolate into the whipped cream.
Step 4: Assemble the Layers
Link your square baking pan with parchment paper and make sure it hangs over the side (that is very important).
Slice your cake horizontally in three equal sections.
Add your first cake layer to the pan and brush on chocolate liqueur (if you opt to use it).
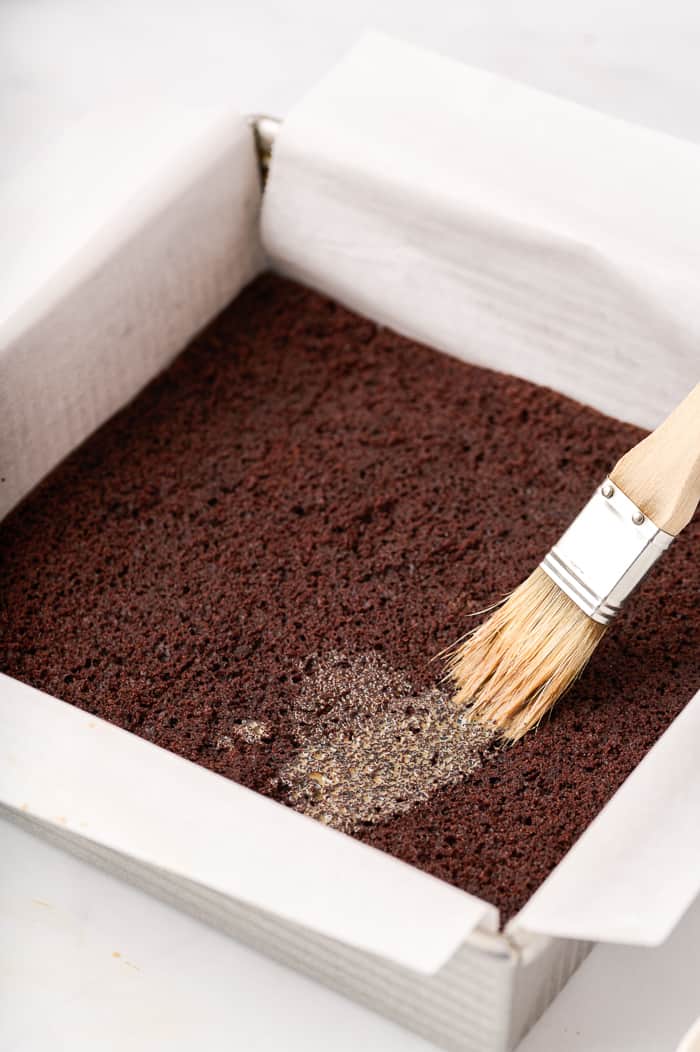
Spread mouse in an even layer to the edges.
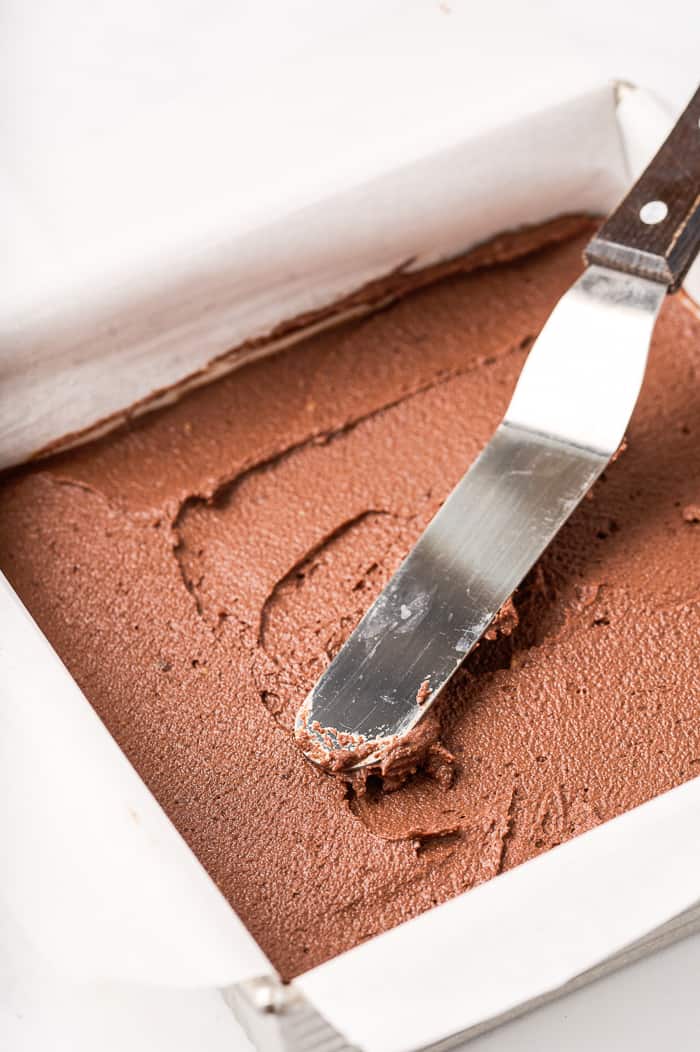
Add a second layer of cake, brush with liqueur, and now spread the ganache evenly to the edges.
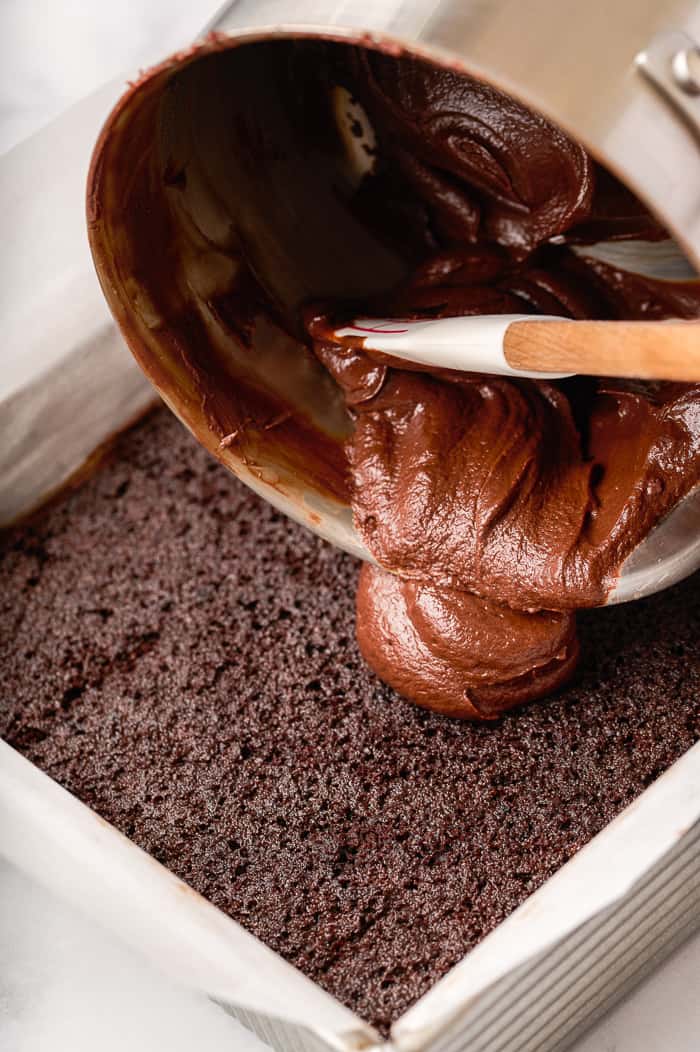
Top the remaining cake (cut side up) and spread liqueur, mousse, and ganache over the surface.
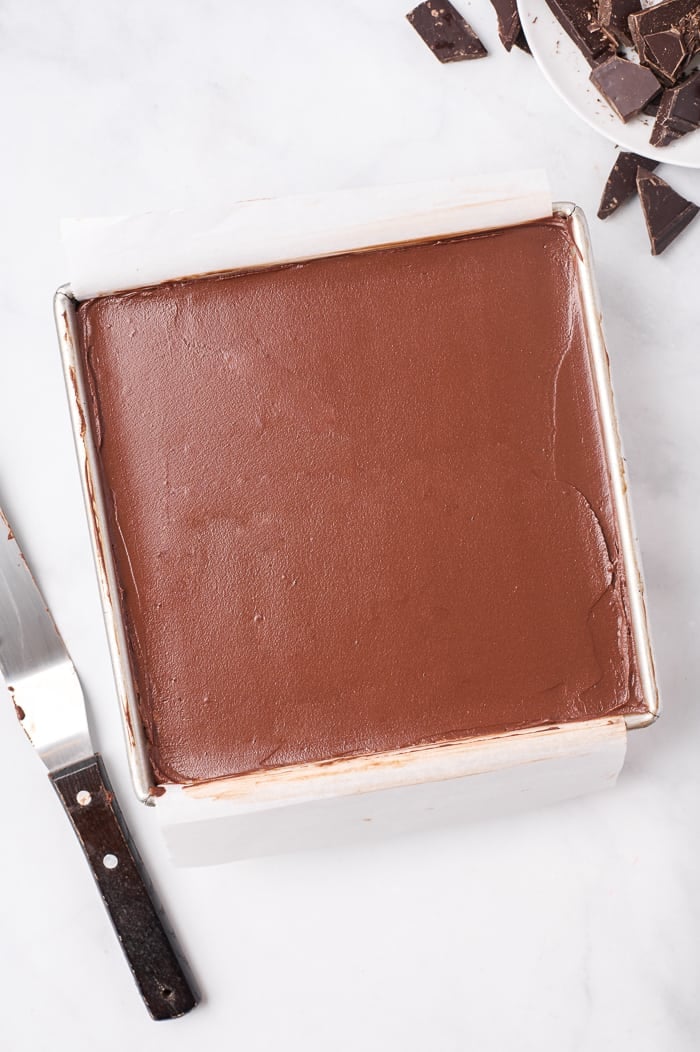
Refrigerate for 30 minutes or until the top layer is hardened. Then wrap your entire cake in plastic wrap and chill overnight.
Lift the cake out by the parchment paper. Slice with a hot, serrated knife and serve!
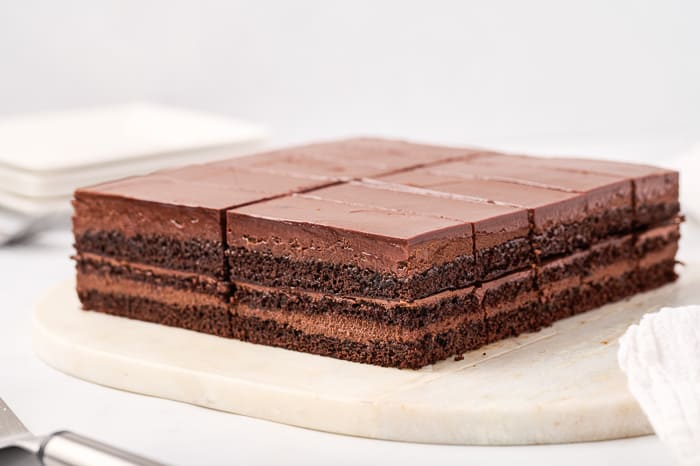
This cake takes time, patience, love, and a lot of bowls, but it is so highly worth every second!
You don’t need any fancy decorations or toppings because this cake is exquisite just how it is. I love enjoying a slice of this Dark Chocolate Mocha Mousse Cake with a glass of red wine or strong coffee. It’s also really good with any type of wine or champagne because the sweet or Bitter flavors offset the richness in your wine. So don’t rush through your piece, but rather savor each bite and taste every layer of the chocolatey goodness.
If you like more decadent recipes like this one, you must try the Hazlenut Macarons with Chocolate Chambord Ganache, Coffee Chocolate Mousse, or Pumpkin Cheesecake Mousse.
What do you think of the Dark Chocolate Mocha Mousse Cake? Let me know in the comment section below. I love hearing how these recipes turn out for you and how you share them with friends and family.
As always, if you share your beautiful creation across social media, make sure you tag #aclassictwist so I can see these recipes come to life in your very own kitchen.
Until next time, Happy Baking friends :-).
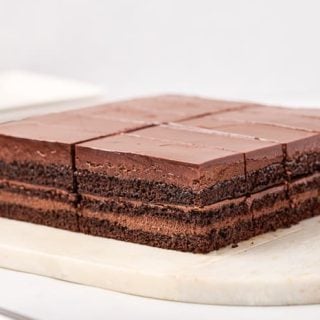
Dark Chocolate Mocha Mousse Cake
A decadent dark chocolate mocha mousse cake
Ingredients
For the Cake:
- ½ cup unsweetened dutch-process cocoa powder
- 1 tablespoon instant espresso powder
- ¾ cup whole milk
- 6 tablespoons unsalted butter
- ¾ cup all-purpose flour
- ¼ teaspoon baking powder
- ¼ teaspoon baking soda
- ¼ teaspoon salt
- 2 large eggs
- ¾ cup granulated sugar
- 1/3 cup chocolate liqueur (optional)
For the Ganache and Mousse:
- 2 cups heavy cream, divided
- 8 ounces bittersweet chocolate, chopped, divided
- 5 tablespoons unsalted butter, divided
- ¼ cup unsweetened dutch-process cocoa powder
- ¾ teaspoon powdered gelatin
- 1/3 cup granulated sugar
- 1 tablespoon instant espresso powder
Instructions
For the Cake:
- Preheat oven to 350 degrees F. Grease an 8-inch square cake. Line with parchment and lightly grease the parchment.
- In a medium bowl, combine the cocoa powder and espresso powder.
- In a small saucepan set over medium-low heat, heat the milk and butter until the butter melts, and milk is steaming. Do not boil.
- Whisk the hot milk mixture into the cocoa + espresso powder. Let cool to room temperature.
- Whisk together the flour, baking powder, baking soda, and salt in another bowl.
- Beat the eggs and sugar with an electric mixer on medium-high speed until pale, thick, and pillowy in a large bowl. Beat an additional 30 – 45 seconds to stabilize the egg foam.
- Reduce the mixer speed to low and add in the cocoa mixture in 2 additions, alternating with the flour mixture in 2 additions. Beat until the batter is just smooth and no dry flour remains.
- Pour the batter into the prepared cake pan and gently tap against the counter to eliminate air bubbles.
- Bake cake until a toothpick is inserted into the center, about 35 minutes. Let the cake cool for 10 minutes in the pan before turning the cake onto a rack to cool completely. Peel off the parchment paper but let it rest gently on top of the cake while it cools.
For the Ganache:
- In a small saucepan (use the same one you heated the milk in), combine ½ cup of heavy cream, 4 ounces of chocolate, and one tablespoon butter. Gently cook over medium-low heat, stirring until the butter melts and the mixture is smooth. Remove from heat and let cool.
For the Mousse:
- Combine the remaining butter and remaining chocolate in a small microwave-safe bowl. Microwave in 30-second intervals, stirring, until melted and smooth. Whisk in the cocoa powder. Let cool.
- Meanwhile, combine ¼ cup heavy cream and gelatin powder in another small microwave bowl. Let stand until the gelatin absorbs the liquid, about 5 minutes, then microwave until melted, 20 to 30 seconds, stirring. Let cool, stirring occasionally.
- Combine the remaining 1¼ cups of heavy cream, sugar, and espresso powder in a large bowl. Beat with a mixer on medium speed to dissolve the sugar, for about a minute. Stream in the cooled gelatin mixture, then increase the speed to medium-high and beat until thick and stiff peaks form.
- Fold in the cooled chocolate mixture in 2 to 3 batches until the mousse is blended.
To assemble
- Line the square cake pan with parchment, ensuring overhangs (important).
- Carefully slice the cake horizontally into 3 equal layers.
- Lay the first cake in the pan. Brush the top of the cake with the chocolate liqueur, if using. (Tip – use your best cut layer cut-side up in the bottom of the pan)
- Evenly spread half the mousse on top of the cake using an offset spatula. Spread all the way to the edges.
- Top with the second cake layer, brush with liqueur, and then spread half of the ganache evenly on top, all the way to the edge as well.
- Add the final layer of cake, cut side up, and brush with the remaining liqueur. Top with the remaining mousse and then ganache.
- Refrigerate the cake until the top sets, about 30 minutes. Then wrap the whole cake pan with plastic wrap and refrigerate overnight to set completely.
- Lift the cake out of the pan using the parchment pieces and transfer to a cutting board.
- Use a hot, dry serrated knife to slice the cake, wiping the knife between cuts for clean edges.
- Enjoy!
Notes
Recipe from Food Network Magazine
Recommended Products
As an Amazon Associate and member of other affiliate programs, I earn from qualifying purchases.


Serves how many? Thanks for you reply
It yields 1 8×8 square cake, this could serve 8-10 people depending on how you slice it.
Can the flour be substituted for a gluten free variant? Thanks in advance. 🙂
Hello Cait! I haven’t tried it myself but I dont see why not with a quality gluten free flour.
I made this but the cake was high enough to only safely cut into 2 layers and seemed denser than I would expect. I am sure I followed recipe and measurements correctly.
I’d like to try to make this again. Please advise if there’s anything I need to do differently.
So sorry to hear that Naren. It is hard to advise on what to do differently when I am not in your kitchen. However, since this is cake starts with a heavily whipped egg base, I would be careful with not overbeating and deflating the whipped air into the eggs.
I made this for a 60th birthday party. This cake is decadent. My friend was overjoy with it. I personally don’t care for mocha and even I loved it. Took a long time to make with all the instructions but so worth it. It was adeptly described as a labor of love. Thank you for the best cake ever.
So glad to hear that Lisa! It take some time but it is worth it.
This looks restaurant-worthy! Definitely perfect for all of the chocolate lovers in my life.
Yes!! so so good!