

No Bake Chocolate Espresso Pie
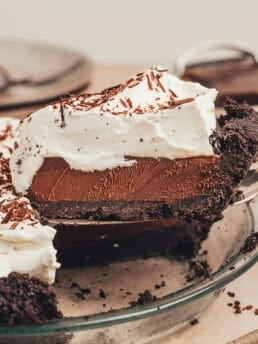
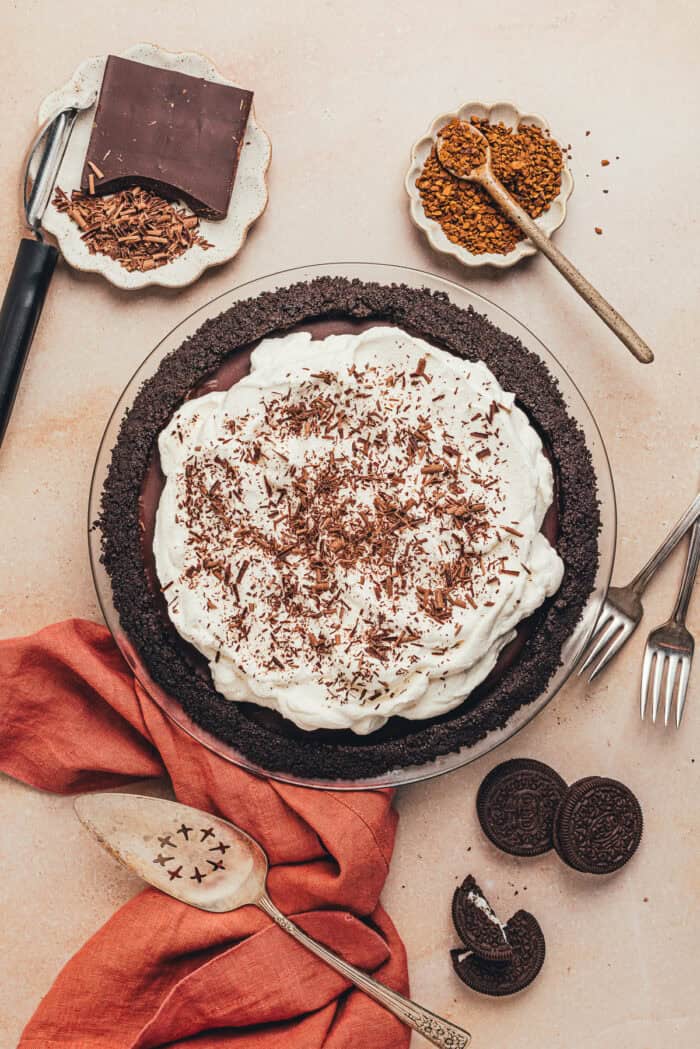
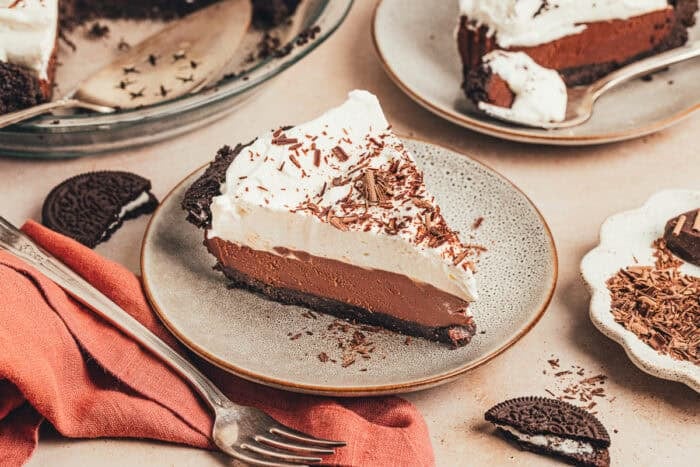
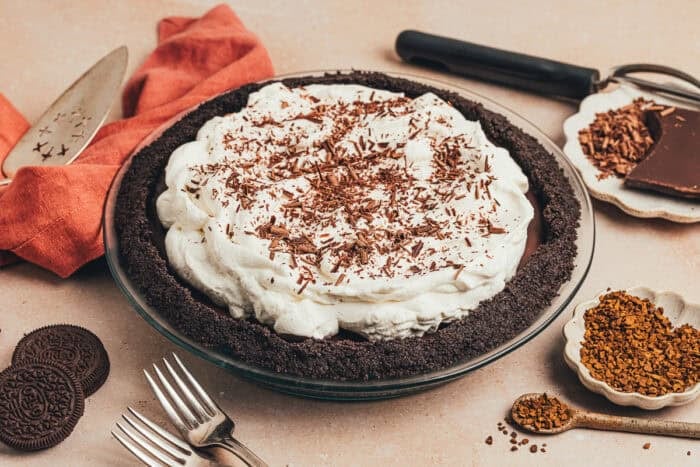
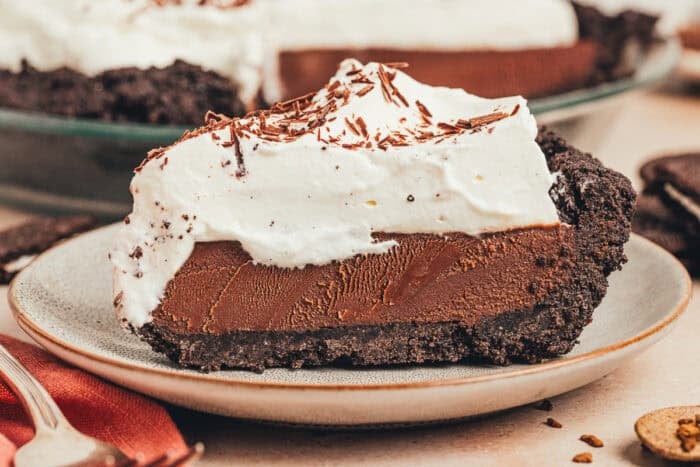
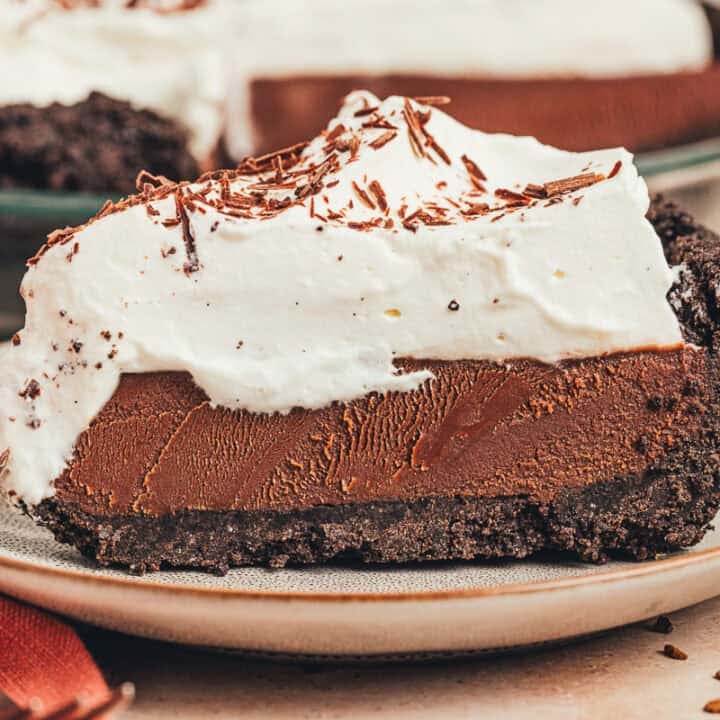
This no-bake chocolate espresso pie is an easy, make-ahead dessert featuring an Oreo cookie crust and a rich chocolate-espresso ganache filling. Packed with deep chocolate flavor and topped with a cloud of whipped cream, this no-bake pie is perfect for gatherings, special occasions, or anytime you’re craving something chocolatey. This decadent dessert is simple to prepare, requires no oven, and will impress any chocolate lover!
Hey there, and welcome back, friends.
You are in for a treat!
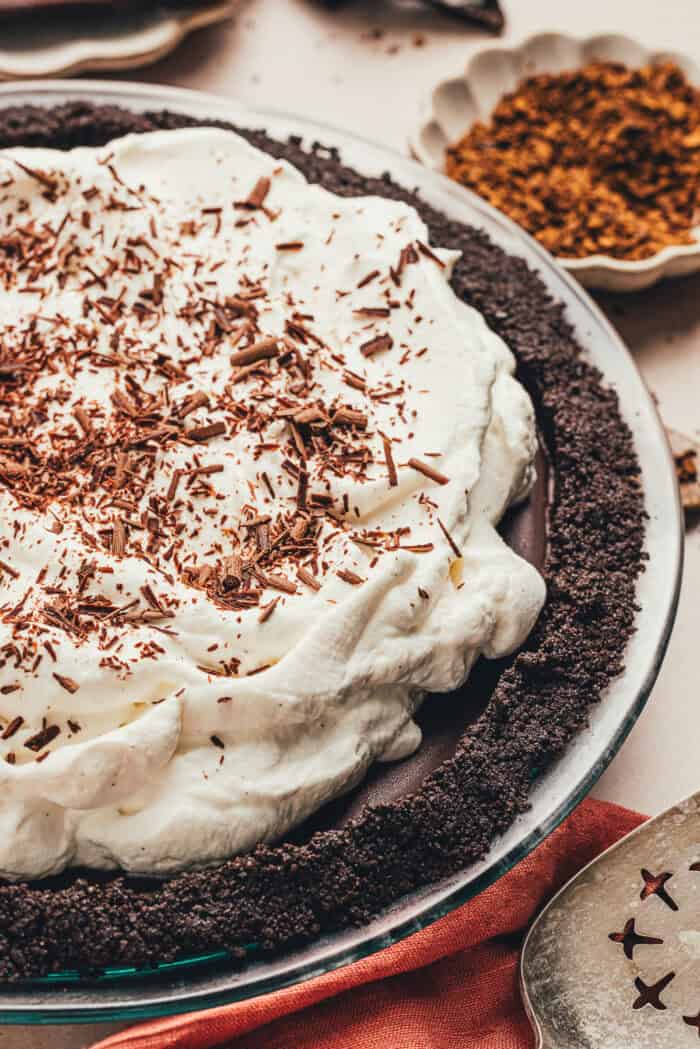
You know how much I love a no-bake dessert!!! I have a ton of no bake desserts on the blog like this No Bake Chocolate Tart, No Bake Oreo Cheesecake, and No Bake Strawberry Cheesecake. This no bake chocolate espresso pie dessert is a chocolate lover’s dream! It’s creamy, rich, and deeply chocolatey.
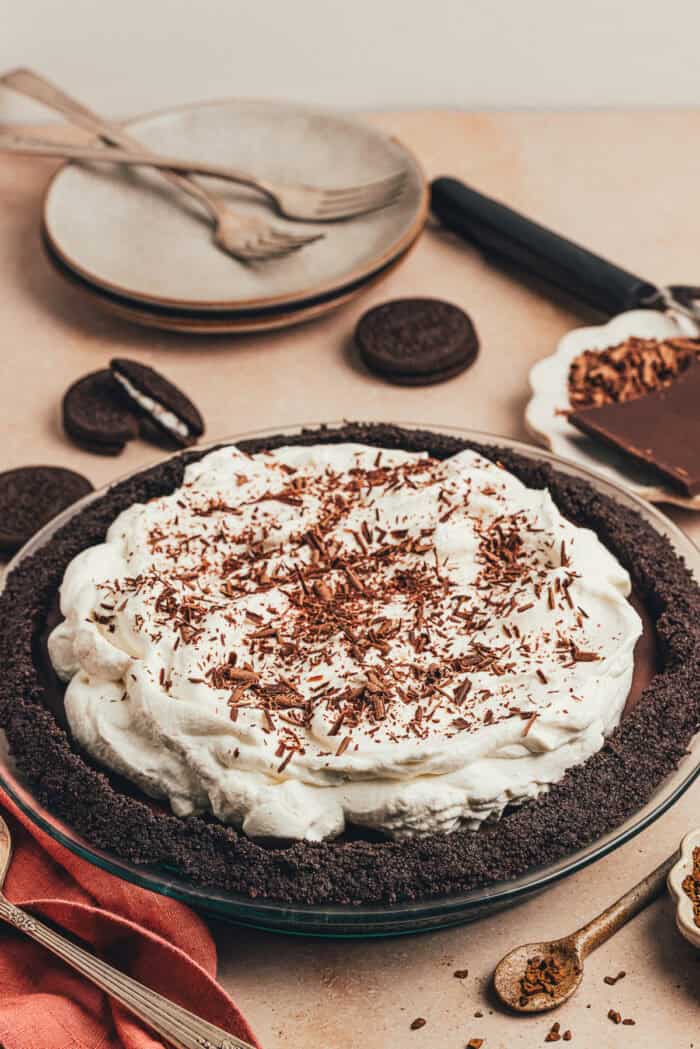
I know summer is coming to an end, but no bake desserts are great to make all year-round and make for any celebration, especially Valentine’s Day.
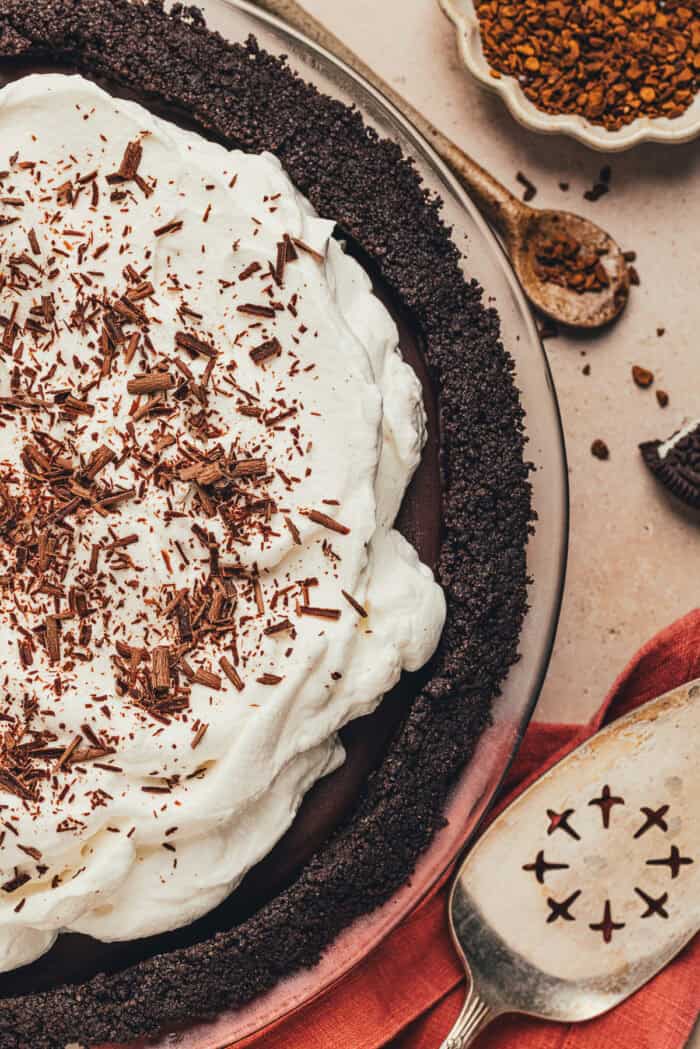
This pie starts with the classic no-bake crust consisting of Oreo cookies. It pairs perfectly with chocolate and always holds its shape.
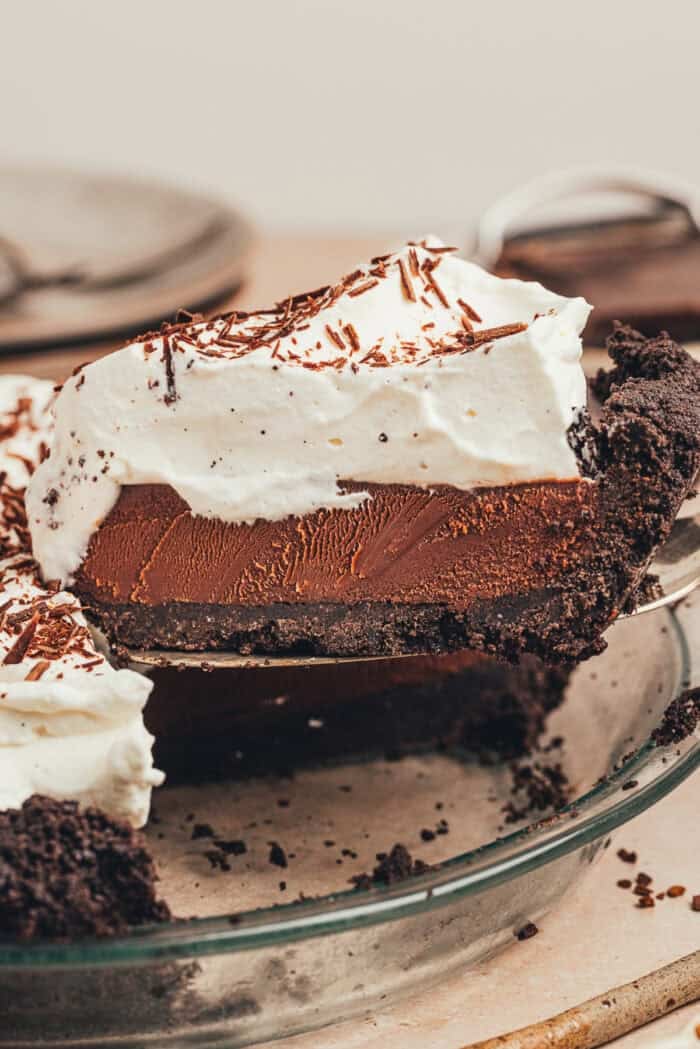
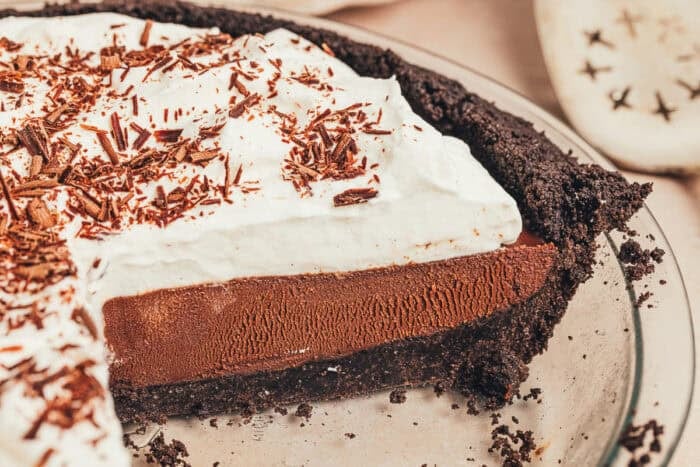
The filling is a silky chocolate ganache that’s smooth and fudgy! I added a touch of espresso to make the chocolate taste even more decadent! If you prefer an even more intense chocolate flavor, you can use a dark chocolate bar in place of a semi-sweet chocolate bar. Just keep in mind that the finished ganache will be less sweet.
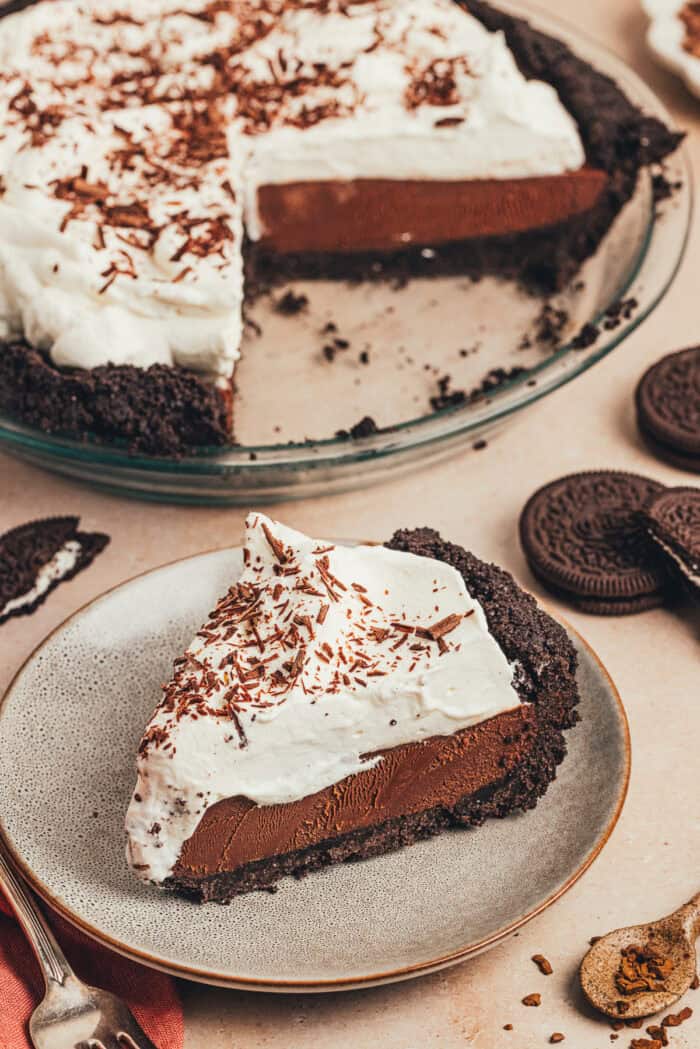
I know it might be tempting to use chocolate chips to make the ganache instead of a chocolate bar, but it will affect the ganache’s texture. Chocolate chips contain stabilizers that help them hold their shape, so they don’t always melt as easily or smoothly as a chocolate bar.
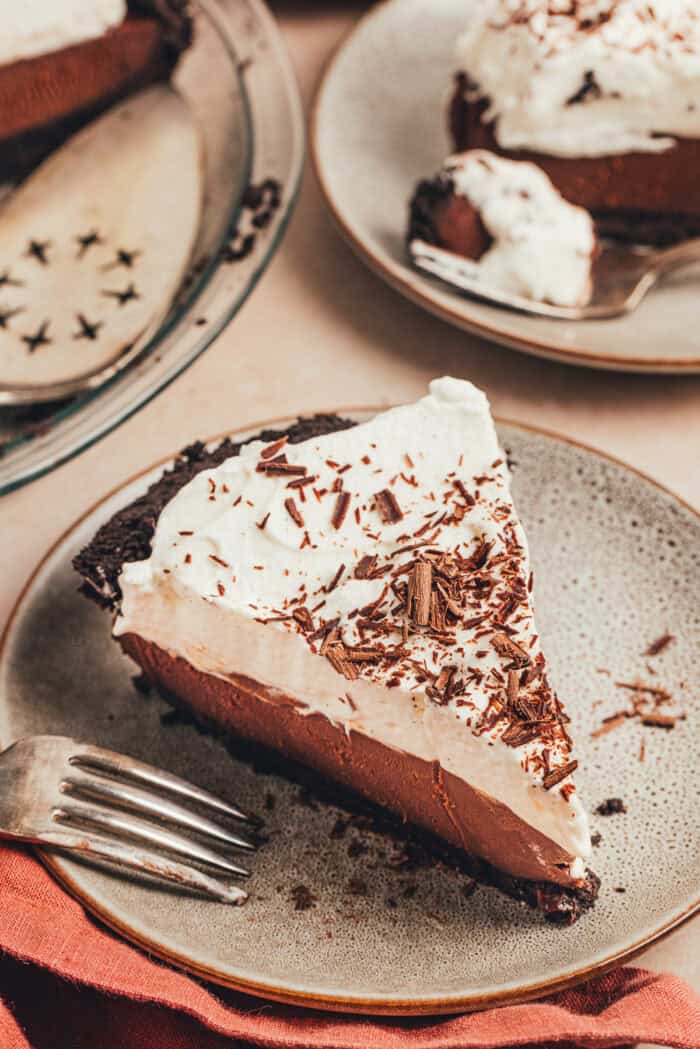
The best part about no-bake desserts, besides not having to bake them, is that you can easily make them ahead. They’re perfect for preparing for a party or taking to an event.
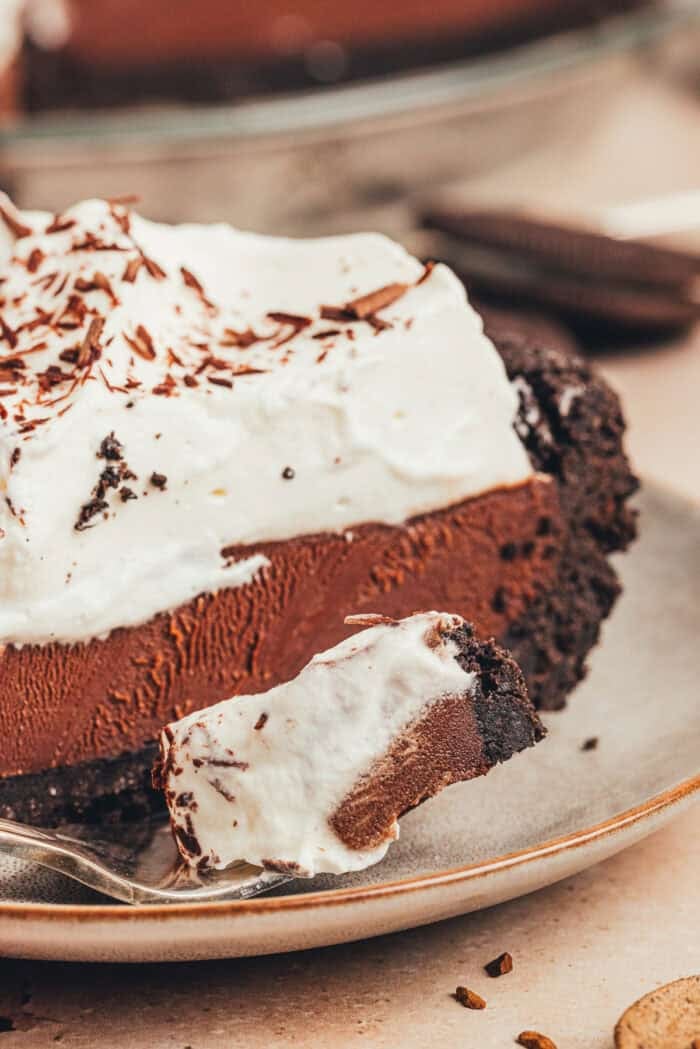
When it’s time to serve, top this no-bake chocolate pie with a big dollop of freshly whipped cream! The whipped cream contrasts perfectly with the rich chocolate.
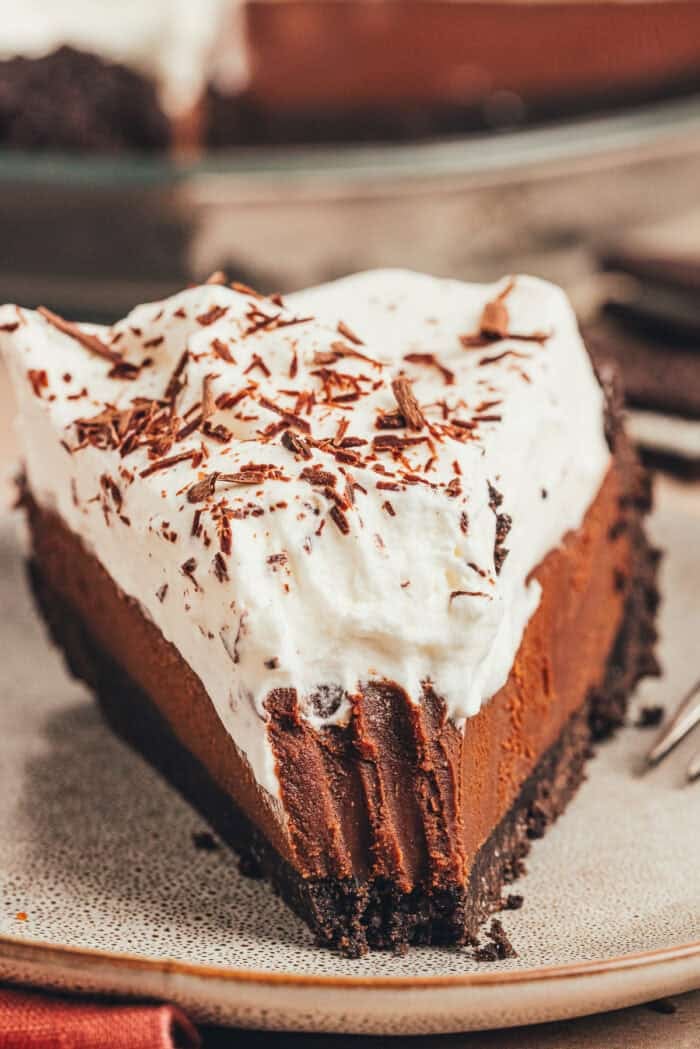
Ingredients
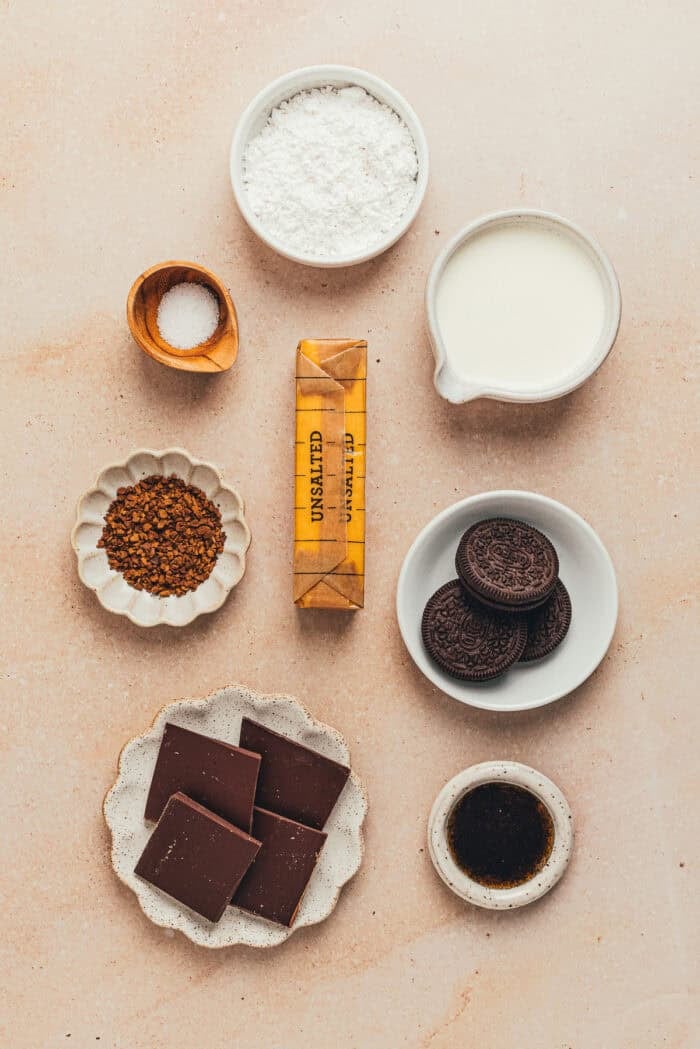
- Oreos cookies
- unsalted butter
- sea salt
- semi-sweet chocolate
- heavy cream
- espresso powder or instant espresso granules
- vanilla bean paste
- powdered sugar
- vanilla bean paste
- chocolate shavings, optional for decorating
How to Make No-Bake Chocolate Espresso Pie
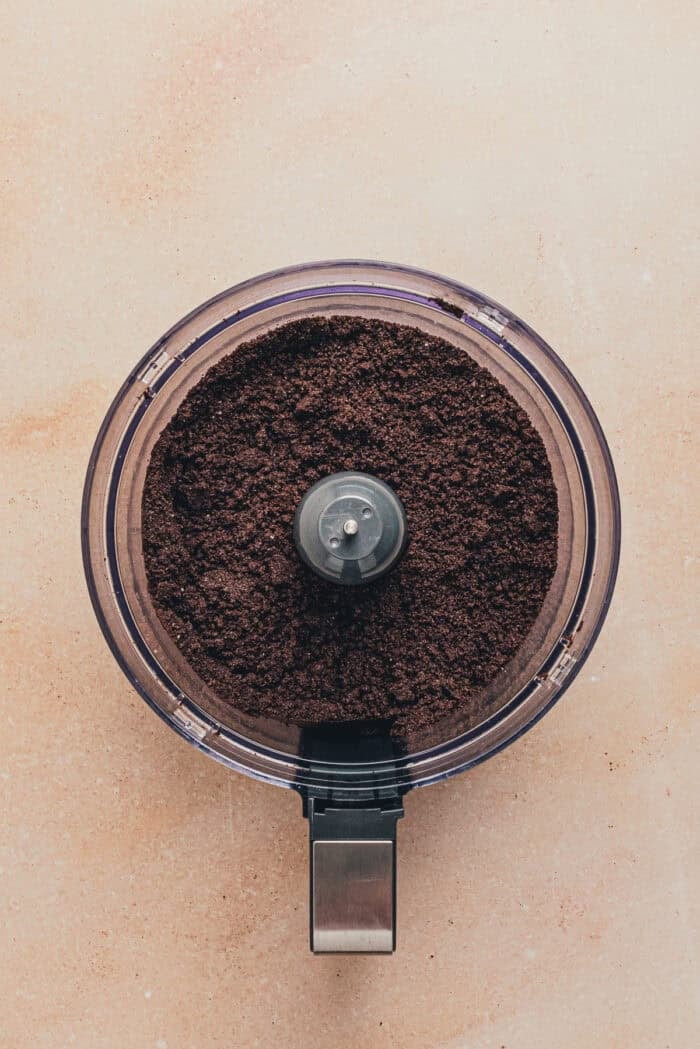
Put all of the Oreos into a food processor whole (both the cookies and the cream filling). Process until they are fine crumbs. Dump the Oreo crumbs into a bowl and add the melted butter and a pinch of salt.
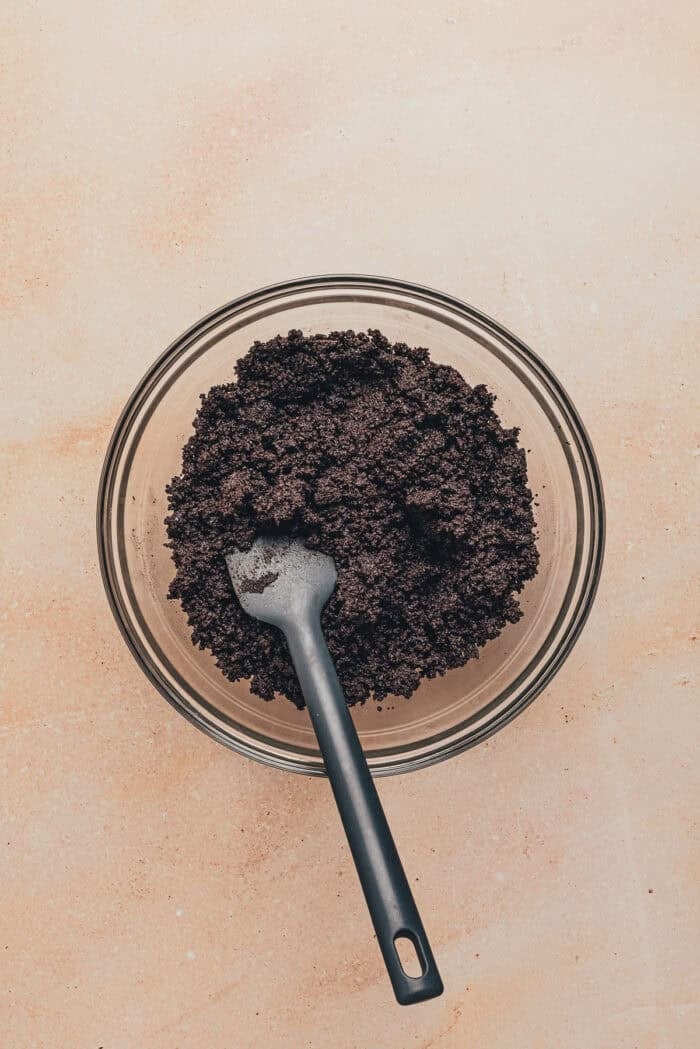
Mix until evenly moistened.
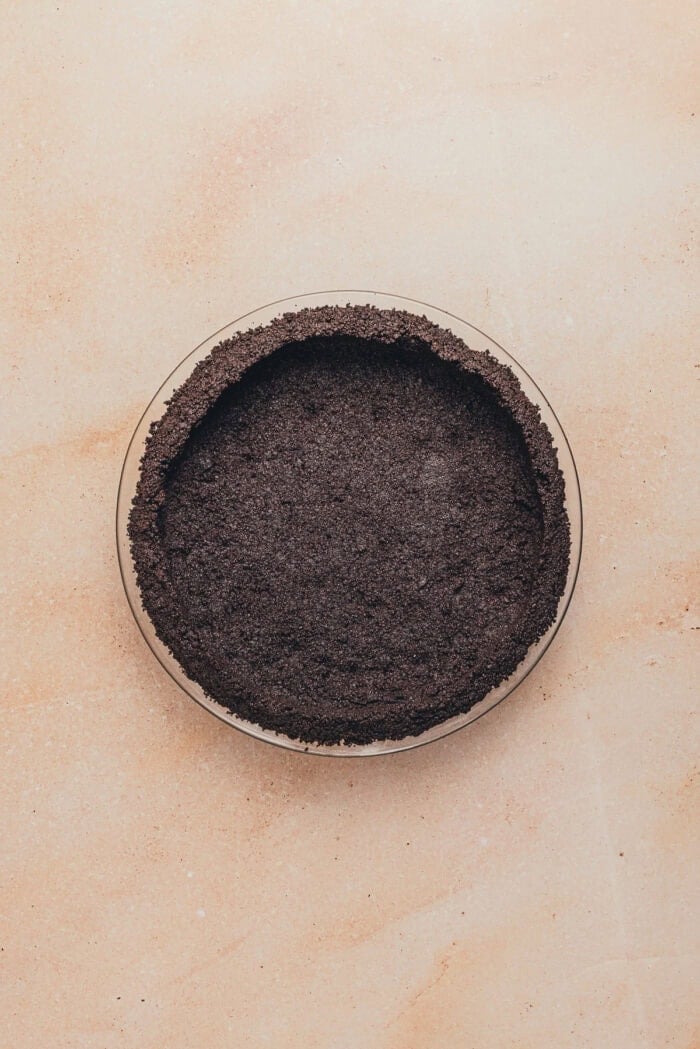
Next, press the crumbs into a standard 9-inch pie plate. There’s no need to grease the bottom. Press the crumbs evenly in the center and up the sides of the pie plate.
Cover loosely with plastic wrap, then place in the freezer to set for at least 20 minutes.
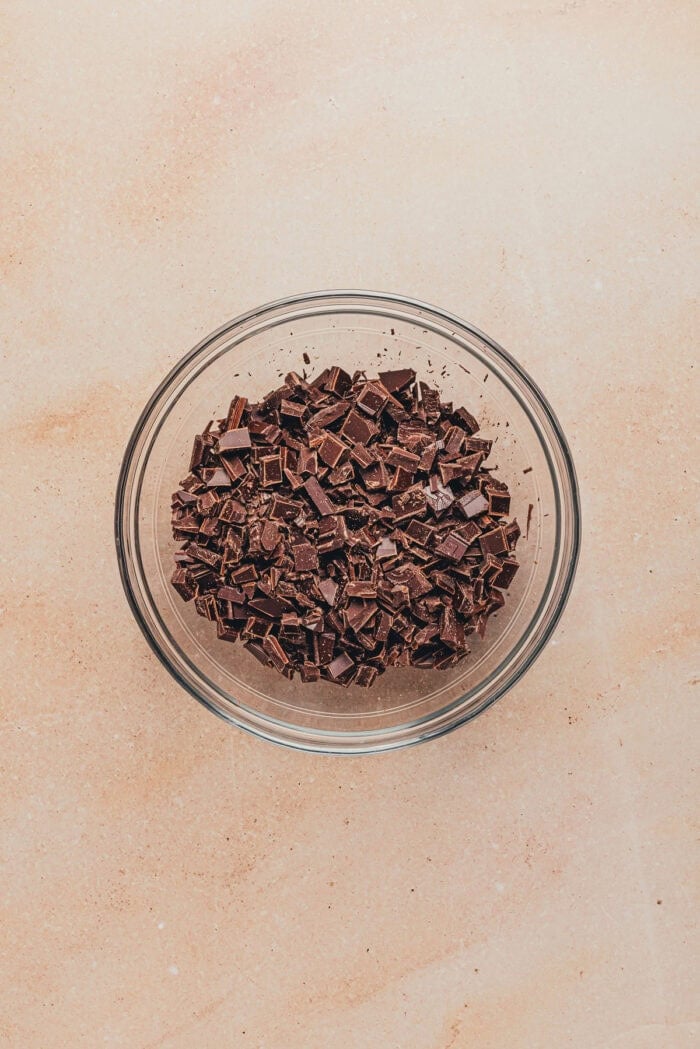
Add the chopped chocolate to a large heat-safe bowl.
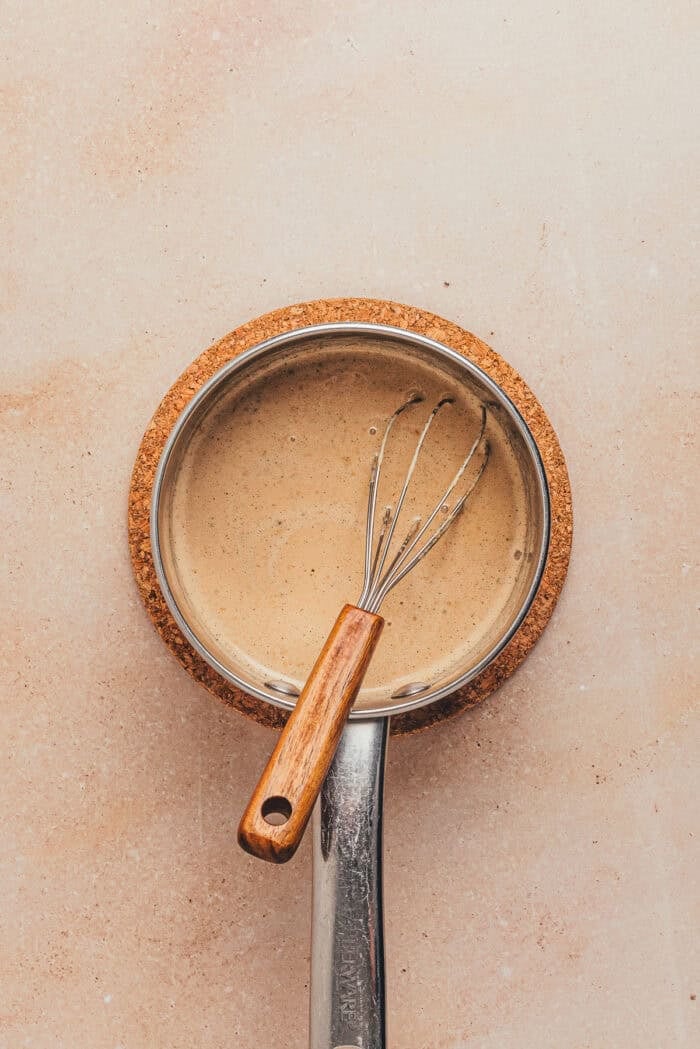
Add the cream to a small pot set over medium heat. Bring the cream to a very low simmer, then remove it from the heat and whisk in the espresso powder and vanilla.
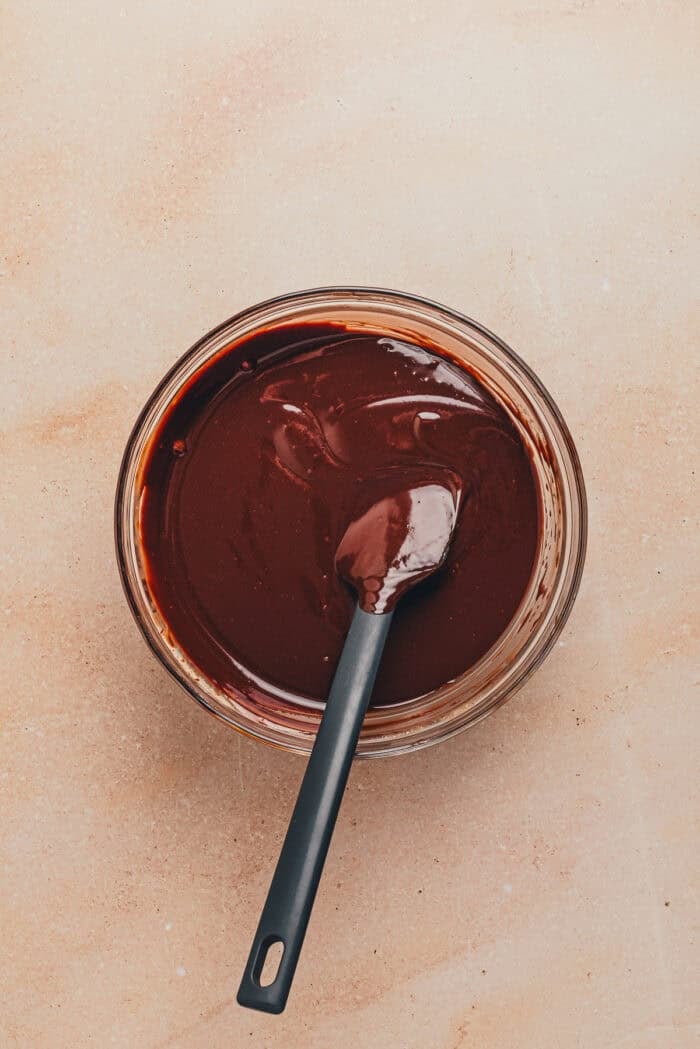
Once the espresso is fully dissolved, pour the hot cream over the chocolate. Mix the chocolate and cream until the chocolate is fully melted.
Add the softened butter and sea salt to the chocolate-and-cream mixture, then mix until the butter is fully melted and the mixture is smooth and glossy.
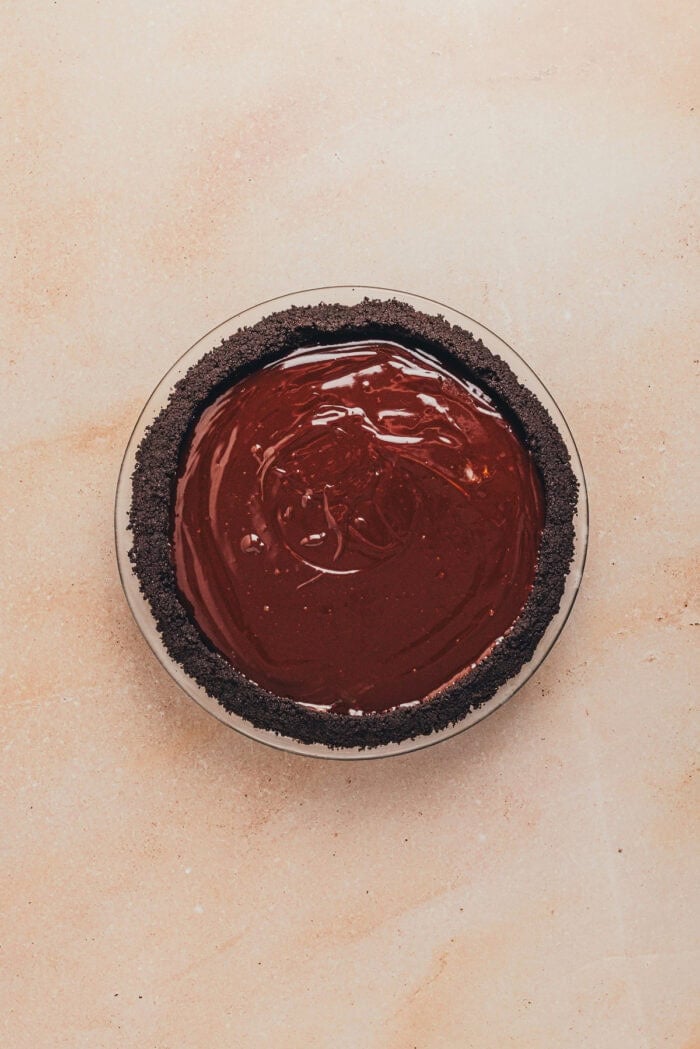
Remove the crust from the freezer. Pour the ganache filling carefully into the crust, then refrigerate the pie for at least 3 hours to set.
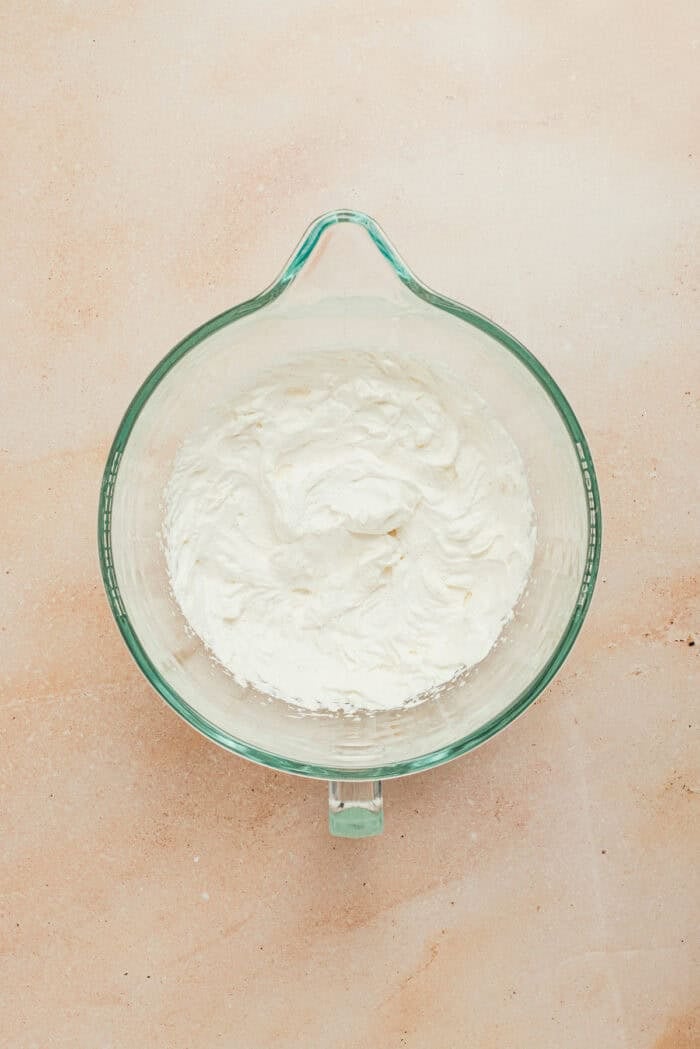
When you’re ready to serve the pie, add the cold heavy cream, powdered sugar, and vanilla to the bowl of a stand mixer.
Beat with the whisk attachment, starting on low, working up to high as the cream gains volume. Beat to stiff peaks.
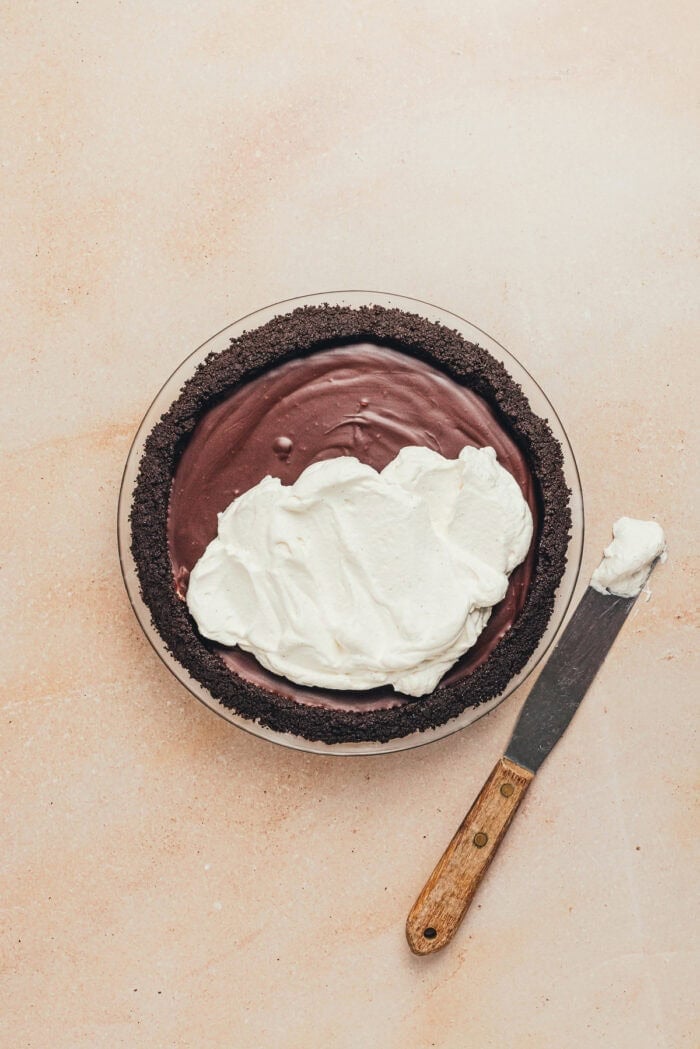
Spoon the whipped cream onto the top of the pie, then spread it out to the edges in an even layer. Top with chocolate shavings if desired, then serve!
How to Store
Store leftovers in the fridge as the ganache will soften at room temperature.
More No Bake Pie Recipes
- No Bake Key Lime Pie
- No Bake Peanut Butter S’mores Pie
- No Bake Oreo Layer Dessert
- No Bake Caramel Pie
- No Bake Peanut Butter Chocolate Pie
What do you think of this amazing no-bake chocolate pie recipe? What would you serve with a slice of this? Let me know in the comment section below.
If you share across social media, make sure to tag #aclassictwist, so I can see your beautiful creation come to life!
Happy baking, friends!
No Bake Chocolate Espresso Pie Recipe
No Bake Chocolate Espresso Pie
This no bake chocolate espresso pie is an easy, make-ahead-friendly dessert featuring an Oreo cookie crust and rich chocolate espresso ganache filling.
Ingredients
For the crust:
- One 13.29-ounce package Oreos (about 33 Oreos)
- 6 tablespoons unsalted butter, melted
- 1 pinch sea salt
For the ganache filling:
- 12 ounces semi-sweet chocolate, chopped
- 1 ¼ cups heavy cream
- 1 heaped tablespoon espresso powder, or instant espresso granules
- 2 teaspoons vanilla bean paste
- 3 tablespoons unsalted butter, softened to room temperature
- 1 pinch sea salt
For assembly:
- 1 ½ cups heavy cream, cold
- ¼ cup powdered sugar, sifted
- 1 teaspoon vanilla bean paste
- Chocolate shavings, optional for decorating
Instructions
- Put all of the Oreos into a food processor whole (both the cookies and the cream filling). Process until they are fine crumbs. Dump the Oreo crumbs into a bowl and add the melted butter and a pinch of salt. Mix until evenly moistened, then press into a standard 9-inch pie plate. There’s no need to grease the bottom. Press the crumbs evenly in the center and up the sides of the pie plate. Cover loosely with plastic wrap, then place in the freezer to set for at least 20 minutes.
- Add the chopped chocolate to a large heat-safe bowl. Add the cream to a small pot set over medium heat. Bring the cream to a very low simmer, then remove it from the heat and whisk in the espresso powder and vanilla. Once the espresso is fully dissolved, pour the hot cream over the chocolate. Mix the chocolate and cream together until the chocolate is fully melted.
- Add the softened butter and sea salt to the chocolate and cream mixture and mix until the butter is fully melted and the mixture looks smooth and glossy.
- Remove the crust from the freezer. Pour the ganache filling carefully into the crust, then place the pie in the fridge to set for a minimum of 3 hours.
- When you’re ready to serve the pie, add the cold heavy cream, powdered sugar, and vanilla to the bowl of a stand mixer. Beat with the whisk attachment, starting on low, working up to high as the cream gains volume. Beat to stiff peaks.
- Spoon the whipped cream onto the top of the pie, then spread it out to the edges in an even layer. Top with chocolate shavings if desired, then serve!
Notes
- Store leftovers in the fridge as the ganache will soften at room temperature.
- This pie is quite rich so keep that in mind when slicing it! I tend to go for 10 smaller slices rather than the standard 8.
- It’s easier to cut neat slices while the pie is cold straight from the fridge, as it prevents the crust from crumbling as much. The longer it’s at room temperature, the more crumbly the crust will become.
- This recipe is formulated to work in a standard 9-inch pie plate (metal, glass, or ceramic). It is also formulated to use the entire package of Oreos for the crust to keep things easy. If you are using a deep-dish pie plate, you will need to make slightly more of the ganache filling. During testing, 16 ounces of semi-sweet chocolate, 1 ⅔ cups of heavy cream, and 4 tablespoons of butter yielded enough for a deep-dish pie plate. The amounts for the crust can remain the same, as you’ll just have a slightly thinner crust with a deep-dish pie plate.
- In order to make sure the crust is evenly distributed, I like to loosely spread it across the bottom of the pie plate then up the sides before I press it in. The easiest way to press it into the sides is to use one hand flat on the rim of the plate to keep the crust from spilling up and over while you use your other hand to press it against the sides. You can also use the bottom and sides of a measuring cup to help press the crust in.
- Since there is butter in the crust, there is no need to grease the pie plate as the pie is being chilled rather than baked. During testing, greasing the pie plate actually made it slightly more difficult to remove slices when the pie was sliced straight out of the fridge.
- In order for the ganache to mix together easily once the hot cream is added, make sure to chop the chocolate into smaller pieces. I recommend mixing the heavy cream into the chocolate with a spoon or spoonula rather than a whisk as the goal is not to incorporate any air into the mixture.
- Make sure to use room temperature butter in the ganache filling as it will melt and incorporate much easier.
- If you use salted butter, you can omit the pinch of sea salt in the crust and in the filling.
- For a more stabilized whipped cream option that also saves some prep time, use a tub of your favorite whipped topping.
- In order to make the chocolate shavings, use a vegetable peeler and run it along the edge of a chocolate bar.
- If you’d like a more pronounced espresso flavor, use 2 tablespoons of espresso powder or granules. You can also add ½ to 1 tablespoon to the cream before you whip it.
Recipe Tips and Testing Notes
FAQs
Can I use bars of dark chocolate instead of semi-sweet chocolate? Yes, you can use dark chocolate if you want a richer chocolate flavor. The ganache will be less sweet than with semi-sweet chocolate.
Can I use chocolate chips instead of a chocolate bar? No, I do not recommend using chocolate chips instead of a bar as they will not melt as easily for the ganache filling.
Can I use a pre-made Oreo crust? Yes, you can use a pre-made Oreo crust to save some steps and prep time. Pre-made crusts are typically a bit smaller than a standard 9-inch pie plate, so you might have a little extra ganache that does not fit in the crust. You can pour any extra into a small ramekin and chill it. Serve it with whipped cream for a crustless version of the pie!
Recommended Products
As an Amazon Associate and member of other affiliate programs, I earn from qualifying purchases.

Nutrition Information:
Yield:
10Serving Size:
1Amount Per Serving: Calories: 327Total Fat: 23gSaturated Fat: 14gUnsaturated Fat: 8gCholesterol: 42mgSodium: 147mgCarbohydrates: 27gFiber: 1gSugar: 24gProtein: 3g