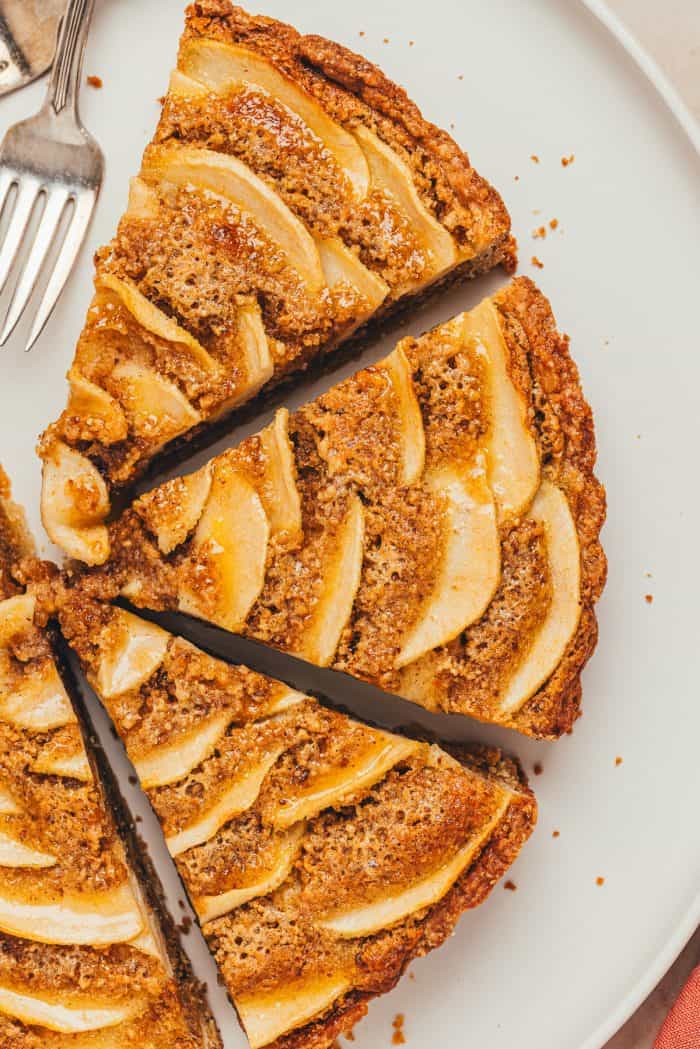
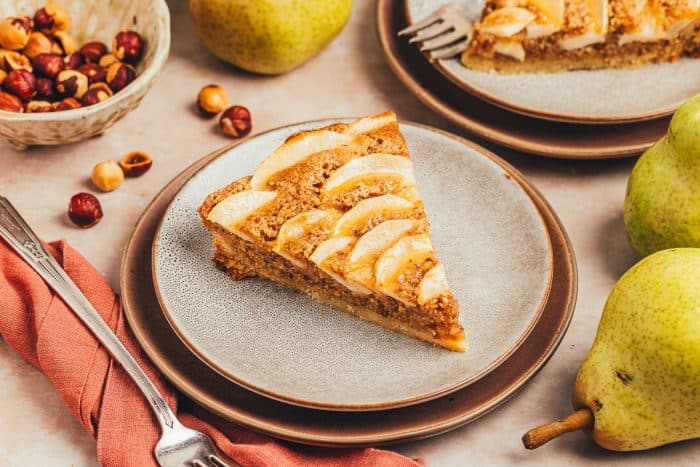
Hazelnut Frangipane Pear Tart
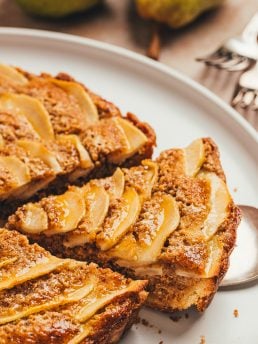
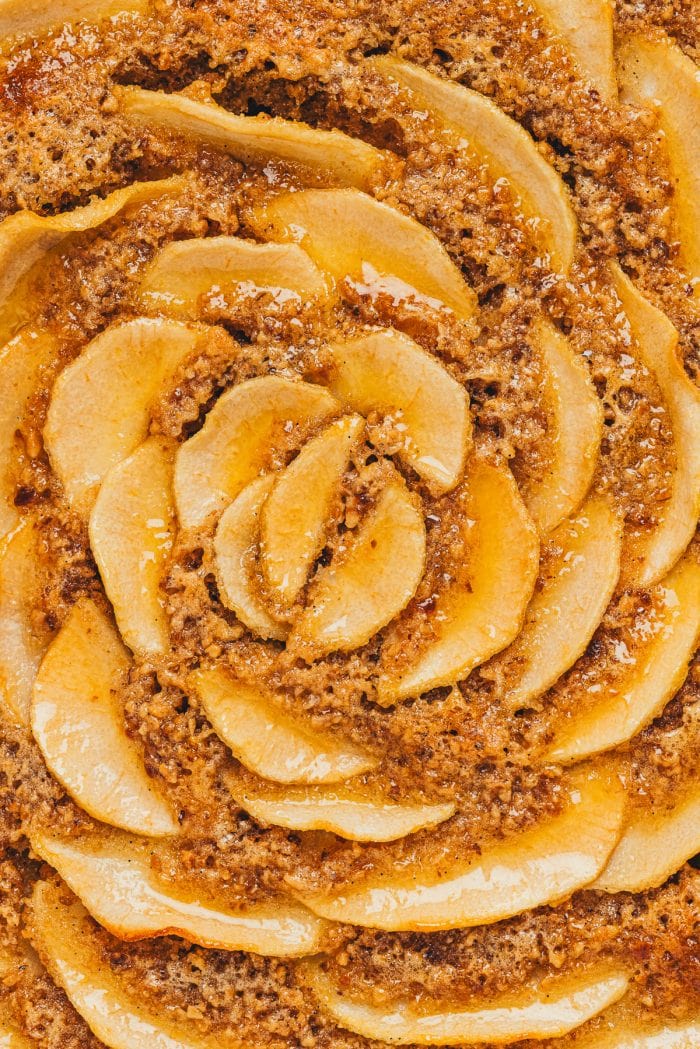
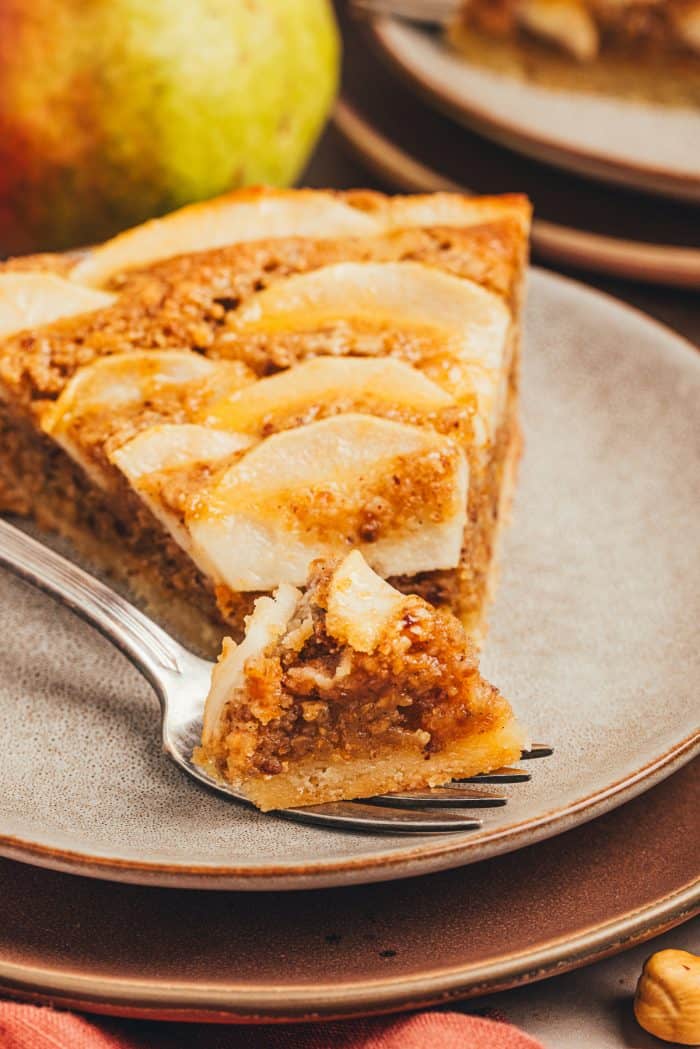
This hazelnut frangipane pear tart is a showstopping pastry perfect for holidays and special gatherings! A rich, buttery tart shell is filled with a nutty hazelnut frangipane, then topped with a mosaic of thinly sliced pears. The baked tart is finished with an easy apricot glaze to give the pears shine and the tart a refined appearance. Each decadent bite is filled with a combination of crisp crust, rich hazelnut, and sweet pears.
You are in for a sweet Fall treat!
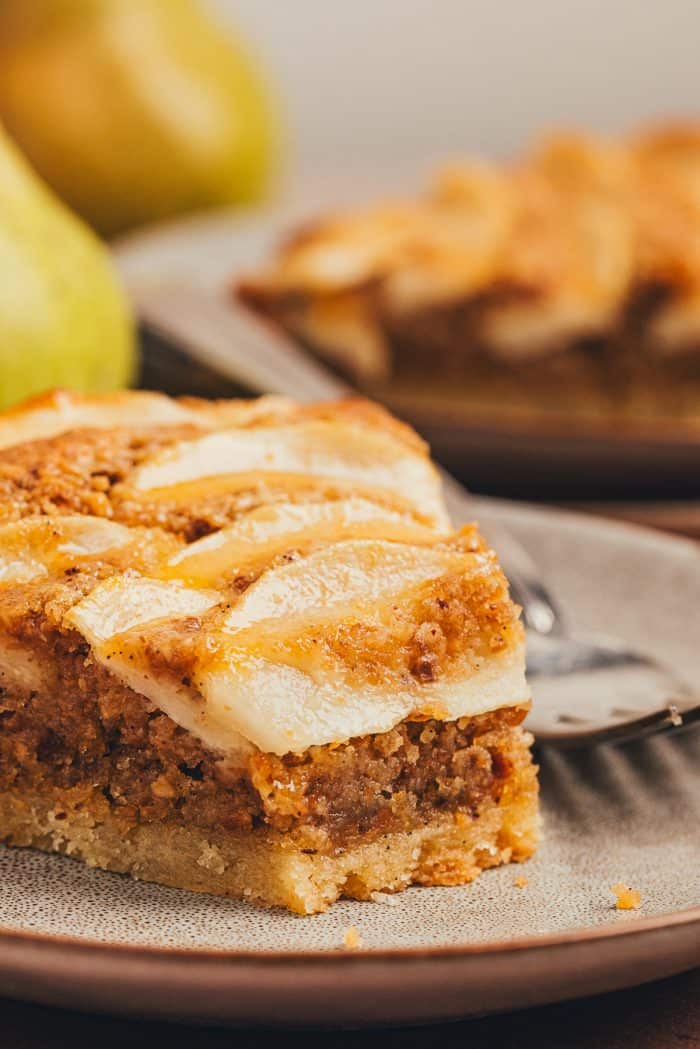
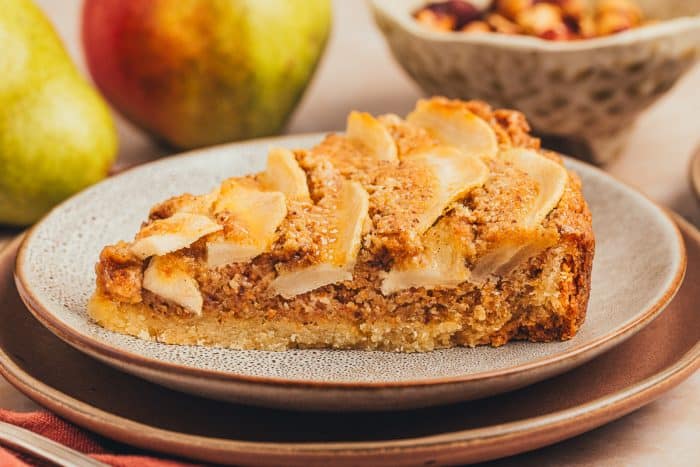
This isn’t a regular pear tart; this tart uses roasted hazelnuts instead of almonds to make the frangipane, so you end up with a sweet hazelnut filling surrounded by tender sliced pears. The frangipane is made with ground roasted hazelnuts, sugar, eggs, butter, and vanilla bean paste, creating a rich filling.
Hazelnuts and pears sound magical and perfect for Fall! What do you think?
Roasted hazelnuts make all the difference for this recipe. Using roasted hazelnuts adds a much deeper flavor to the frangipane. I highly recommend using roasted hazelnuts rather than raw ones for the best results (instructions for roasting can be found down in the recipe notes).
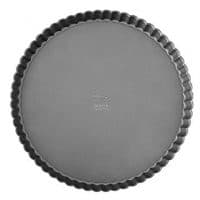
If you have never made a tart before, I recommend using a pan that is specifically designed for tarts and has a removable bottom. A tart pan with a removable bottom will make slicing and serving easier.
If your tart pan does not have a removable bottom, you can slice and serve directly from the pan. I do not recommend using a 9-inch pie dish as it is deeper than a tart pan and will throw off the proportions.
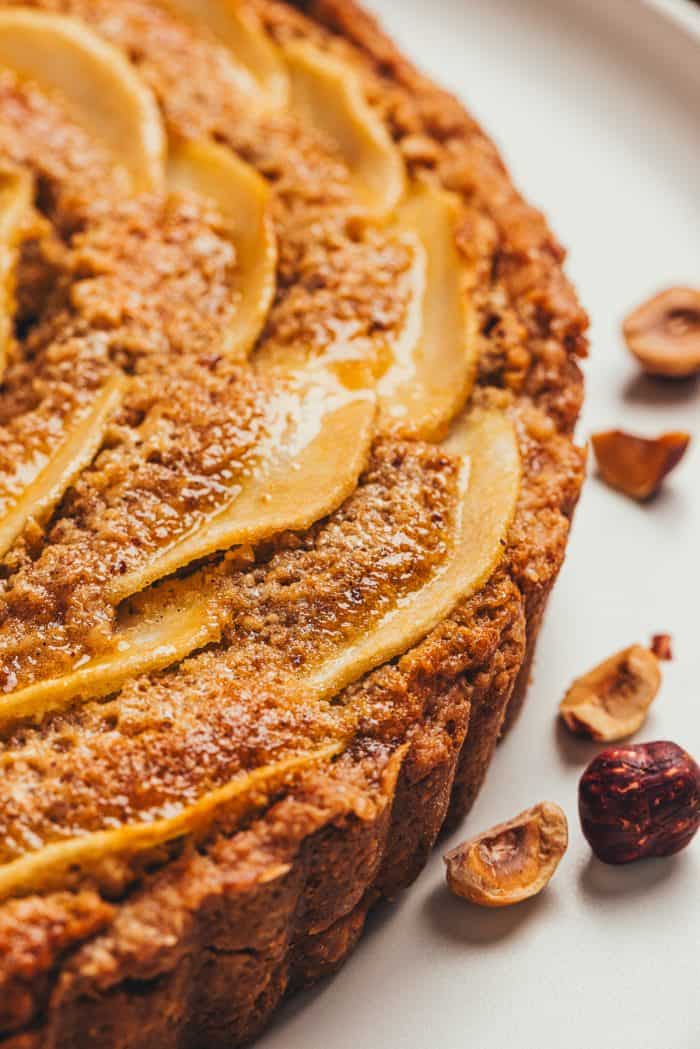
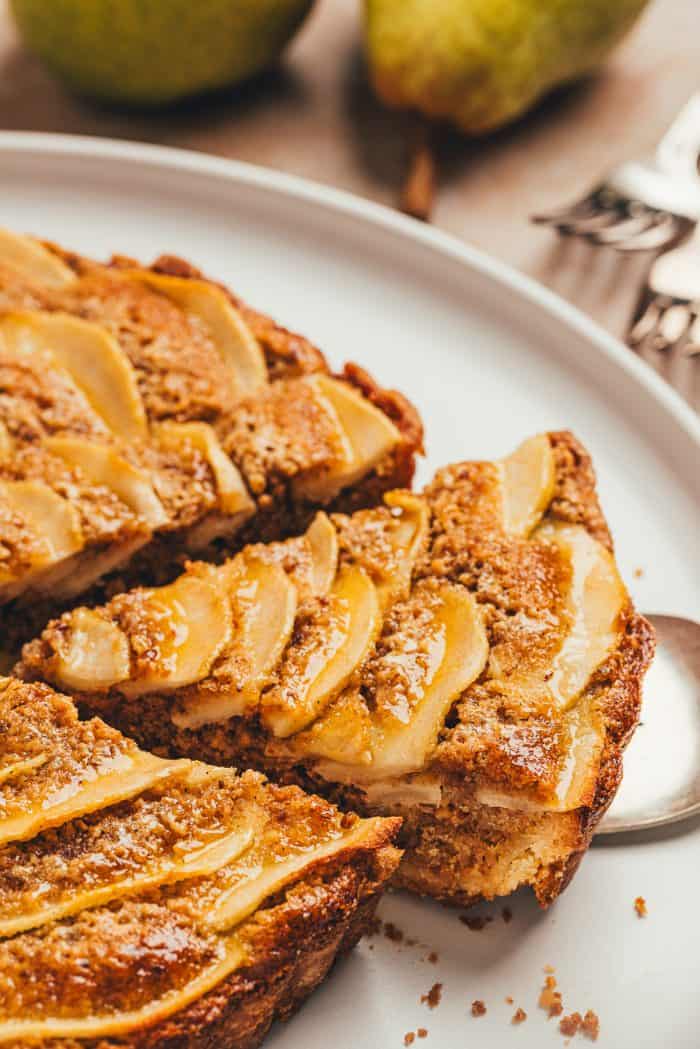
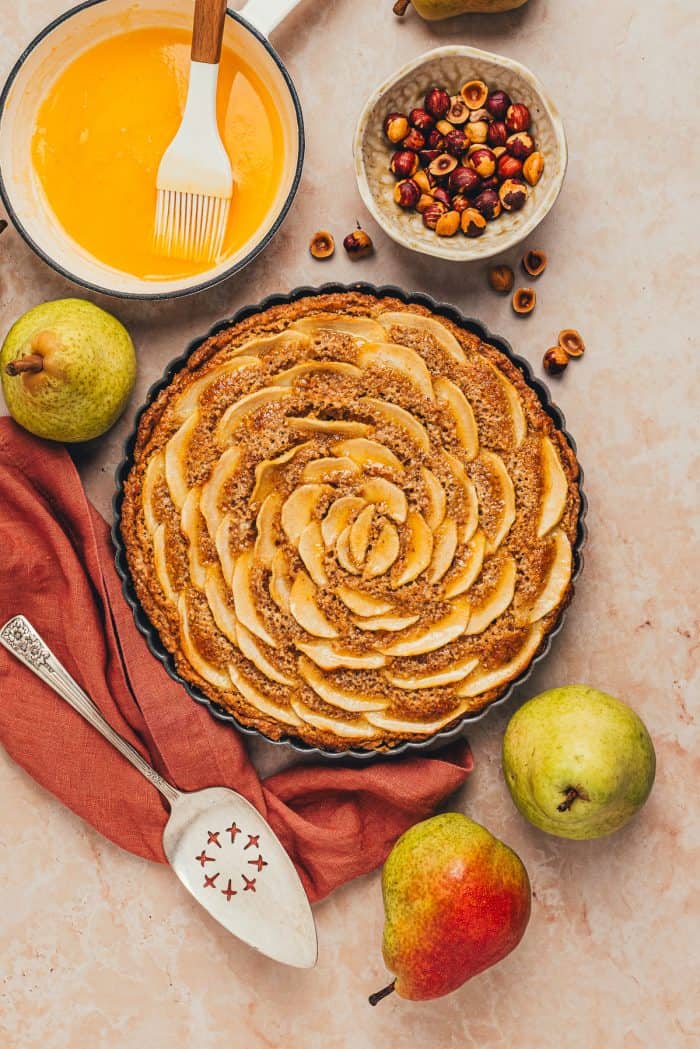
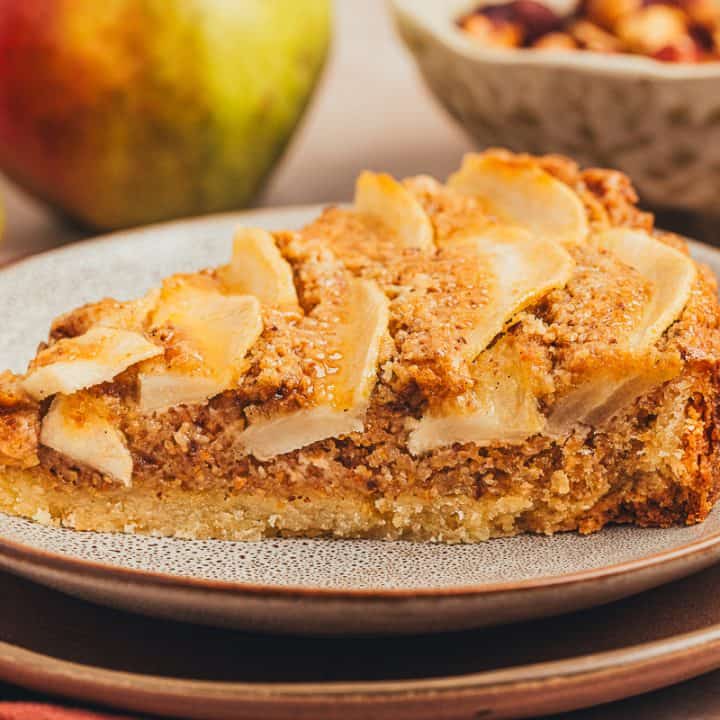
I might have added a twist to the frangipane by using roasted hazelnuts, but I finished this pear tart using a classic apricot glaze to tie everything together. The apricot glaze gives the pears a shiny texture and the tart a more bakery-style appearance. You can skip the glaze if you prefer and give the cooled tart a dusting of powdered sugar before slicing and serving.
This hazelnut frangipane pear tart is a celebration of Fall flavors. I hope you enjoy baking it for your family and friends this Fall.
Ingredients
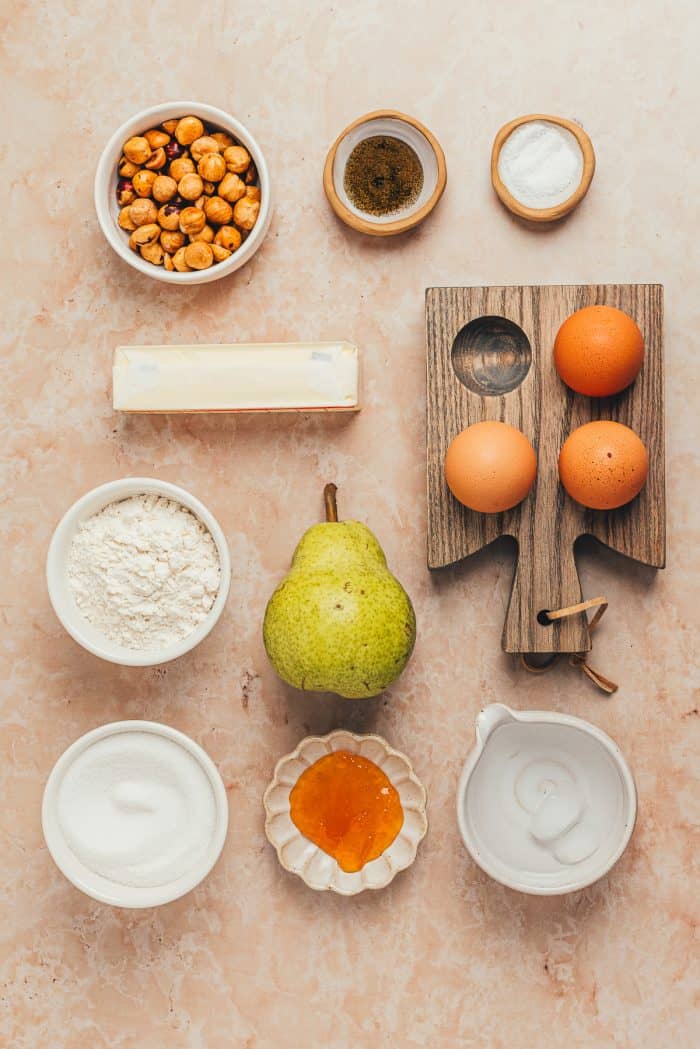
- all-purpose flour
- sea salt
- granulated sugar
- unsalted butter
- a few eggs
- some vanilla bean paste
- ice water
- whole roasted hazelnuts
- firm but ripe pears (Bartlett, Bosc, or Anjou)
- some apricot jam
How to Make a Hazelnut Frangipane Pear Tart
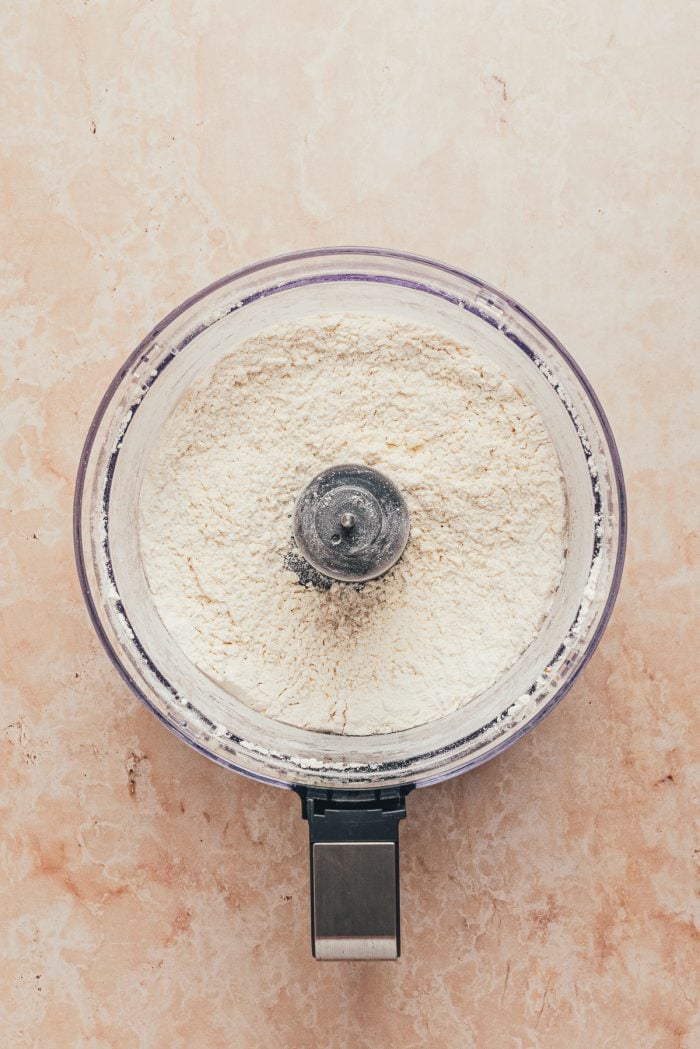
Make the tart dough first. Add the flour, salt, and sugar to a food processor. Pulse a few times to combine. Add the cold diced butter and pulse several times until the butter has broken down into smaller pieces and looks like coarse breadcrumbs.
Whisk together the egg yolk, vanilla bean paste, and some ice water in a small bowl. Drizzle over the top of the flour and butter mixture.
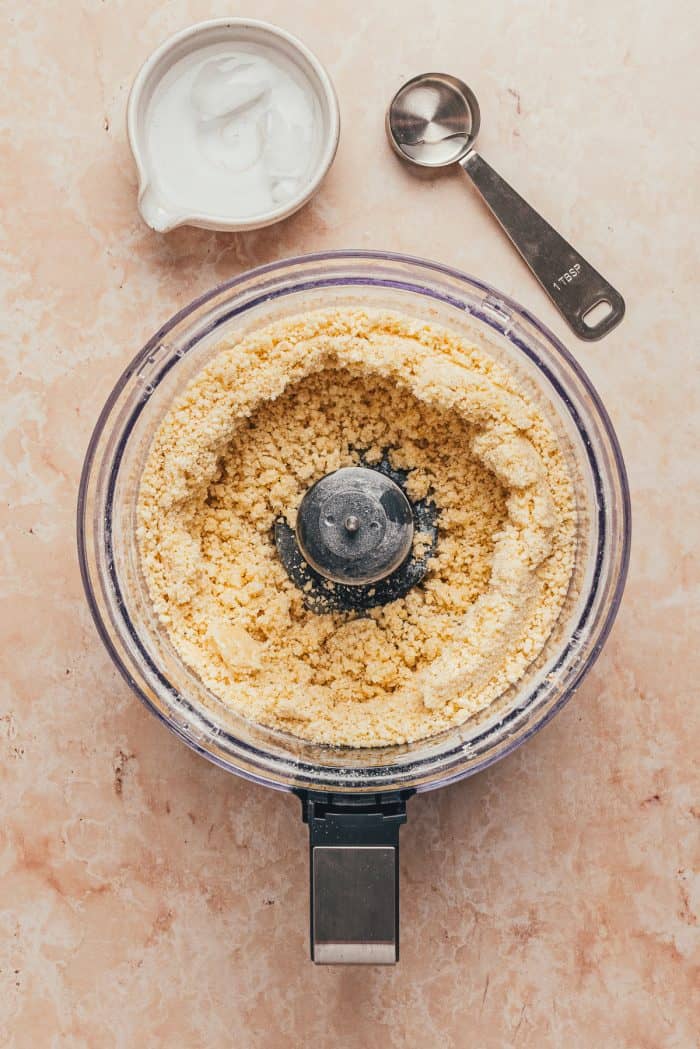
Pulse several more times until the dough starts to climb up the sides of the food processor (it won’t form a ball like pie dough). The dough will look crumbly but should hold together when pinched. If it still seems too dry, add more ice water a teaspoon at a time until the dough holds together when pinched.
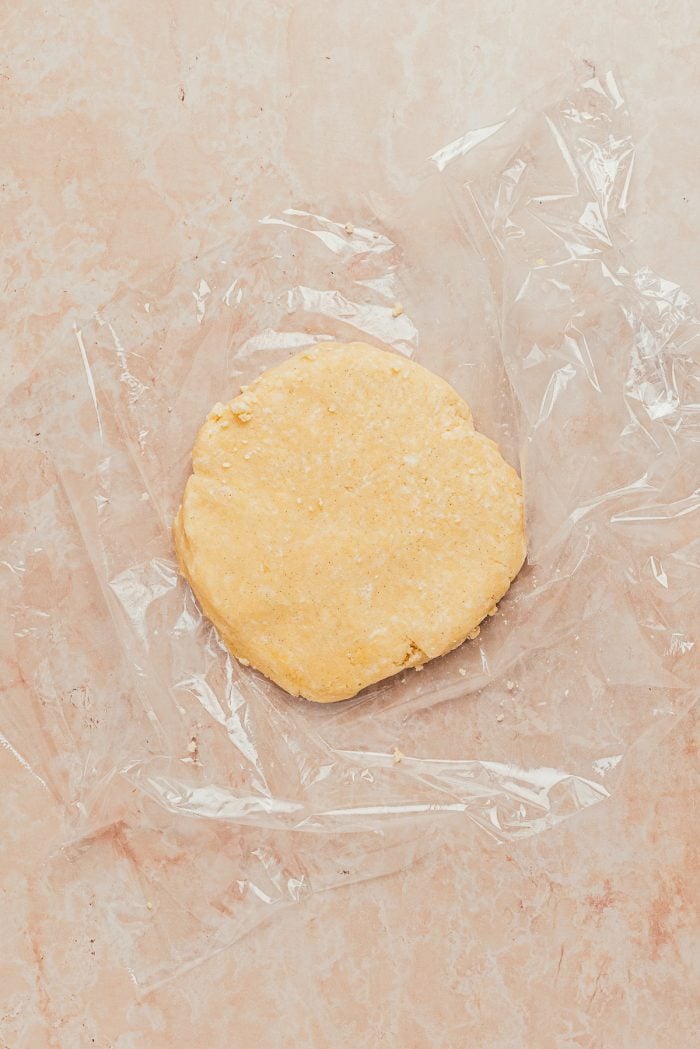
Dump the dough out onto a piece of plastic wrap and knead it a couple of times to bring it into a ball. Flatten into a disc that is about an inch thick, then wrap it up and place it in the fridge to chill for just under an hour.
Lightly grease the bottoms and sides of a tart pan with a removable bottom. Dust a large sheet of parchment paper lightly with flour.

Place the chilled dough in the center and lightly dust the top of it with flour. Roll into a rough circle that is about ⅛-inch thick and 11 inches wide.
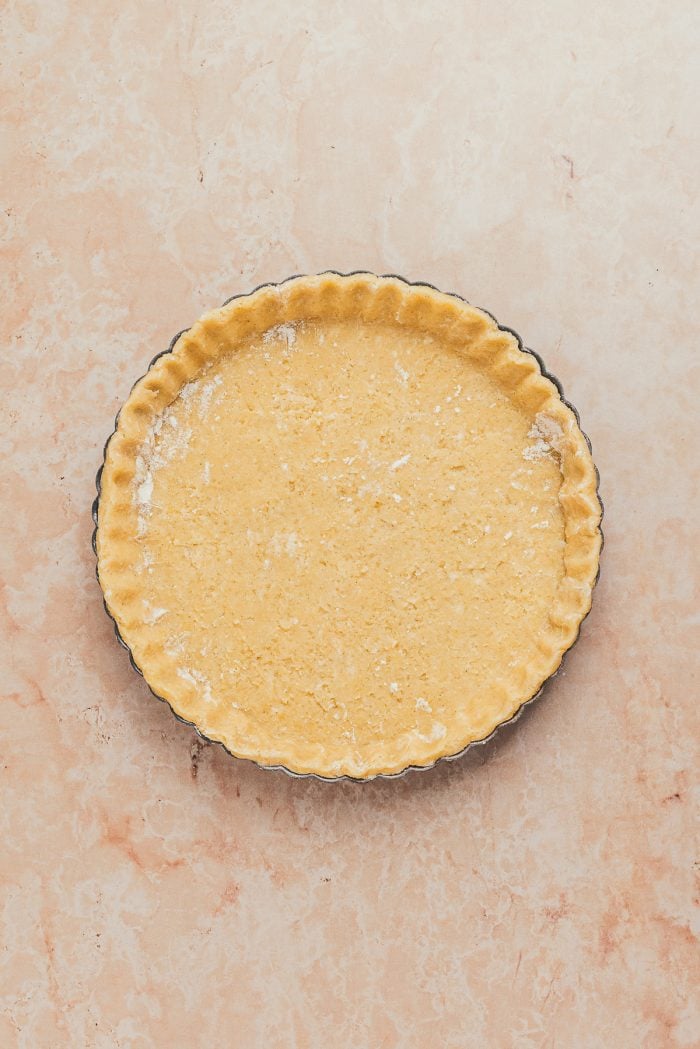
Gather the sides of the parchment, then carefully invert the dough onto the greased tart pan. Gently press the dough to fit into the pan, tucking any overhanging sides under. Working around the entire perimeter of the pan, press the dough to fit the fluted (or unfluted) sides.
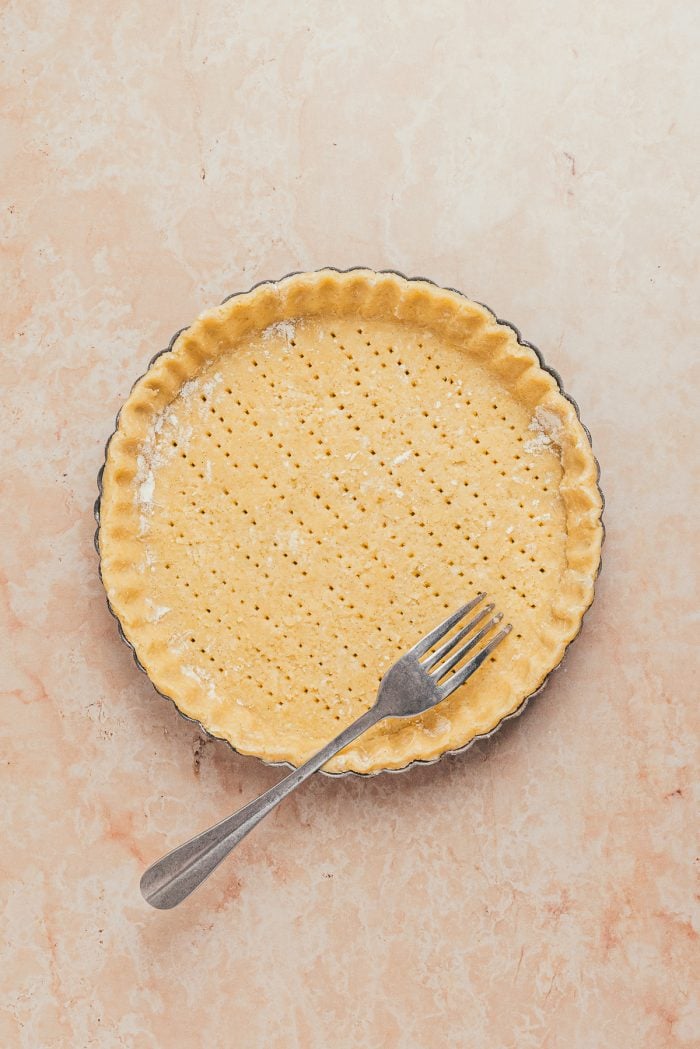
Prick the crust all over with a fork, then place the pan in the freezer and chill the dough for a few minutes. While the dough chills, preheat the oven.
Remove the tart shell from the freezer and place it on a parchment-lined baking sheet. This will make it easier to transfer the tart to and from the oven and will catch any drips or overflow during baking.
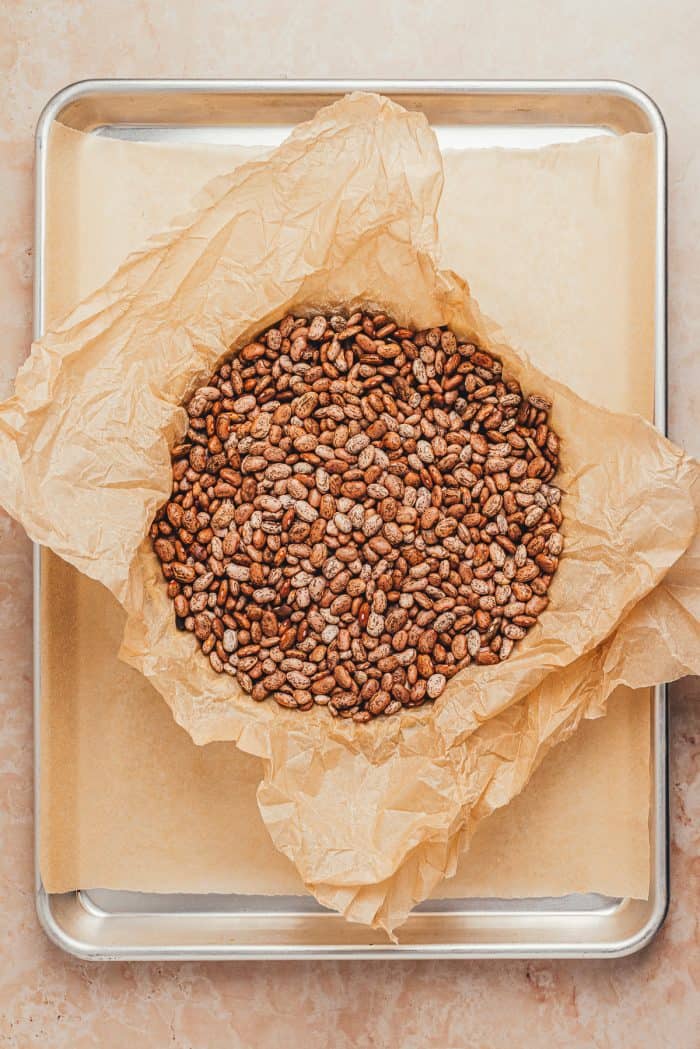
Crumple a large sheet of parchment, then unfold it and fit it inside the chilled tart shell. Fill the shell with dried beans or pie weights.
Bake the tart shell in the preheated oven for 15 minutes, then remove it.
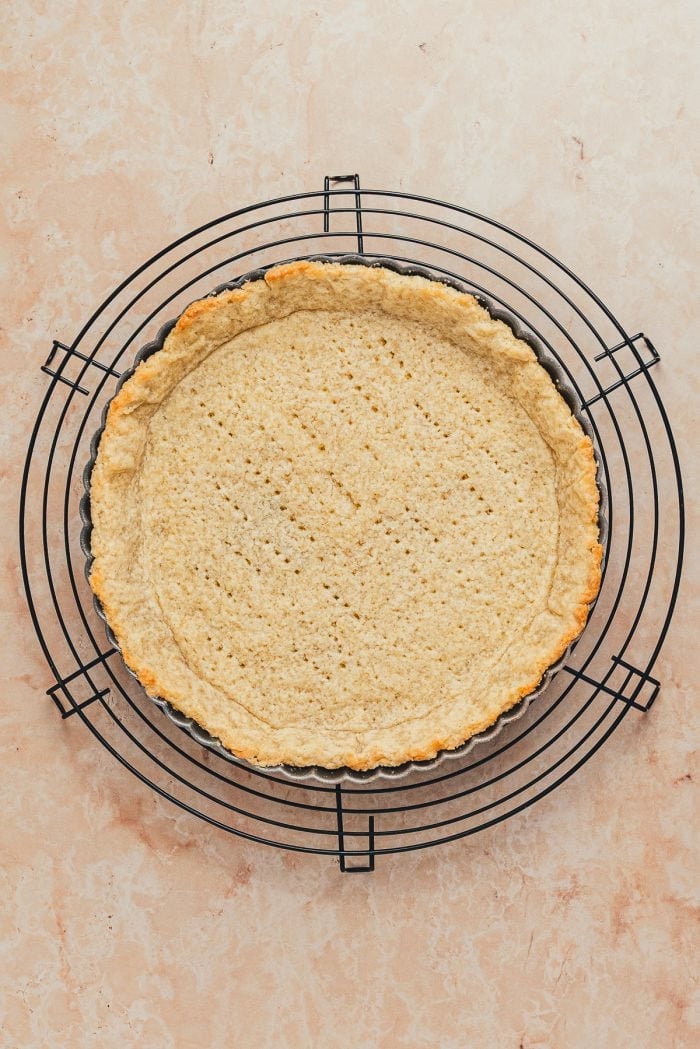
Carefully lift the parchment to remove the dried beans or pie weights, then return the shell to the oven to bake for an additional couple of minutes until the bottom is just baked through and the edges are just beginning to turn golden.
Set the tart pan on a cooling rack to allow the crust to cool for a minimum of 20 minutes before it is filled. Reduce the oven temperature to 350 degrees.
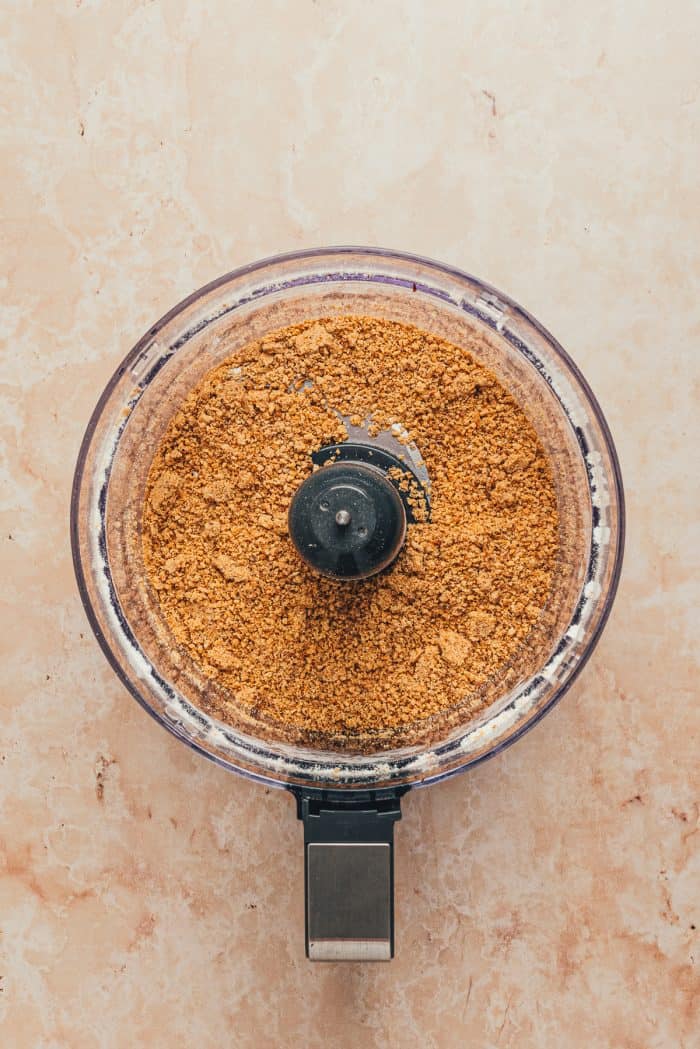
While the crust cools, make the hazelnut frangipane. Add the hazelnuts and flour to a food processor and process on low until finely ground like almond meal. Set aside.
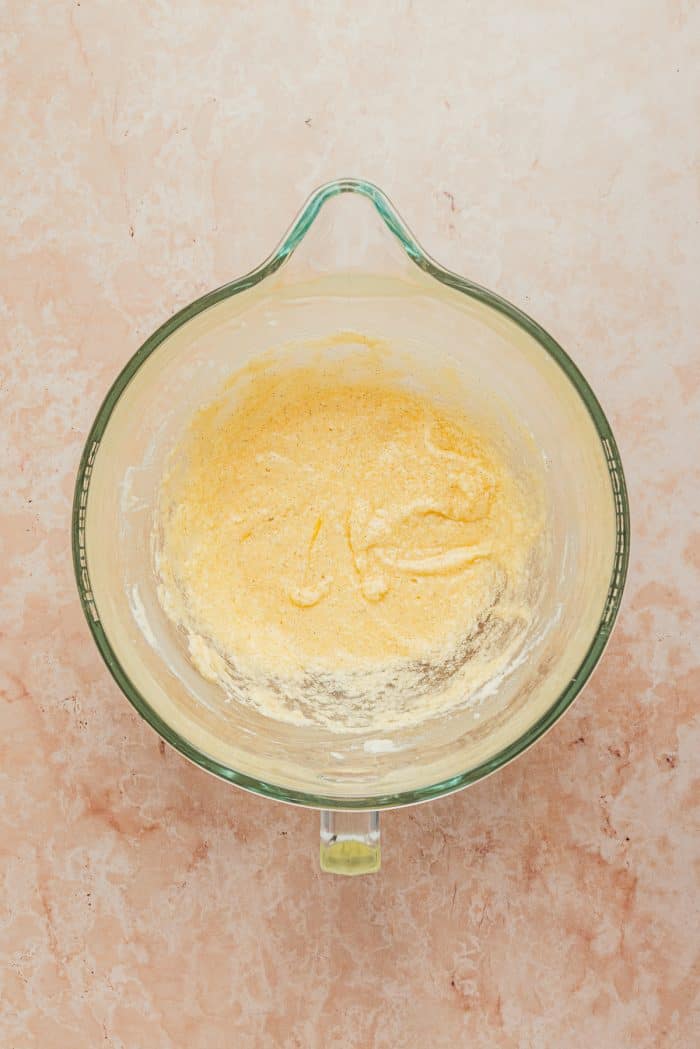
Add the softened unsalted butter, sugar, and salt to the bowl of a stand mixer fitted with the paddle attachment. Beat on low, gradually working up to medium for a few minutes until the mixture is pale and fluffy.

With the mixer on low, beat in the eggs and vanilla. It may look curdled at this point, but that is normal. Add the hazelnut/flour mixture and beat on medium-low until well combined, thick, and creamy. Set aside.
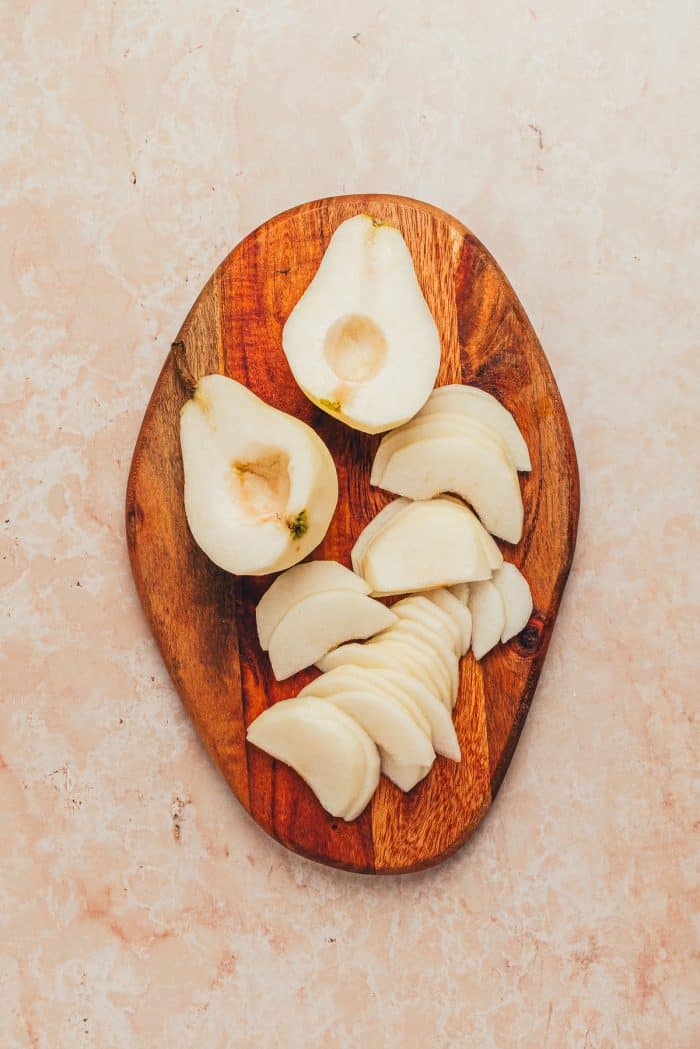
Prepare the pears next. Peel each pear, then cut in half lengthwise. Remove the core and stems, then thinly slice each pear.

Place the tart pan back on the parchment-lined baking sheet. Spread the hazelnut frangipane into the bottom of the cooled crust in an even layer.
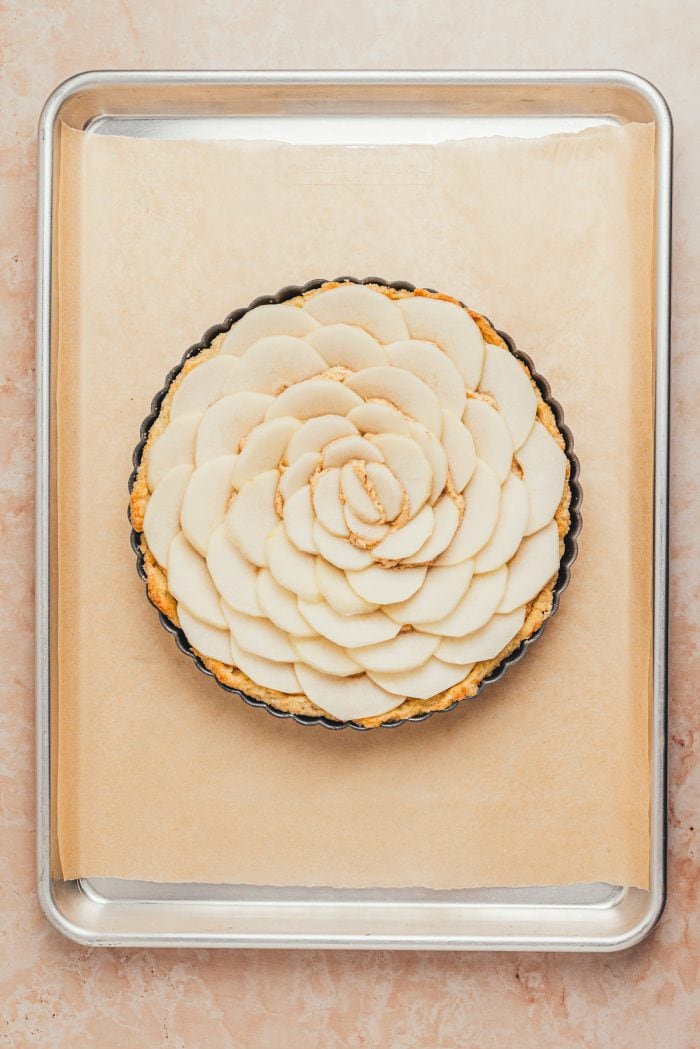
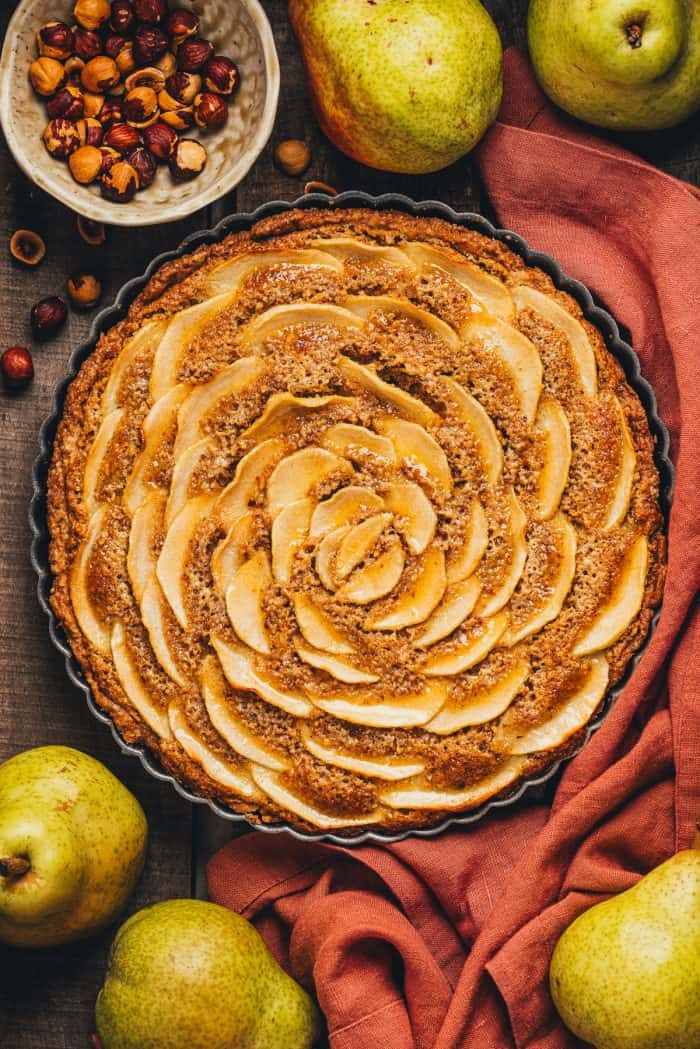
Arrange the pears on top of the frangipane in your desired pattern.
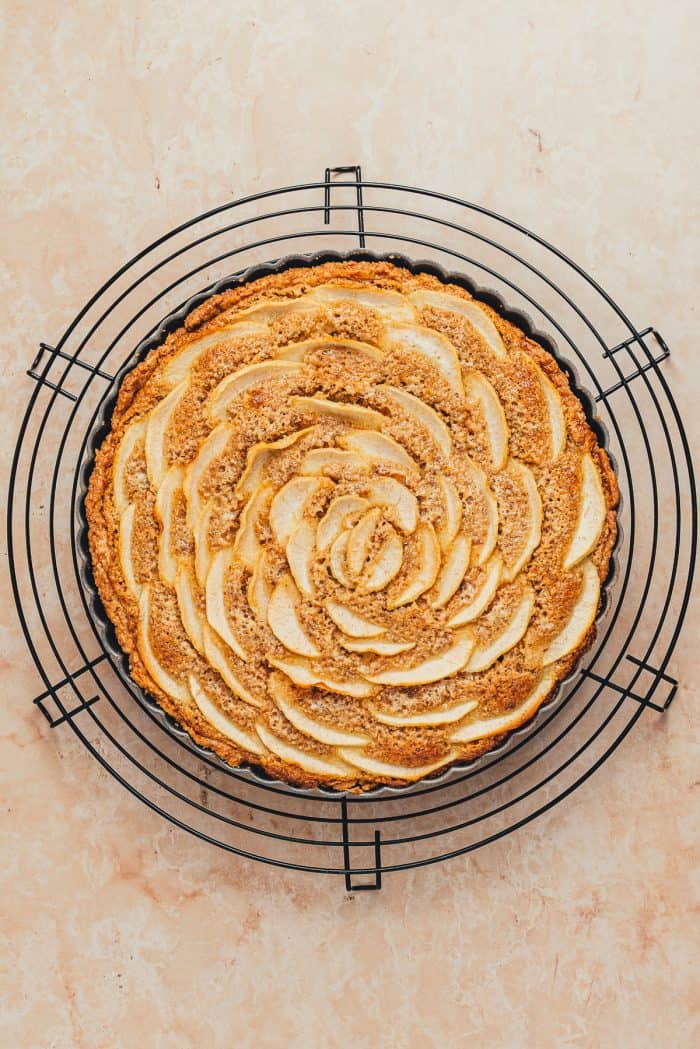
Bake the tart in the preheated oven until the frangipane is puffed, golden brown, and fully set. It should not jiggle or move if you give the pan a gentle shake. If the edges of the crust/frangipane are browning too quickly, cover them with foil.
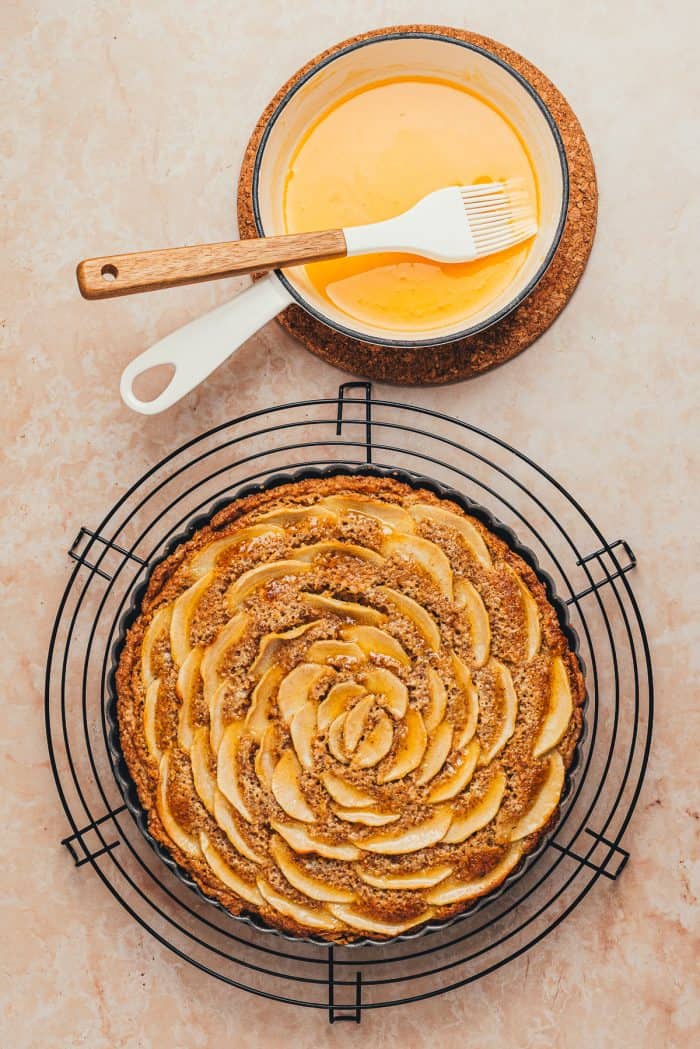
Once you remove the tart from the oven, place the apricot jam and water in a small saucepan. Heat over medium-low until the jam is fully melted, adding more water as needed.
Use a pastry brush to brush the glaze over the pear slices. Transfer the tart to a rack to cool completely before slicing.
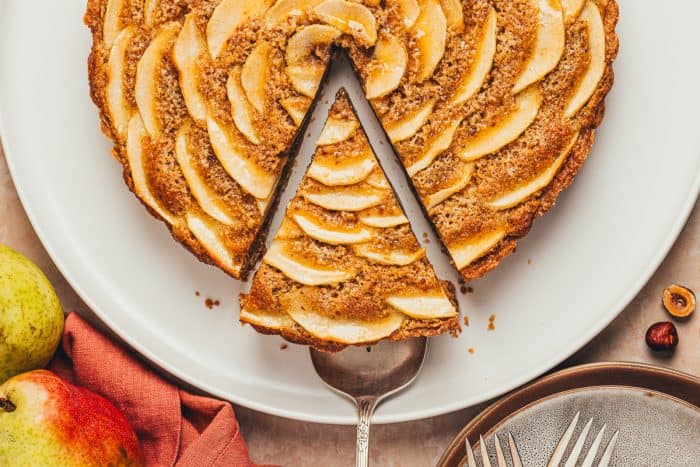
Remove the ring and bottom before transferring to a serving platter. Slice and serve!
How to Store
A homemade pear frangipane tart can be stored at room temperature, covered, for up to 3 days or in the fridge for up to a week. If it is stored in the fridge, the tart crust may soften a bit.
More Fall Dessert Recipes
- Apple Blondies
- Pumpkin Coffee Cake
- Caramel Apple Pie with Cheddar
- Caramel Apple Bundt Cake
- Apple Tart
What do you think of this cozy pear tart recipe with hazelnuts? What would you serve with a slice of this? Let me know in the comment section below.
If you share across social media, make sure to tag #aclassictwist, so I can see your beautiful creation come to life!
Happy Fall baking, friends!
Hazelnut Frangipane Pear Tart Recipe
Hazelnut Frangipane Pear Tart
This hazelnut frangipane pear tart is a showstopping pastry perfect for holidays and special gatherings! A rich, buttery tart shell is filled with a nutty hazelnut frangipane, then topped with a mosaic of thinly sliced pears.
Ingredients
For the tart dough
- 1 1/3 cups all-purpose flour, plus extra for rolling out the dough
- ¼ teaspoon sea salt
- 3 tablespoons granulated sugar
- ½ cup cold unsalted butter, diced
- 1 large egg yolk
- ½ teaspoon vanilla bean paste
- 1-2 tablespoons ice water
For the hazelnut frangipane
- 1 heaped cup whole roasted hazelnuts
- 3 tablespoons all-purpose flour
- ½ cup unsalted butter, softened
- ½ cup + 2 tablespoons granulated sugar
- ¼ teaspoon sea salt
- 2 teaspoons vanilla bean paste
- 2 large eggs, at room temperature
For the pears and glaze
- 2 firm but ripe pears, such as Bartlett, Bosc, or Anjou
- ¼ cup apricot jam
- 2-3 teaspoons water
Instructions
- Make the tart dough first. Add the flour, salt, and sugar to a food processor. Pulse a few times to combine. Add the cold diced butter and pulse several times until the butter has broken down into smaller pieces and looks like coarse breadcrumbs.
- Whisk together the egg yolk, vanilla bean paste, and 1 tablespoon of ice water in a small bowl. Drizzle over the top of the flour and butter mixture. Pulse several more times until the dough starts to climb up the sides of the food processor (it won’t form a ball like pie dough). The dough will look crumbly but should hold together when pinched. If it still seems too dry, add more ice water a teaspoon at a time until the dough holds together when pinched.
- Dump the dough out onto a piece of plastic wrap and knead it a couple of times to bring it into a ball. Flatten into a disc that is about 1-inch thick, then wrap it up and place it in the fridge to chill for 30-45 minutes.
- Lightly grease the bottoms and sides of a 9-inch tart pan with a removable bottom. Dust a large sheet of parchment paper lightly with flour. Place the chilled dough in the center and lightly dust the top of it with flour. Roll into a rough circle that is about ⅛-inch thick and 11 inches wide. Gather the sides of the parchment, then carefully invert the dough onto the greased tart pan. Gently press the dough to fit into the pan, tucking any overhanging sides under. Working around the entire perimeter of the pan, press the dough to fit the fluted (or unfluted) sides.
- Prick the crust all over with a fork, then place the pan in the freezer and chill the dough for 15 minutes. While the dough chills, preheat the oven to 375 degrees.
- Remove the tart shell from the freezer and place it on a parchment-lined baking sheet. This will make it easier to transfer the tart to and from the oven and will catch any drips or overflow during baking. Crumple a large sheet of parchment, then unfold it and fit it inside the chilled tart shell. Fill the shell with dried beans or pie weights.
- Bake the tart shell in the preheated oven for 15 minutes, then remove it. Carefully lift the parchment to remove the dried beans or pie weights, then return the shell to the oven to bake for an additional 5-8 minutes until the bottom is just baked through and the edges are just beginning to turn golden.
- Set the tart pan on a cooling rack to allow the crust to cool for a minimum of 20 minutes before it is filled. Reduce the oven temperature to 350 degrees.
- While the crust cools, make the hazelnut frangipane. Add the hazelnuts and flour to a food processor and process on low until finely ground like almond meal. Set aside. Add the softened unsalted butter, sugar, and salt to the bowl of a stand mixer fitted with the paddle attachment. Beat on low, gradually working up to medium for 2-3 minutes until the mixture is pale and fluffy. With the mixer on low, beat in the eggs and vanilla. It may look curdled at this point, but that is normal. Add the hazelnut/flour mixture and beat on medium-low until well combined, thick, and creamy. Set aside.
- Prepare the pears next. Peel each pear, then cut in half lengthwise. Remove the core and stems, then thinly slice each pear.
- Place the tart pan back on the parchment-lined baking sheet. Spread the hazelnut frangipane into the bottom of the cooled crust in an even layer. Arrange the pears on top of the frangipane in your desired pattern.
- Bake the tart in the preheated 350 degree oven for 35-45 minutes until the frangipane is puffed, golden brown, and fully set. It should not jiggle or move if you give the pan a gentle shake. If the edges of the crust/frangipane are browning too quickly, cover them with foil.
- Once you remove the tart from the oven, place the apricot jam and water in a small saucepan. Heat over medium-low until the jam is fully melted, adding more water as needed. Use a pastry brush to brush the glaze over the pear slices. Transfer the tart to a rack to cool completely before slicing. Remove the ring and bottom before transferring to a serving platter. Slice and serve!
Notes
- If you can only find whole raw hazelnuts, you can easily roast them yourself. Place them on an unlined baking sheet and roast at 350 degrees for 15 minutes. Remove from the oven. Once they are cool to the touch, place the roasted hazelnuts on a clean kitchen towel or several paper towels and rub to remove most of the skins. Allow to cool fully before using in the recipe. Can be done up to a week in advance.
- A small amount of shrinkage during the first bake of the tart crust is normal and won’t be noticeable after being filled and baked with the frangipane.
- If your pears are on the smaller size, you may need to use 3 total.
- I prefer using vanilla bean paste here since it has a more pronounced vanilla bean flavor and thicker texture. You can use vanilla extract instead if you don’t have vanilla bean paste on hand.
Recipe Tips
- Due to the addition of the egg yolk, tart dough is stickier than pie dough as it warms up. When you are rolling out the dough, make sure to keep lightly dusting your rolling pin and hands with flour to keep it from sticking.
- The frangipane can be made a few days in advance and kept in an airtight container in the fridge. Allow it to soften at room temperature for 1-2 hours before filing the tart shell.
- It should take 1-2 hours for the butter to soften properly at room temperature. You’ll use softened butter in the frangipane and cold butter straight from the fridge for the tart dough.
- The tart dough can be made and kept wrapped in the fridge for up to 3 days in advance. If it’s too firm to roll out straight from the fridge, let it rest at room temperature for 20-30 minutes.
- For a super smooth apricot glaze, press the jam through a sieve first to remove any chunks of fruit.
- Avoid the urge to add too much ice water to the tart dough or it will be too soft to work with. Tart dough will not come together in a ball like pie dough in the food processor. Instead, it will start to push up the sides away from the blade. At that point, check to see if it’s ready by pinching it together. If it stays together, it’s ready! If it doesn’t and is still crumbly, add more ice water a teaspoon at a time.
FAQs
Can I use raw hazelnuts? Using roasted hazelnuts gives the frangipane much more depth of flavor. I highly recommend using roasted hazelnuts rather than raw ones for the best results (instructions for roasting can be found down in the recipe notes).
Can I use a different pan? This recipe is formulated for a 9-inch tart pan. A tart pan with a removable bottom will make slicing and serving easier. If your tart pan does not have a removable bottom, you can slice and serve directly from the pan. I do not recommend using a 9-inch pie dish as it is deeper than a tart pan and will throw off the proportions.
Is it necessary to glaze the pears? The apricot glaze gives the pears a shiny texture and the tart a more refined appearance. You can skip the glaze if you prefer and give the cooled tart a dusting of powdered sugar before slicing and serving.
Recommended Products
As an Amazon Associate and member of other affiliate programs, I earn from qualifying purchases.

Nutrition Information:
Yield:
10Serving Size:
1Amount Per Serving: Calories: 498Total Fat: 34gSaturated Fat: 15gTrans Fat: 0gUnsaturated Fat: 17gCholesterol: 123mgSodium: 228mgCarbohydrates: 43gFiber: 3gSugar: 12gProtein: 7g