How To Frost a Layer Cake
A step-by-step tutorial with pictures on how to frost a layer cake. I walk you through the basic steps in frosting a layered cake and provide the tools you will need.
Hi friends! One thing you’ve asked for more is How-To type posts. Instructional posts that share some baking and cooking techniques for beginners. I’d share with you a few basic techniques in this category to help you feel more confident in the kitchen. I believe in trusting your intuitions and being creative in the kitchen but I also think some basic techniques will help you feel more comfortable. Over the next few months, I’ll share with you some basic baking techniques starting with today’s how to frost a layer cake.
I was always intimidated by frosting a layer cake but after breaking down the steps I realized it was not as difficult as it seems. I’ll walk you through the steps of how I frost a layer cake. With a few tools, patience and practice, you will be decorating beautiful layered cakes in no time.
I should start off by saying that I am not a professionally trained baker or pastry chef. Everything I know I’ve learned on my own and I’d happily share with you to show you that nothing in the baking and cooking world is as intimidating as it looks. You just need to have a passion to learn.
Ok, let’s get started. How do we get a beautiful frosted layered cake?
First, you will need to gather up your cake decorating tools. Here are the basics I use daily and think are necessary for every home baker.

(affiliate links included)
Tools you will need:
- A revolving cake decorating stand – this is the largest investment but it is worth it. I’ve used this stand for over 4 years.
- Angled spatula – this helps you spread your frosting and can also help smooth
- Cake leveler – to get even layered cakes. use to remove domed tops of your baked cakes
- Cake transfer plate – for easy transfer of sliced cakes
- Cake Knife – for smoothing frosting around a frosted cake
Materials needed:
- 2 8-inch or 9-inch round baked cakes
- 1 recipe of your favorite frosting
- optional: cake filling of your choice
- optional: sprinkles. all the sprinkles!
For this demonstration, I am using my favorite chocolate cake for a two-layered 8-inch round cake.
I also used this perfect whipped vanilla bean frosting.
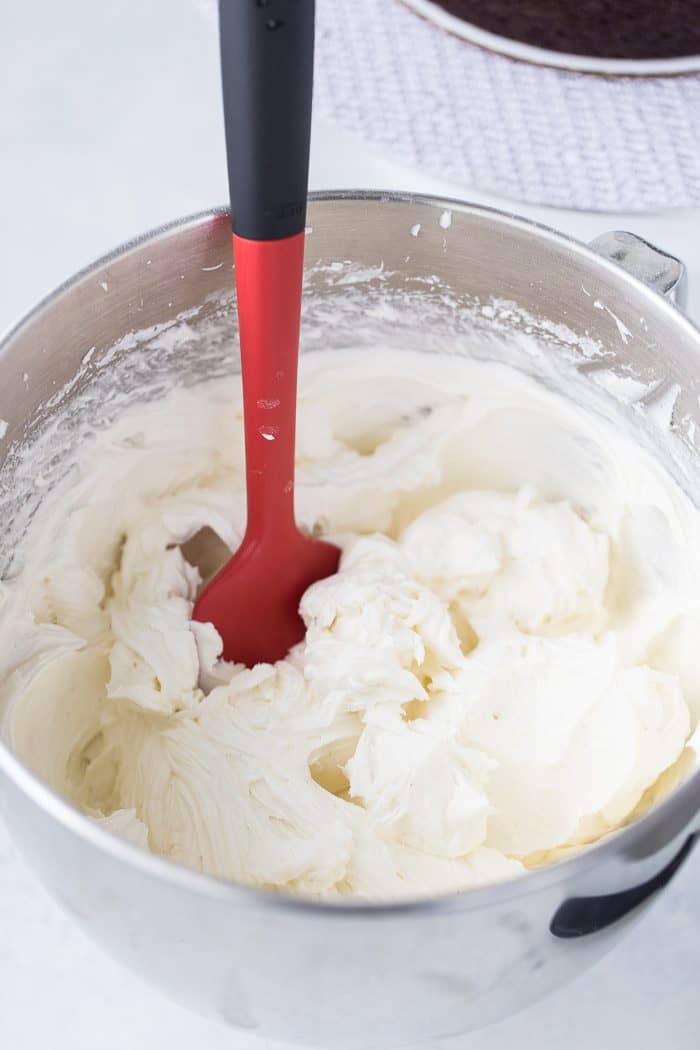
Tip #1: Having a whipped and stiff buttercream is necessary for a smooth finish. It also ensures your piping decorations will hold.
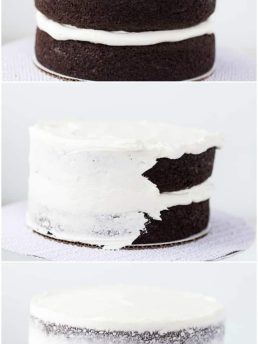
To start, you will need to ensure you have flat cakes. If your cakes domed while baking, level the tops with a serrated knife or a cake leveler tool.
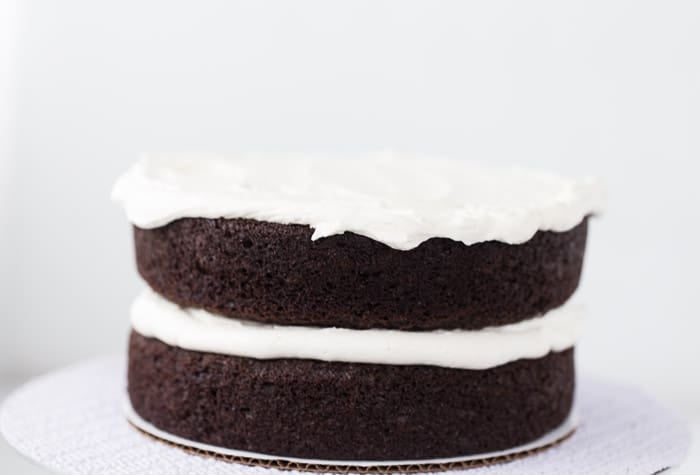
On the other hand, if your cakes caved (like my demonstration below), you don’t need to level the cake. You can fill that cavity with frosting. (Did I mention I am not a perfectionist?)
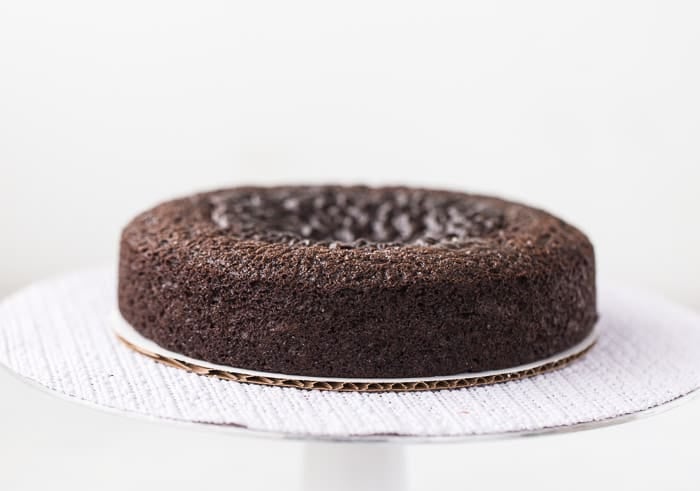
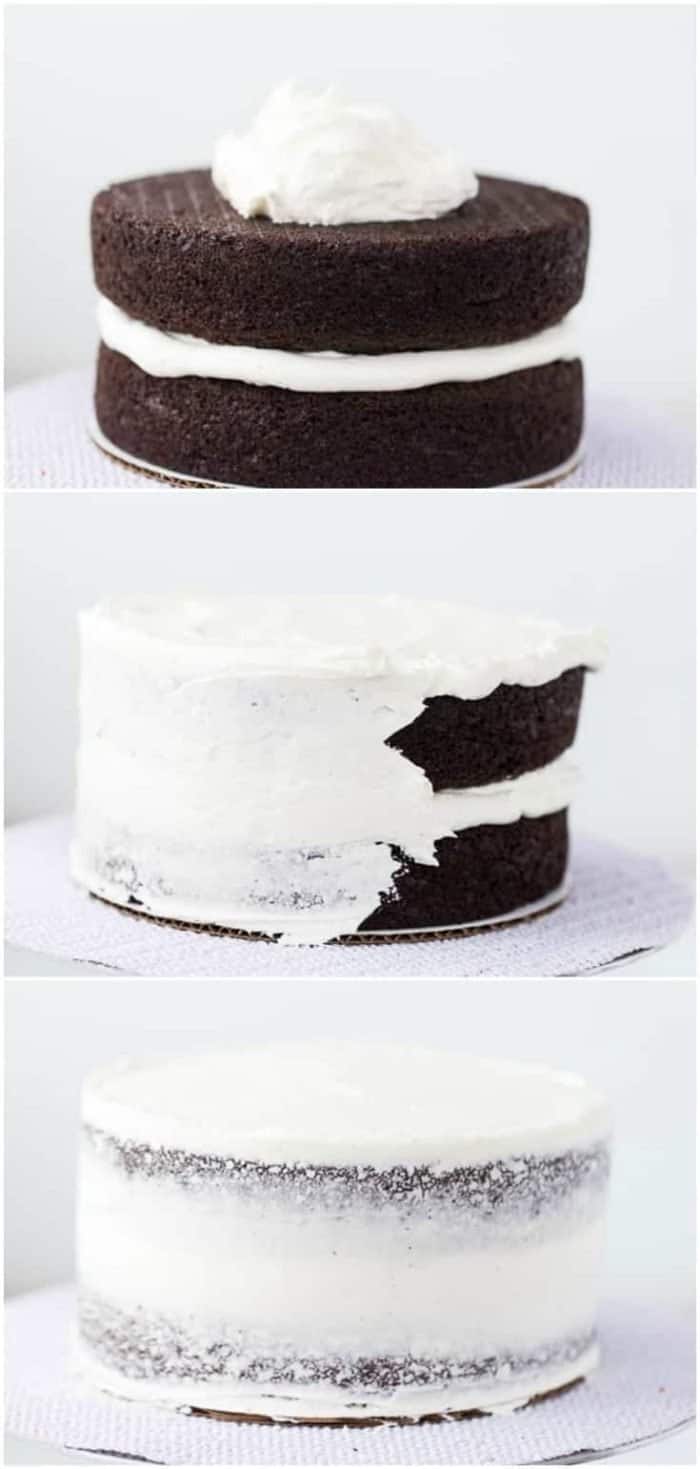
Position the first cake on a cake board or on a cake plate using a cake lifter.
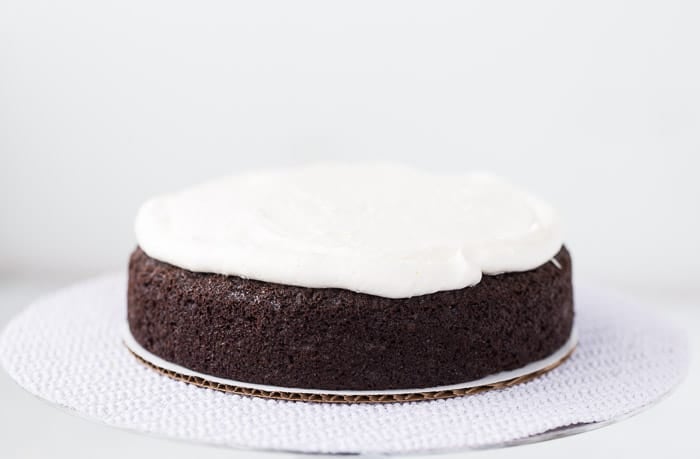
Top with about 1/2 cup frosting and using an angled spatula.
Tip #2: measure out your frosting for each layer so you have even frosting between cake layers.

Spread the frosting over the cake layer using the angled spatula. You want an even layer of the frosting pushing any excess towards the edges. See below.
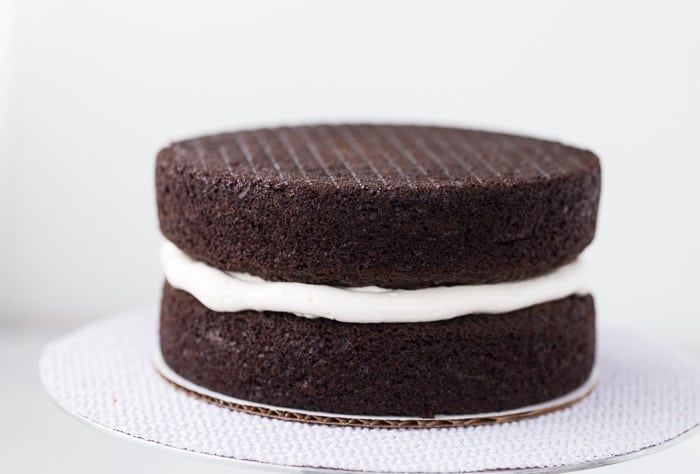
Place the second layer on top of the first cake. Repeat the process until your last cake layer, ensuring you use equal portions frosting.
If this is your last layer, place the last cake down with the flat bottom of the cake on top (see below).
Top the last layer with about 1/2 cup frosting.
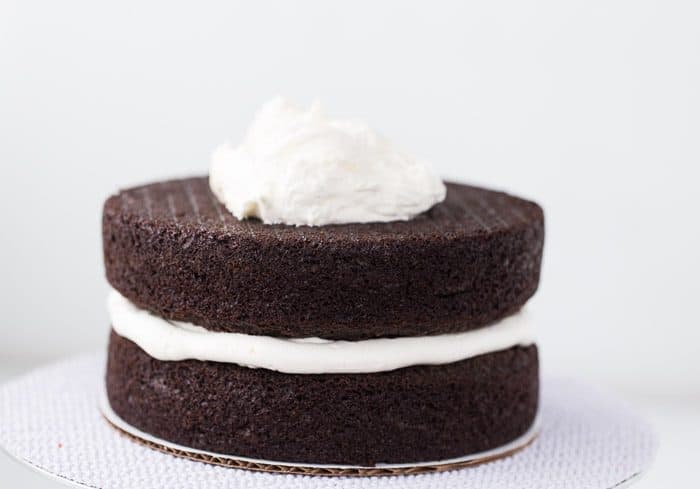
Similarly, evenly smooth the frosting on top of your cake, pushing any extras to the side.
Using the angled spatula, cover the sides of the cake in a thin coat of frosting.
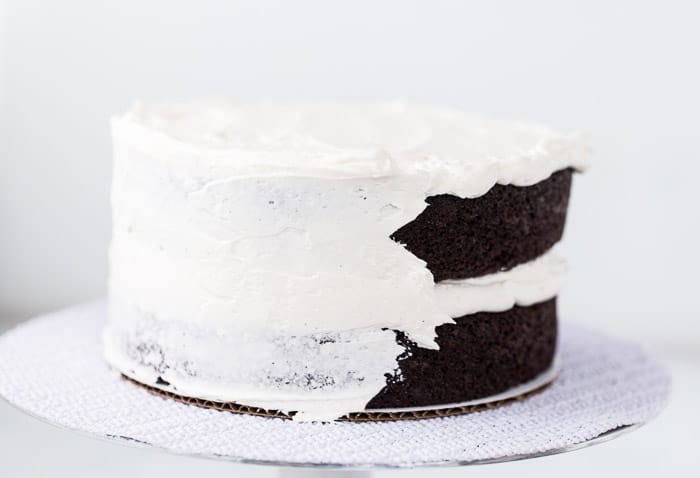
Smooth the sides and top as much as possible. This is a crumb coat that will lock in all the loose crumbs of your soft cake.
Chill cake for at least 30 minutes to set the crumb coat.
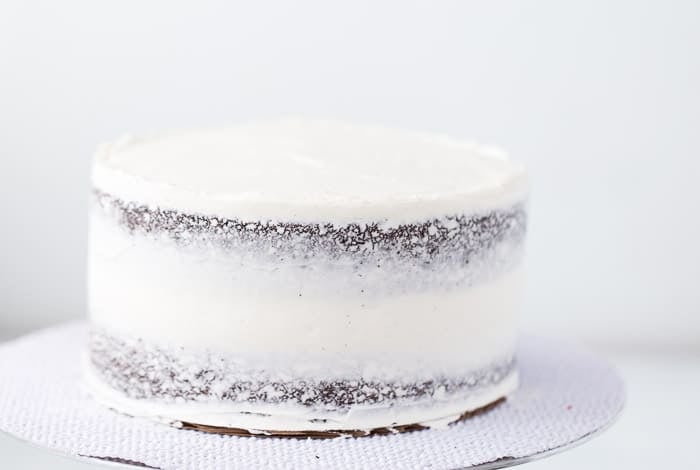
Next, spread about 1/2 cup frosting on top of the cake. Again, evenly spread the frosting over the top of the cake.
Next, frost the sides of the cake with as much frosting as needed to cover up the cake.
Slowly spread the frosting around the cake until you have a smooth frosting.

With the cake on your cake turntable, use the cake knife to smooth the sides of the cake. Hold the cake knife straight against the side of the cake and rotate the cake gently. This takes a few practices to get smooth edges.
Tip #3: if you frost your cake with a thick coat of frosting, it is easier to smooth with the cake knife.
After smoothing the sides of your cake, use the same technique to smooth the top.
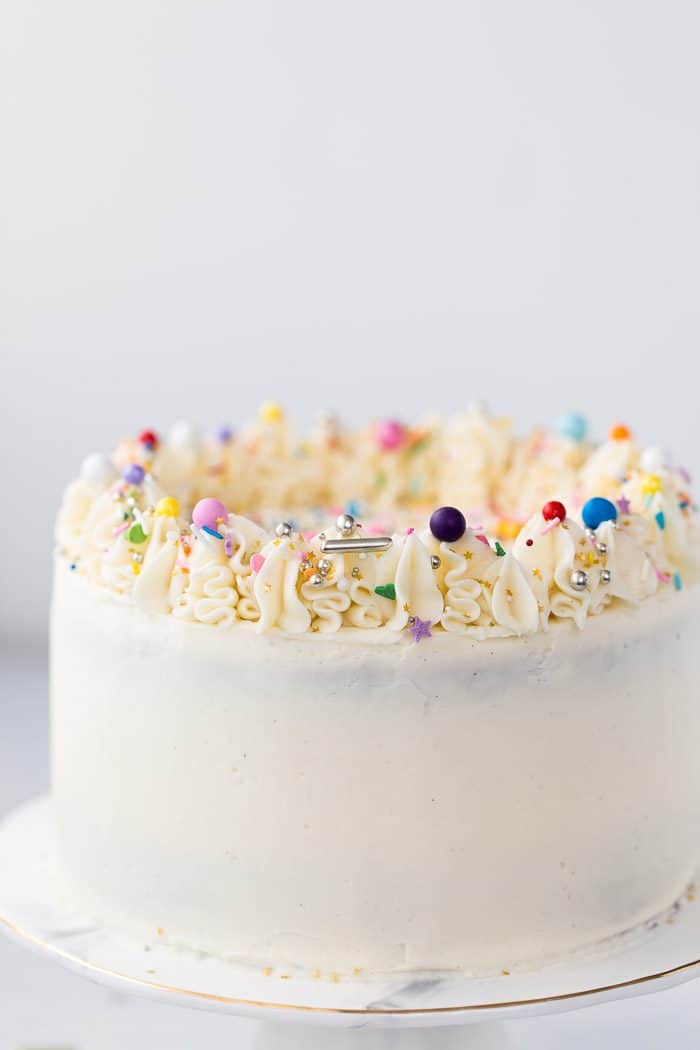
And that’s it friends!! You will have a blank canvas for your cake decorating!!
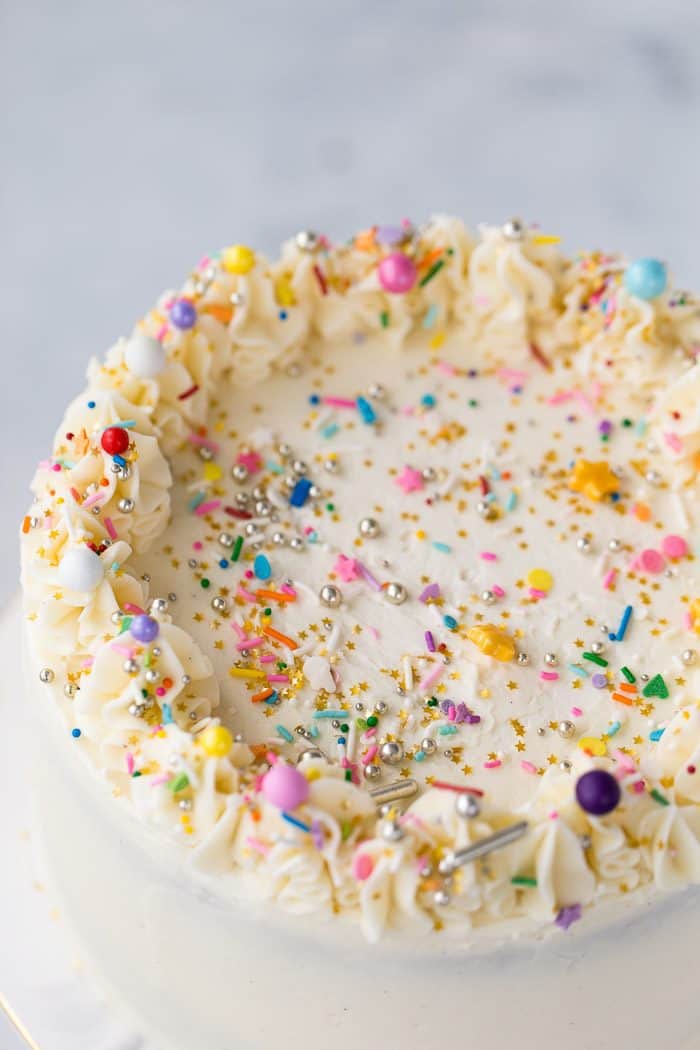
Finish your cake with your decoration of choice. I love piping simple edges using Wilton 1M tip and lots of sprinkles.
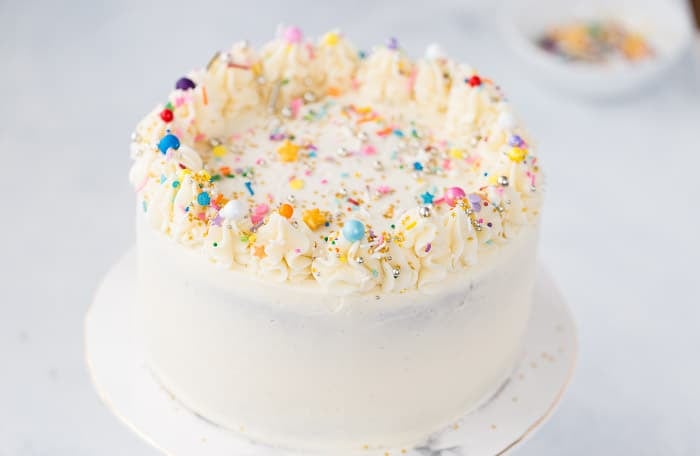
There you have it, friends!
Here’s a video link on Youtube that walks you through these steps as well, if you need additional steps.
Please let me know if you have any questions in the comments below.
Thanks for sharing your ideas with us. It really help a great deal.
Hope it is helpful!
What height is each layer before putting them both together?
Hi Anna,
I did not measure the heights of the layers. Why do you need the height? Maybe I can help you troubleshoot your concerns.
Thanks!
Thank you for the help Zainab. I never knew how to frost a cake until I found this website I looked through so many websites and this is the best of all.
I’m so glad this was able to help! I’d love to see your cakes 🙂
My granddaughter and I have been planning on baking a special layer cake this weekend. Frosting has always been a disaster in the past. So happy I found your tutorial; we will be trying out your technique. Feeling hopeful already!
Hi Dina! I hope you find it helpful. Let me know how your cake turns out 🙂
I know i can do it..
Frustated baker.. Haha.. But im trying hard.. Willing to learn new techniques… Love baking🤗🤗🤗🤗🤗
It just takes patience and practice. remember no one started perfect and with time you will get the hang of it. You already have the love for baking which is all that matters!
So helpful!! Cake decorating is not my forte and I struggle every time.
Your cakes are always so beautiful!
these tips are awesome!! pinning!
Thanks Kayle!
I love all the sprinkles you used for this cake! So pretty! Also, I noticed how you just frosted over the cake board. I don’t know why I haven’t thought of that so I don’t have it showing in my photos haha. Thanks for the tips!
Thanks, Lauren! I am glad it was helpful. I usually move my cake to the final serving plate or cake stand before decorating so I can frost over the cake board. Piping a bottom border also helps hide the cake board.
Your cakes always look so pretty!
Thanks Ashley!
I so needed this tutorial! I am terrible at frosting cakes. Gives me a good excuse to try making that chocolate cake this weekend – or the brown butter cake with maple caramel buttercream that you also posted. Yum!!!
I am glad you liked it!! Oh, that brown butter cake is just my favorite – I may be biased.