Blood Orange Coconut Marshmallows
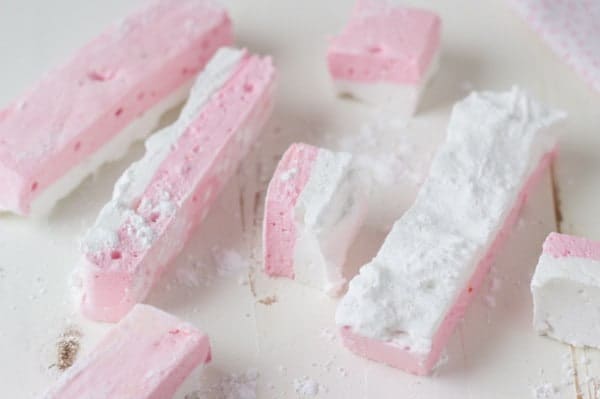
Happy Monday friends! I hope you had a great weekend. Mine was pretty calm with the amount of snow that we are still being graced by. All I did was ran errands, stayed indoors and baked. It’s too cold for much these days. Anyway, on to much sweeter things like these blood orange coconut marshmallows!
Ever since my first experience with homemade marshmallows, I’ve been itching to take another swing at it. The problem is those homemade peppermint marshmallows were so darn good that every time I bring up making more marshmallows the hubs insists I make those peppermint ones. Of course, I have to listen to him once in a while but sometimes a girl has to indulge herself and try new things. And when it comes to indulging for me, coconut is always front and center. Wait, you knew that already right?
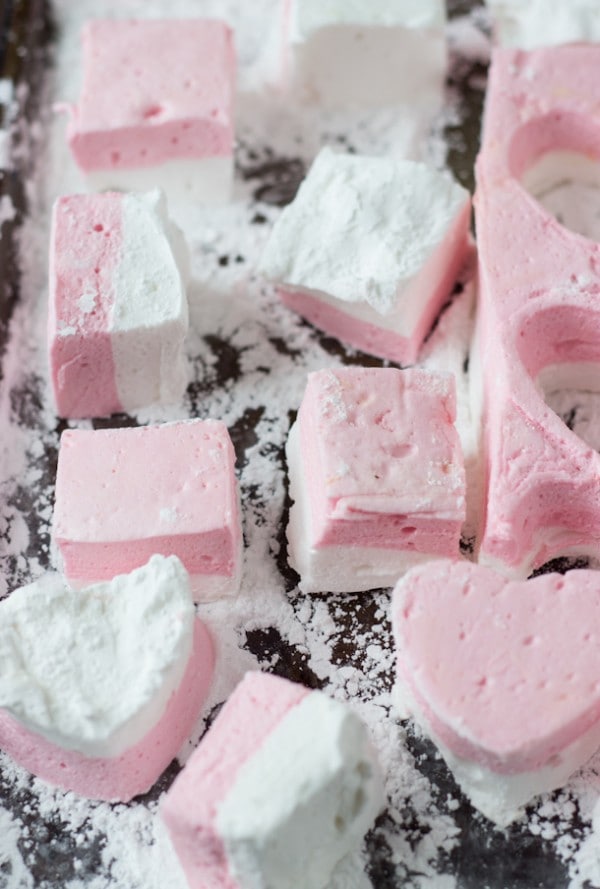
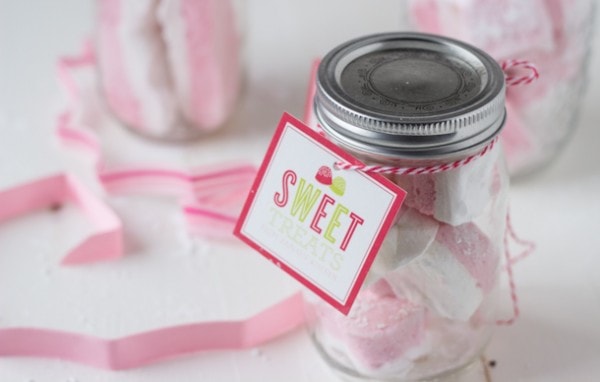
I remember seeing these blood orange coconut marshmallows in the holiday issue of Bon Appetit and made a mental note to try them when things slow down. They didn’t feel very holiday-y anyway but now that we are all craving some spring and citrus, it’s perfect! The sweet citrus layer topped with a coconut layer of cloudy goodness, makes these marshamallows a serious force to reckon with. I’ve had a little too much for my own good. That’s why I am packing them in mason jars and shipping off to some girlfriends. We have to spread the love and sweetness right?
So why don’t you whip up these pretty pink marshmallows and send to your girlfriends, daughters or sisters. Everyone deserves a little pink, hearts and some homemade marshmallows.
Blood Orange Coconut Marshmallows
Ingredients
Blood Orange Layer
- Nonstick vegetable oil spray
- 3 ¼ teaspoons powdered gelatin
- ¾ cup granulated sugar
- ½ cup fresh blood orange juice (about 3)
- 5 tablespoons light corn syrup, divided
- a few drops of red food coloring (optional)
Coconut Layer and Assembly
- 3 ¼ teaspoon powdered gelatin
- ¾ cup granulated sugar
- ½ cup low-fat coconut milk
- 5 tablespoons light corn syrup, divided
- ¼ cup powdered sugar
Instructions
Make Blood Orange Layer:
- Line a 13 x 9.5” rimmed baking sheet with a silicone mat or parchment. Grease with a light coating of nonstick spray. In a large bowl or the bowl of your stand mixer, add ¼ cup water. Sprinkle the gelatin over the water and let sit for 10 minutes. In a medium saucepan, combine the sugar, blood orange juice and 2 tablespoons corn syrup. Bring mixture to boil over medium-high heat and continue cooking until temperature reaches 230 degrees. (Use a candy thermometer).
- Meanwhile, add the remaining 3 tablespoons corn syrup to the gelatin. When sugar-blood orange mixture reaches 230 degrees, turn the mixer to high speed and start mixing the gelatin mixture using the whisk attachment. Slowly pour the sugar mixture into the gelatin mixture, drizzling down the side of the bowl. Continue beating until soft collapsing peaks form and the bowl is cool to the touch, about 5-7 minutes. Mix in red food coloring until your desired color.
- Working quickly at this point, scrape the blood orange mixture into the prepared pan. Smooth into an even layer with a lightly greased offset spatula. Let cool completely, at least 30 minutes.
Make Coconut Layer:
- In a large bowl or the bowl of your stand mixer, add ¼ cup water. Sprinkle the gelatin over the water and let sit for 10 minutes. In a medium saucepan, combine the sugar, coconut milk and 2 tablespoons corn syrup. Bring mixture to boil over medium-high heat and continue cooking until temperature reaches 230 degrees. (Use a candy thermometer).
- Meanwhile, add the remaining 3 tablespoons corn syrup to the gelatin. When sugar-coconut mixture reaches 230 degrees, turn the mixer to high speed and start mixing the gelatin mixture. Slowly pour the sugar mixture into the gelatin mixture, drizzling down the side of the bowl. Continue beating until soft collapsing peaks form and the bowl is cool to the touch, about 5-7 minutes.
- Working quickly at this point, scrape the coconut over blood orange layer. Smooth into an even layer with a lightly greased offset spatula. Let sit uncovered at room temperature for at last 12 hours before cutting.
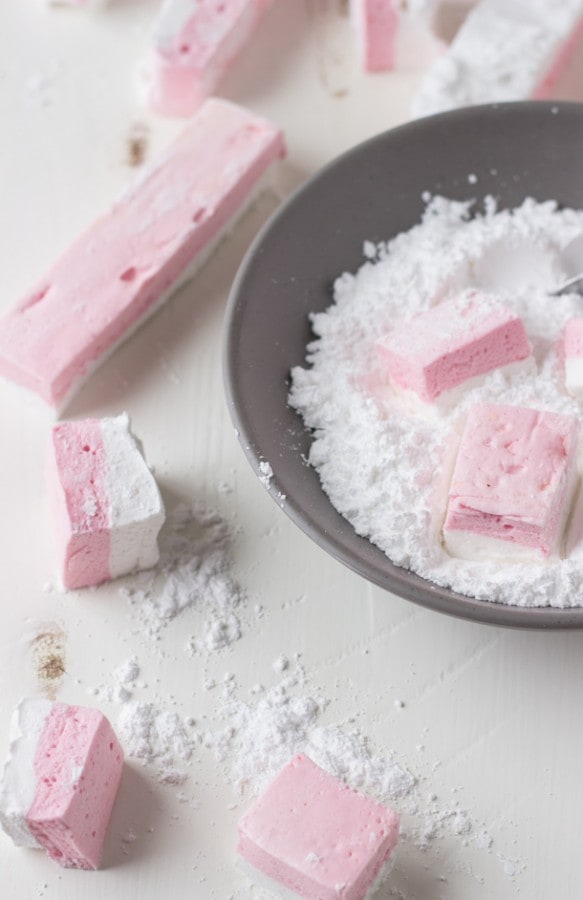
- When ready to cut, dust a cutting board with powdered sugar and turn the marshmallow onto the cutting board. Using a sharp knife lightly coated with nonstick spray, cut the marshmallows into ¾’ strips and roll into powdered sugar. Cut into into 2’ pieces if desired. Or use a lightly greased heart-shaped cookie cutter to cut out hearts. Store marshmallows tightly wrapped at room temperature.
Notes
Adapted from Bon Appetit
More Homemade Marshmallow Recipes:
Vanilla Bean Black Pepper Marshmallows – Eats Well with Others
Gingerbread Spiced Marshmallows – Joy the Baker
Coffee Marshmallows – A Cozy Kitchen

What a cool idea! I’ve always meant to make homemade marshmallows–there are just so many cool flavors to try! 🙂
Lovely snowy Marshmallows! 🙂 Something I still have to learn how to make 🙂
These are so pretty Zainab! I am totally in love with the layers! And the flavors sound so fantastic!
Blood oranges are my favourite, they make the best desserts! Your marshmallows look so cute, I could imagine cutting them out in little love hearts for V-day then eating them all myself because who shares something so good?
Cheers
Choc Chip Uru
These are positively stunning! I can’t get over the color on these marshmallows!!
Thanks!
These are so darn cute. I made marshmallows once and failed miserably! Someday I’ll get up the nerve to try again 🙂
Oh you have to try these! I made a mistake on my first attempt to not use a candy thermometer and the sugar wasn’t melted all the way..that was soupy!! But then it was easy the second time around when I got the candy thermometer
I love how pretty and pastel these are! When I saw them on Instagram I knew I had to hop on over to get the recipe!
Thanks Pamela!!
3 1/4 gelatin. tablespoons? teaspoons? packages? thanks! two of my favorite flavors…
Teaspoons. Sorry about that typo in the recipe. Hope you try it!!
Lovely, Z! The perfect marshmallow leading into V-Day while we are all craving everything citrus. 🙂 Just beautiful! Thanks for sharing, my sweet friend. Have a great Valentine’s week! xo
Thanks Stacy! Happy Valentine’s Day to you!!
i really need to make marshmallows sometime. whenever i see a recipe i just want to eat them all 🙂 these look fabulous!
I eat them ALL! So bad!! So glad I was able to ship some of these out!
Are you kidding me? These look AMAZING! Love the flavors.
Thanks Matt!!
These are so exotic! That’s not a word I thought I’d ever use about marshmallows, but it has officially happened!
Hahha exotic!! I like it!