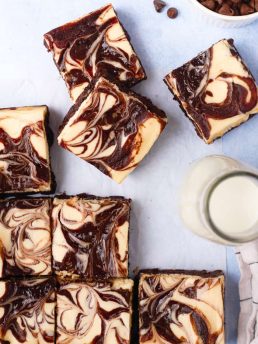
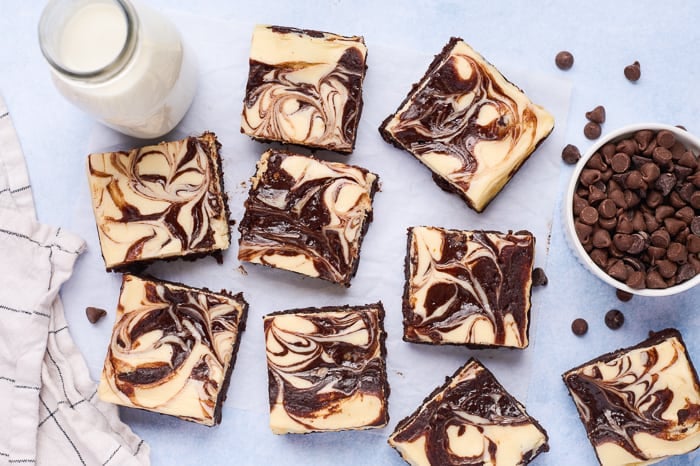
Cheesecake Brownies
Hey there baker friends! I have such a weakness for sweets ( if that was not obvious enough from my blog, lol), and combining two of my favorite desserts seemed like a perfect idea to start this year off with a bang. So, these Cheesecake Brownies are what I am bringing you today, and it is the first of its kind on the blog, which always makes me super excited.
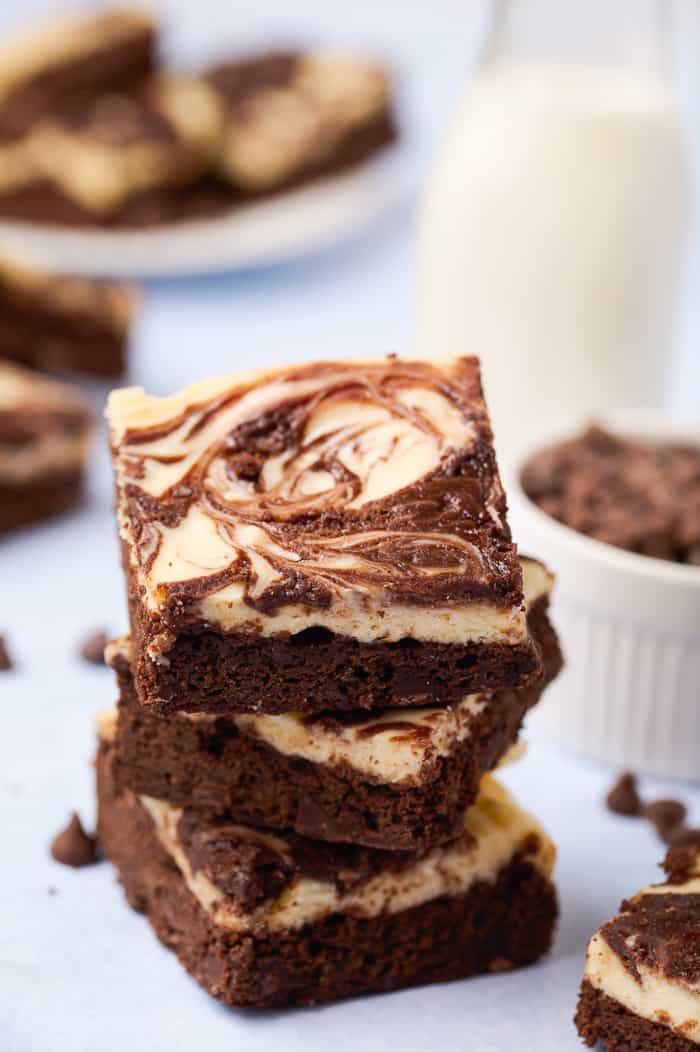
These delectable brownies are decadent with an overload of chocolate. If you are a chocolate lover, then look no further. Everyone in my family loves chocolate on chocolate except for my son. So he took a pass on these but my husband and daughter made them disappear so quickly it looked like a magic trick. Chocolate is infused in every layer of these Cheesecake Brownies from bottom to top.
Combining these two amazing desserts makes it easy to serve for any occasion. Whether it’s a backyard cookout with the family or a fancy Sunday brunch with the girls. The cookouts won’t be happening anytime soon with these 20 degree days but an intimate brunch is possible! Since we are entering year three of COVID affecting our daily lives, the little bit of interaction we do get with loved ones is so much more important.
Let’s walk through how to make these brownies. If you’d rather just the recipe, scroll to the end.
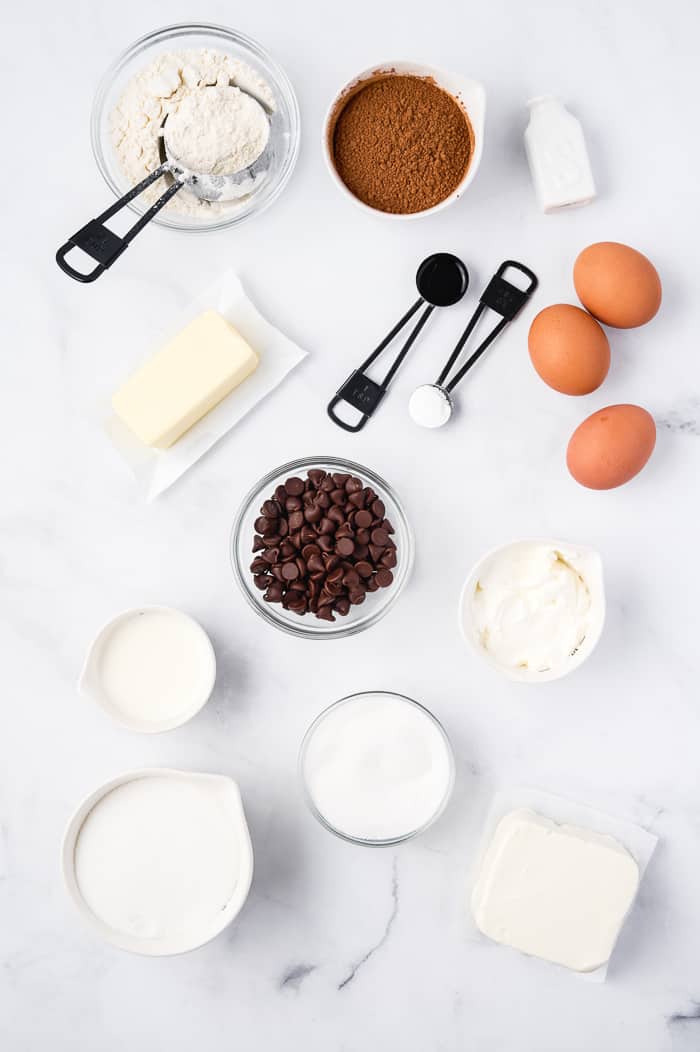
As always, let’s gather our ingredients.
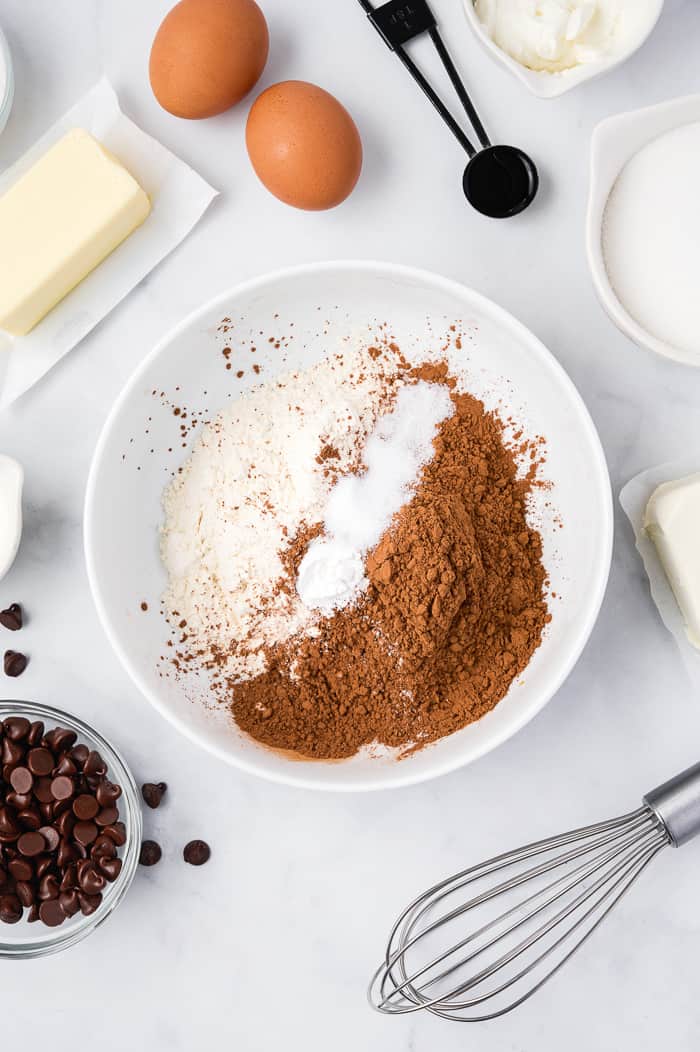
Whisk together the dry ingredients; flour, cocoa powder, salt, and baking powder.
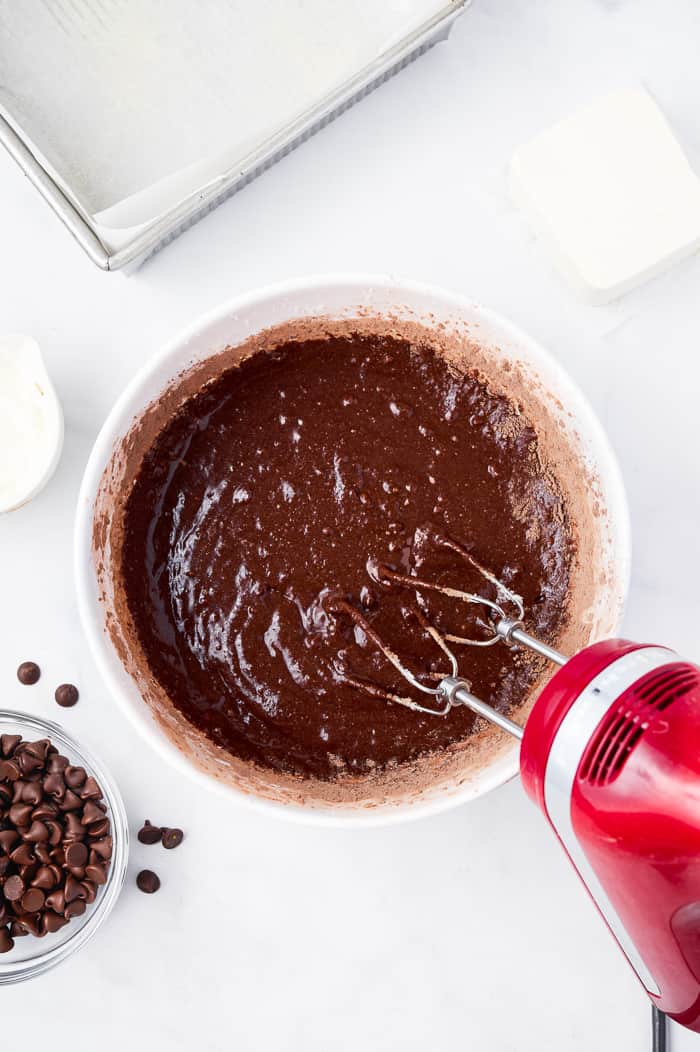
Beat together the butter and sugar until light and fluffy. Add in the eggs, milk, and vanilla extract and beat together at a low speed. It’s OK if the batter is a little lumpy.

Gradually beat in the flour mixture, just until combined. The batter will be thick.
Add in chocolate chips!!
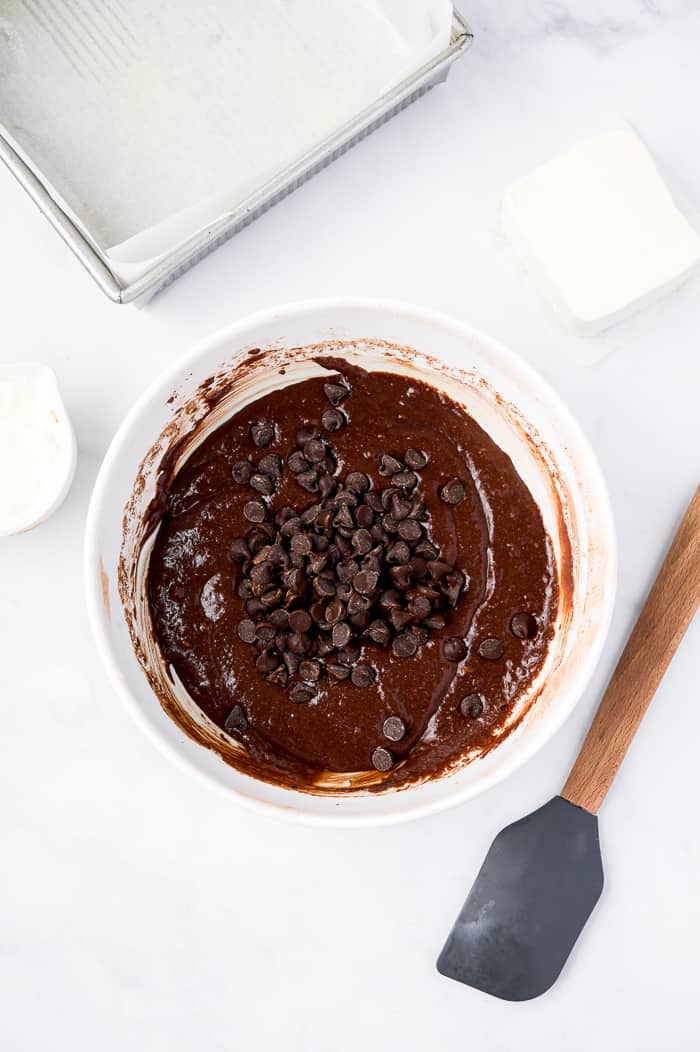
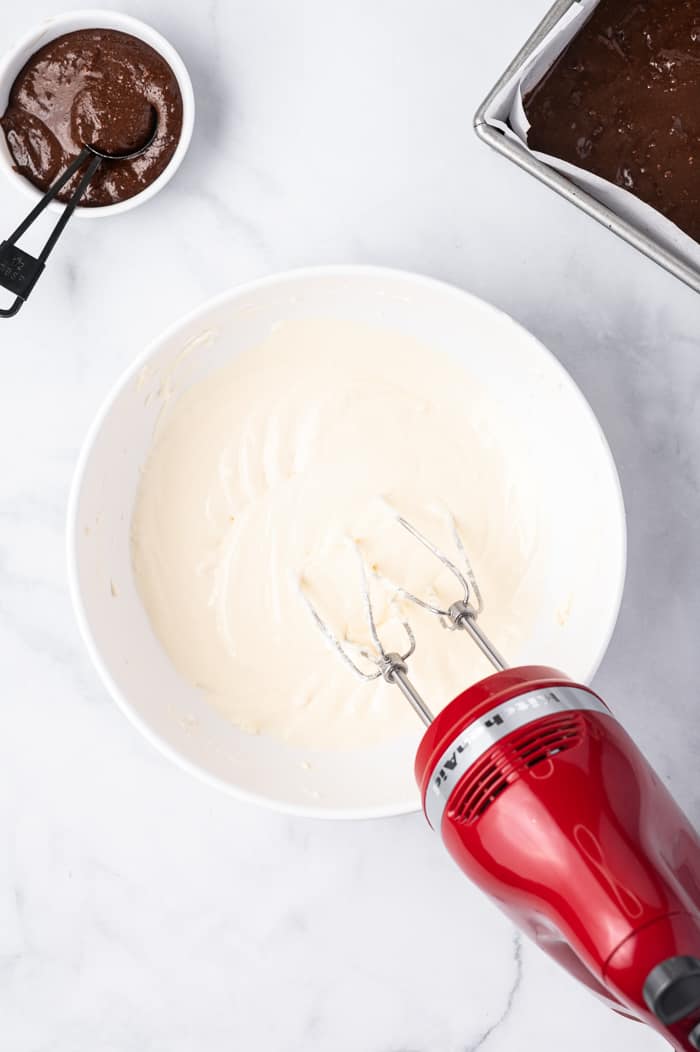
Transfer to the baking pan. Reserve about 1/3 cup of the brownie batter.
Make the cheesecake batter by combining the cream cheese, sugar and sour cream together.
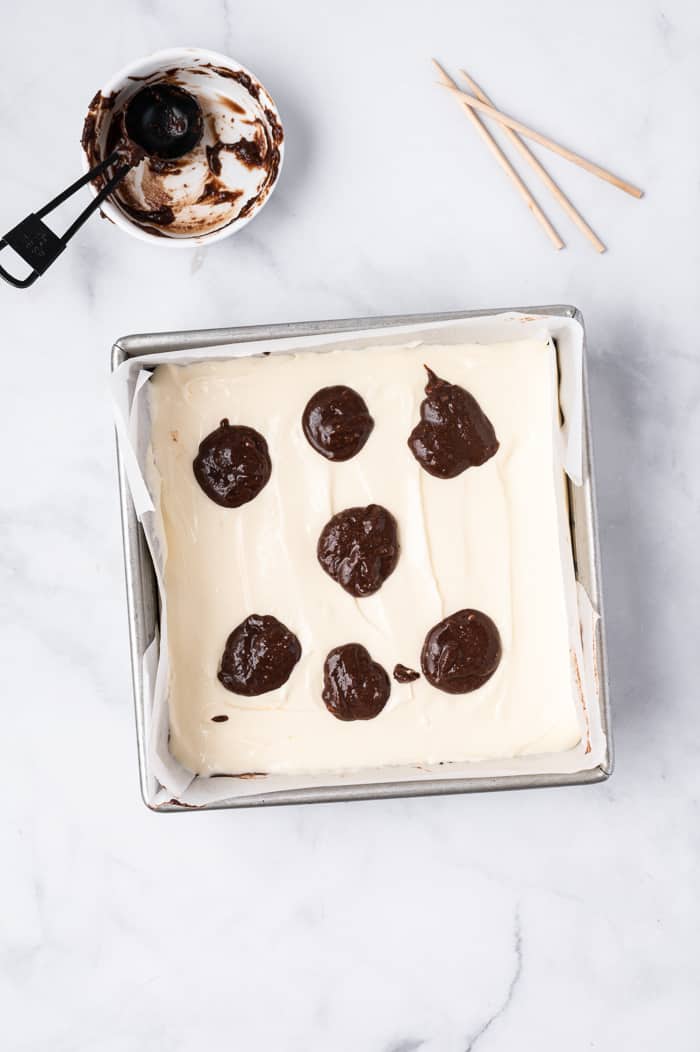
Layer the brownie layer with the cheesecake batter.

Then dollop the remaining brownie batter over the top of the cheesecake layer.
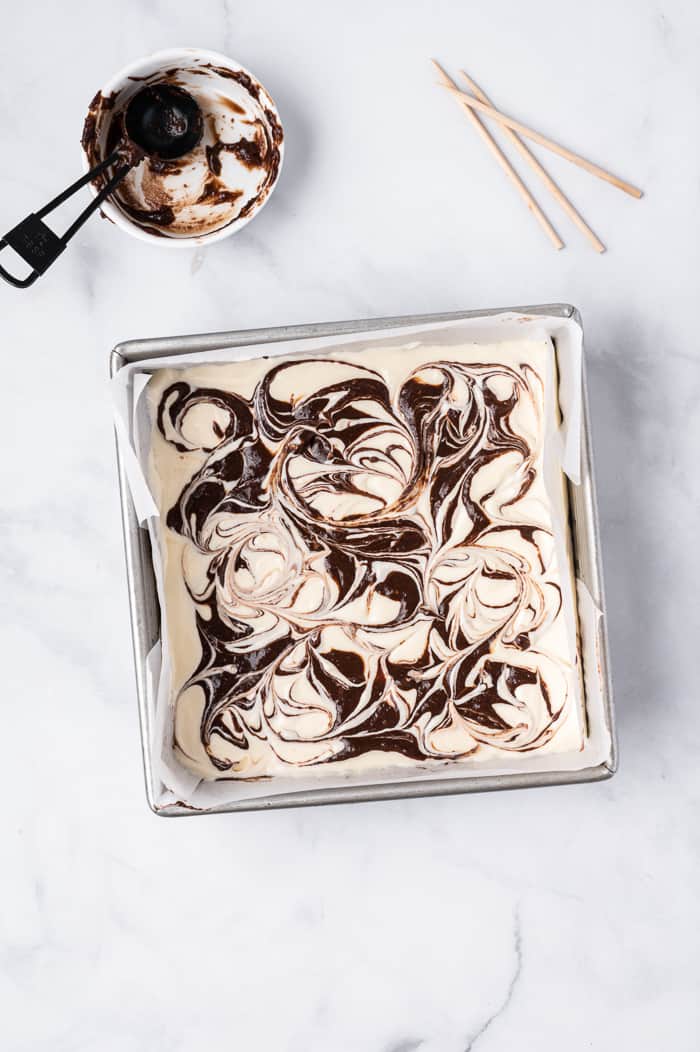
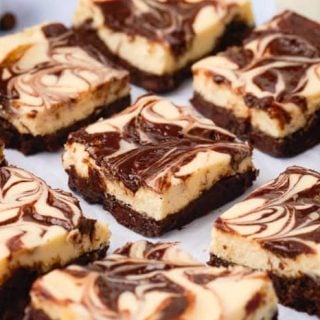
Using a butter knife, swirl the chocolate into the cheesecake layer. Make it pretty or messy, it doesn’t matter. It will still taste great.
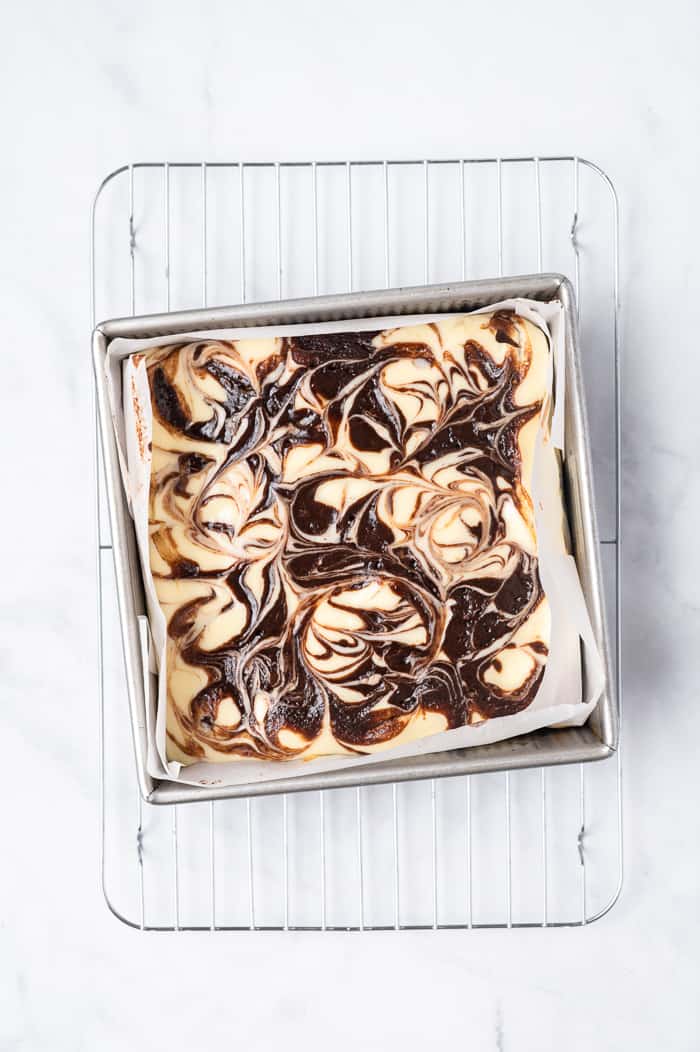
Bake the cheesecake brownies until they are set. After they cool at room temperature, you will also let them chill in the refrigerator.
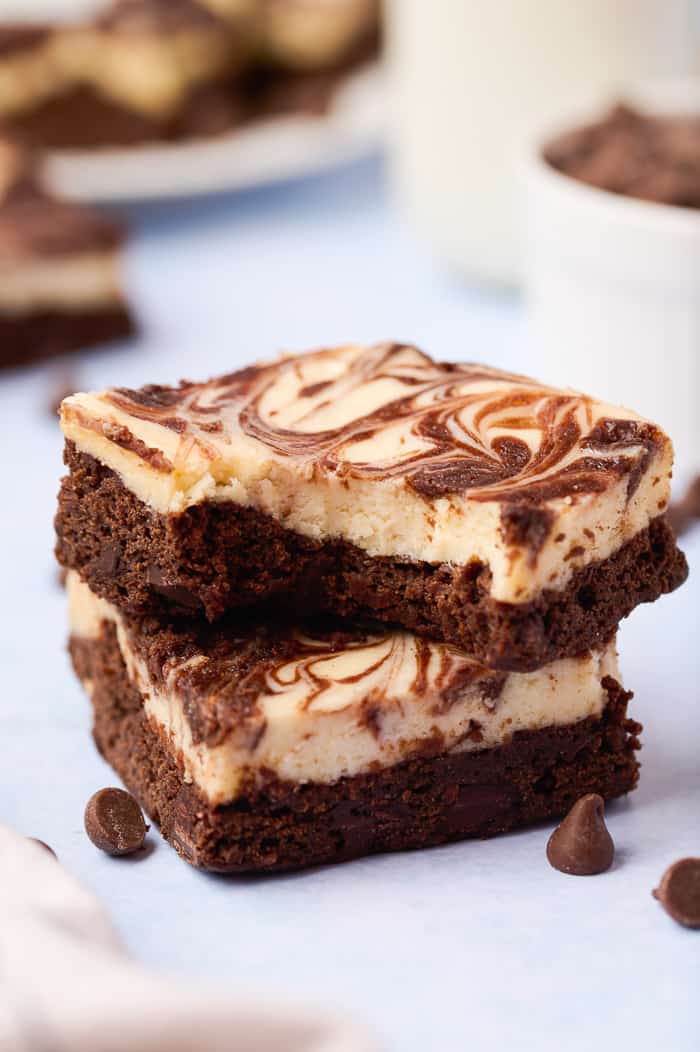
These Cheesecake Brownies take a little more TLC to make but the end result when you take your first bite of these rich treats will be all worth it.
If you want to try some similar recipes you definitely need to take a peek at my Salted Caramel Double Chocolate Brownies, Coconut Brownies, or any of these Cheesecake recipes.
What do you think of this wonderful combination? Let me know in the comment section below. If you share across social media, don’t forget to tag #aclassictwist so I can see all your beautiful creations.
Until next time friends, have a wonderful week and happy baking!
FAQs
What supplies will I need to complete this recipe?
You will need:
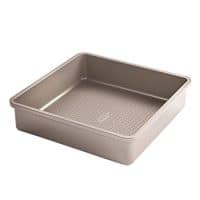
- 9 x 9 baking pan
- Mixing tools: a standing or handheld electric mixer is recommended
- Measuring tools
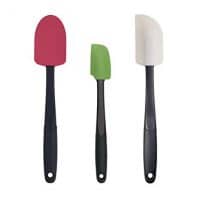
- Rubber spatula
- Skewer or chopstick
How should I store these cheesecake brownies?
These brownies should be kept in the fridge inside an airtight container and will last for about five days; although after about three, the brownie layer starts to lose some of its structure. For long-term storage, you can wrap them to seal and then freeze these brownies in a freezer-safe bag for up to two months!
Tips for creating the swirl design on these brownies:
- Keep the dollops of brownie batter as evenly sized and spaced as possible. You want a nice even spread across the top.
- Place your first dollop in the center of the brownies and work outward. This way, you won’t accidentally use up the majority of your brownie majority on one side as you might accidentally do if you were to work from one side to the other.
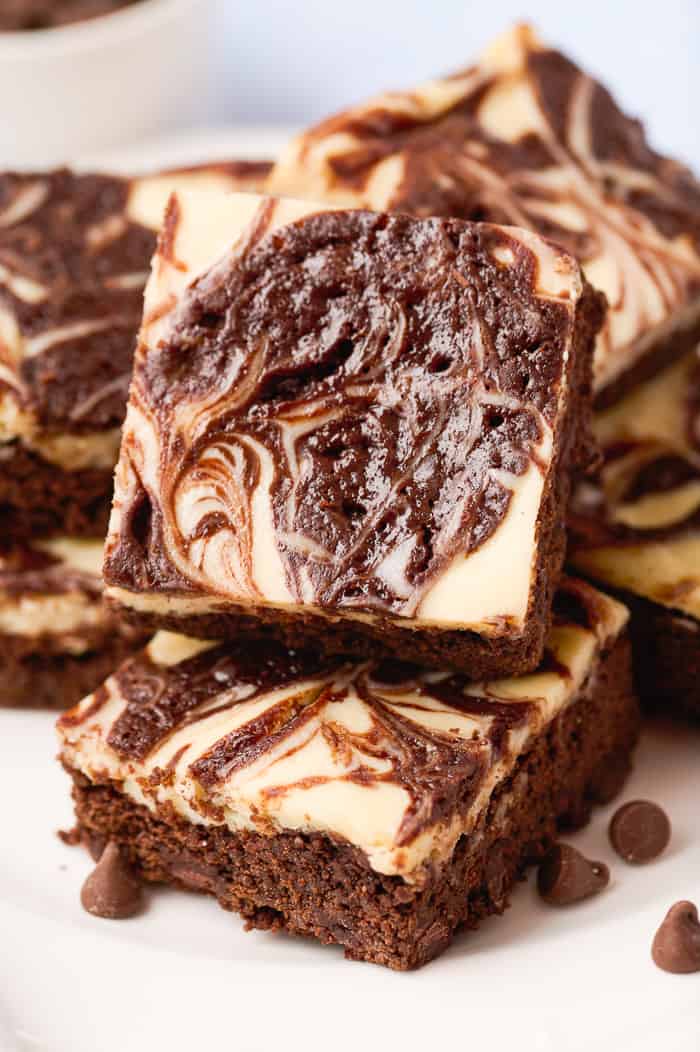
- What you use to create the swirls will have an effect on the design. Use a toothpick for a very fine, thin swirl design and a skewer or chopstick for a thicker swirl, as pictured here!
What are some variations I can make to these brownies?
- Top the brownies with a drizzle of chocolate or caramel sauce, some whipped cream, or a scoop of vanilla ice cream!
- You can add to these brownies by adding some chocolate chips, sprinkles, or nuts on top of the cheesecake swirl.
- Create an additional layer to the brownies by adding extra chocolate chips or nuts to the top of the brownie batter before topping with the cheesecake mixture.
- Add ½ teaspoon of espresso powder to enhance the chocolate flavor! Mix it in with the other dry ingredients in step 2.
Cheesecake Brownies
These cheesecake brownies have a chocolate brownie base with chocolate chips topped with a cheesecake layer and brownie swirl.
Ingredients
- 2/3 cup all-purpose flour
- 1/2 cup cocoa powder
- 1/2 teaspoon salt
- 1/2 teaspoon baking powder
- 1/2 cup unsalted butter, room temperature
- 1 cup granulated sugar
- 2 large eggs, at room temperature
- 1/4 cup whole milk, at room temperature
- 1 teaspoon pure vanilla extract
- 1/2 cup semi-sweet chocolate chips
For the cheesecake topping:
- 1/3 cup granulated sugar
- 8 ounces of cream cheese, room temperature
- 1/3 cup sour cream, room temperature
- 1 large egg, room temperature
Instructions
- Preheat the oven to 350 degrees F. Lightly coat a 9 x 9 baking pan with baking spray, line with parchment paper, and then coat the parchment paper with the spray as well. Set aside for now.
- In a medium-sized mixing bowl, whisk together the flour, cocoa powder, salt, and baking powder until completely combined.
- Use a standing or hand mixer to beat together the butter and sugar until light and fluffy.
- Add in the eggs, milk, and vanilla extract and beat together at a low speed. It’s OK if the batter is a little lumpy.
- While beating at medium speed, gradually beat in the flour mixture, just until combined. The batter will be thick. Scrape down the sides of the bowl with a rubber spatula.
- Separate out ⅓ cup of batter and set aside. Fold the chocolate chips into the brownie batter.
- Spread the batter into the prepared baking pan and even it out with a rubber spatula. Set aside for now.
- Prepare the cheesecake layer by beating together the sugar and cream cheese until light and creamy, about 2 minutes.
- Mix in the sour cream and egg and beat on low until the batter is smooth.
- Pour the cream cheese mixture on top of the brownie layer and even out the top with a rubber spatula.
- Using 1/2 tablespoon scoops of the reserved batter, dollop the reserved brownie batter across the cheesecake layer. Use a toothpick or skewer to create swirls with the brownie batter.
- Bake for 35-40 minutes or until the edge of the cheesecake layer is set but the center jiggles slightly.
- Remove from the oven and set the pan on a wire rack for the brownies to cool for 30 minutes. Then move the brownies (in the pan) to the refrigerator to fully set for about two hours.
- Once chilled, cut into nine equal pieces and serve!
Notes
- The edges of the cheesecake will begin to turn a golden color as it sets. If you want to avoid any browning, cover the brownies with foil loosely at the 25-minute mark. This would be for appearance purposes only. Allowing the cheesecake to lightly brown shouldn’t affect the taste.
- There’s nothing like sneaking a bite of warm gooey brownies straight out of the oven but for these, you really need to wait! The cheesecake layer continues to bake after you take the dish out of the oven and won’t be ready for eating until after it’s chilled.
- Don’t overmix the brownie batter or the cheesecake! If you do, the brownies will sink in the center. You want to mix just until the ingredients all come together. If you’re worried about overmixing: mix entirely by hand, or just stop the electric mixer just before it seems like everything is coming together, and finish any mixing by folding the ingredients with a rubber spatula by hand.
- For the brownie batter, you should stop mixing as soon as there are no more streaks of dry flour in the mixture.
- This can also be made in an 8 x 8 baking pan. If you do, the center of the brownies will be a more “gooey” brownie than if made in a 9 x 9.
Recommended Products
As an Amazon Associate and member of other affiliate programs, I earn from qualifying purchases.
I love all brownies that aren’t chocolate-y chocolate but most of them are, chocolate’s fine but I like it paired with something else, and if that something else is cheesecake then I’m all in, thank you!