How to Make a Number Cake
Seen the trending number cakes and ever wondered how to make one? Follow my easy step-by-step guide on how to make a number cake to create one at home and for your next celebration.
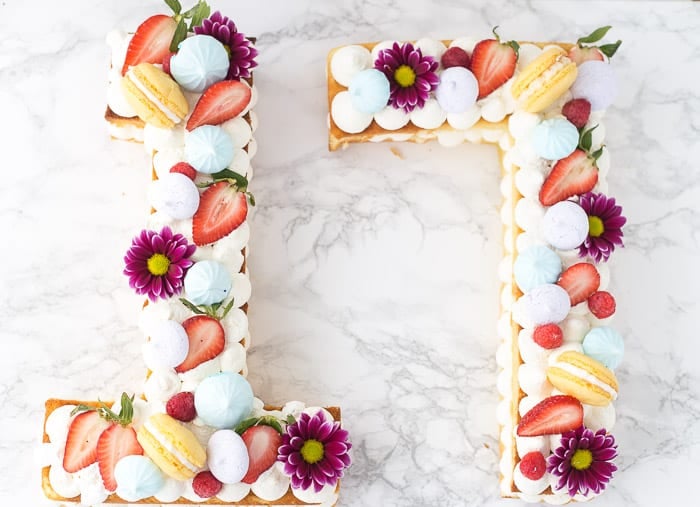
I am sure you have all seen the trend of number cakes on Instagram lately. My niece wanted one for her birthday last month and I was challenged to make one for her. Just like her Minion birthday cake from four years ago, I posted a picture on my Instagram and everyone loved it.
A few people even asked for a step-by-step guide on how to make a number cake. Well, here it is!! Disclaimer: it is straightforward, and all you need is my secret weapon.
I am always a skeptic when it comes to trying anything that is on-trend. Especially during the hype of the trend. It took me years to get on the kale bandwagon (spoiler, this kale salad with radishes and lime vinaigrette is my favorite salad now) or the dripping cake (I am not there) or the Unicorn obsession (this Mother’s Day cake was my interpretation of the trend).
Needless to say, trends don’t push me to try things. My now 17-year old niece loves every trend out there and uses her birthday to challenge me to do some. I am glad she pushes me sometimes as her ideas are some of the most popular cakes on my blog.
When researching how to create this beautiful spring-like number cake for her, I watched a few youtube videos and a lot of people were baking the cakes or cookies in a sheet pan and then using a stencil to cut out the numbers. If you know me, I am the laziest baker there is and I was not down for that. There had to be an easier way to achieve this so I went on the hunt for a numbered cake pan.
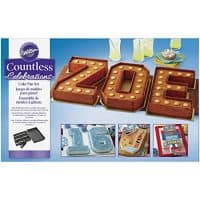
Out of several options that I explored, this Wilton cake pan was the best I found. There were a few others but in the end, the value and numerous possibilities for the future won me over.
It is essentially one pan with pieces that shape out all the numbers and alphabets. Can you imagine that? One pan to make all the number cakes your heart desires and the alphabets. I foresee a lot of birthday number cakes in my son’s future. (Update: See my how to make a letter cake tutorial for my son’s birthday cake!)
Okay, now that we have the pan, the rest of the cake is really simple. Personally, I think you should get two of the pans. It makes baking easier and faster but you can survive with one as I did.
Here’s your step-by-step guide on how to make a number cake:
- Align the sections of your cake pan using this Wilton Countless Celebration Cake Pan. Make sure you have your number outlined as directed by the instructions that come with the pan.
- Grease your cake pan including the section dividers using baking spray.
- Prepare your cake batter. You can use your favorite cake recipe, vanilla or chocolate. I used this vanilla cake recipe (doubled the recipe for my number 17)
- Spoon the batter into the prepared pan and bake for the recommended time of your recipe. Note that since you are baking in a special pan, you will need to adjust your baking time. I started checking my cake after 12 minutes.
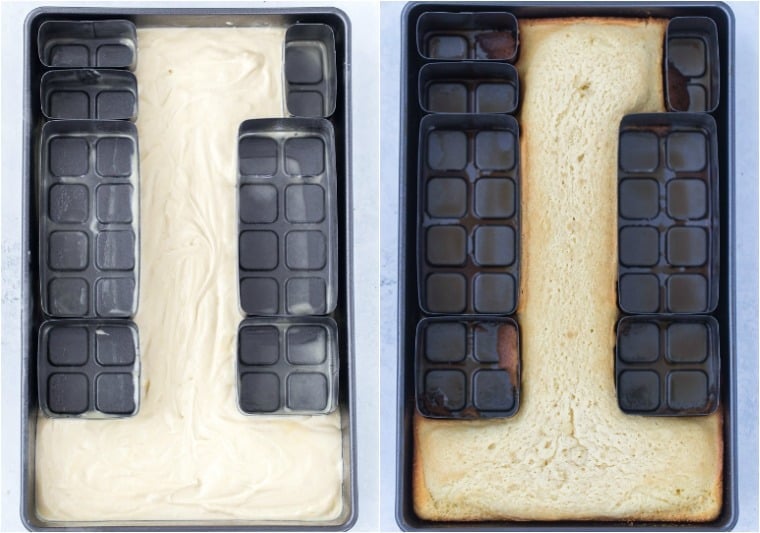
- Let cake cool in the pan for at least 10 minutes before inverting onto a wire rack to cool completely.
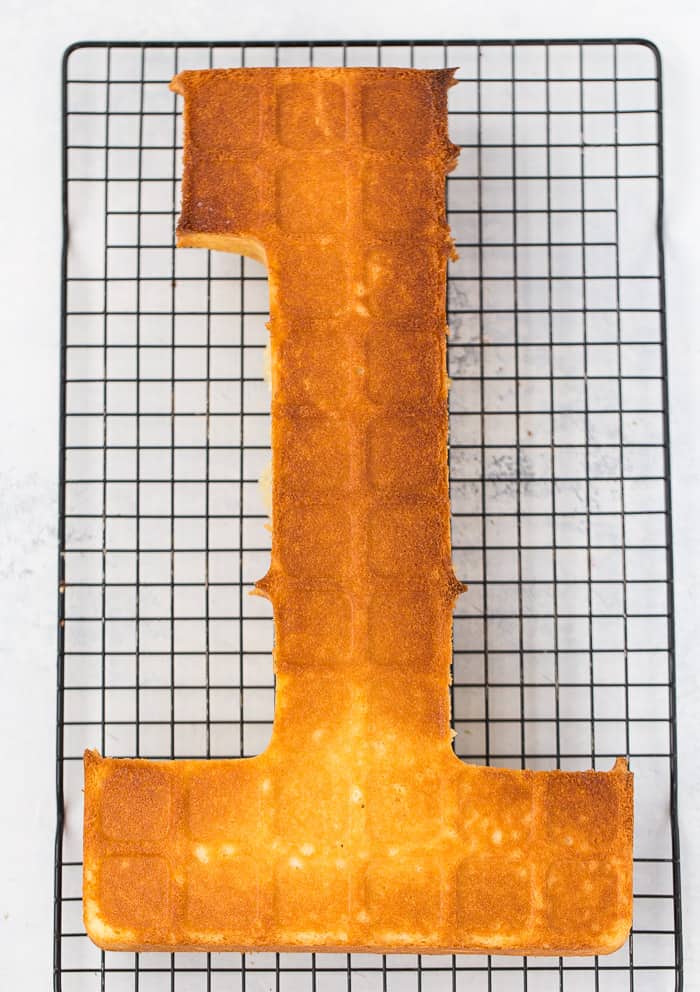
- Once cool, slice each number cake into two halves for layering. I used a cake wire cutter to slice my cake but you can also use a serrated knife.
- If using just one pan, repeat the process and bake your second cake/ number.
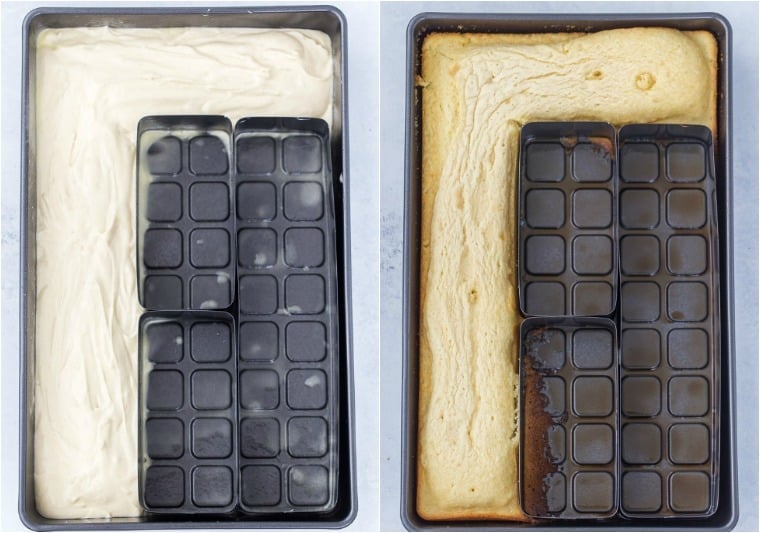
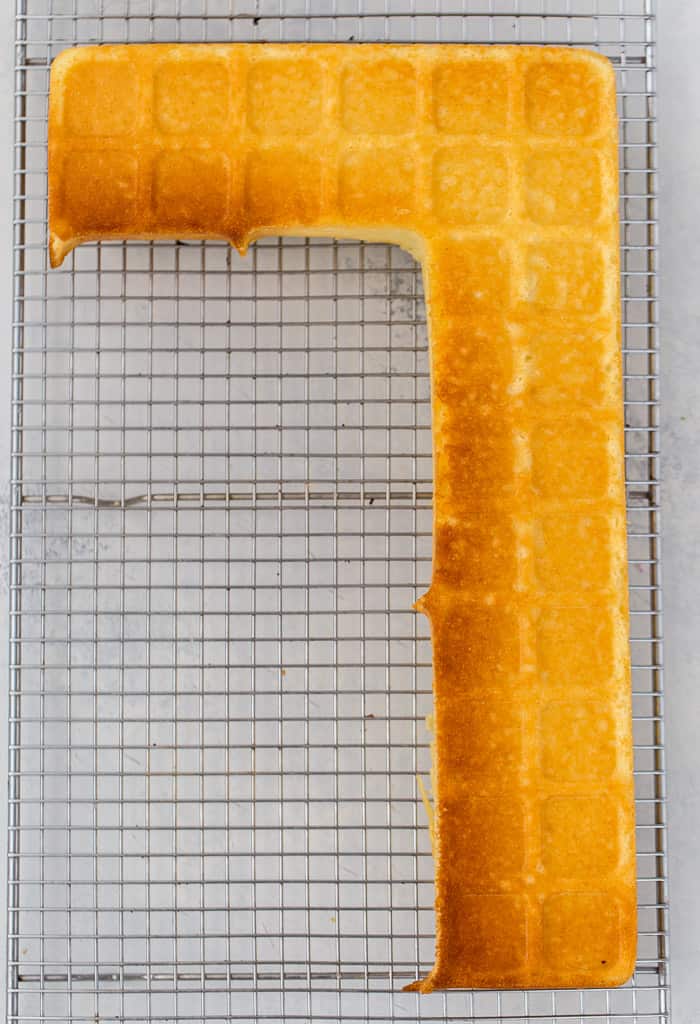
- While the cakes cool, prepare your whipped cream cheese frosting, recipe below.
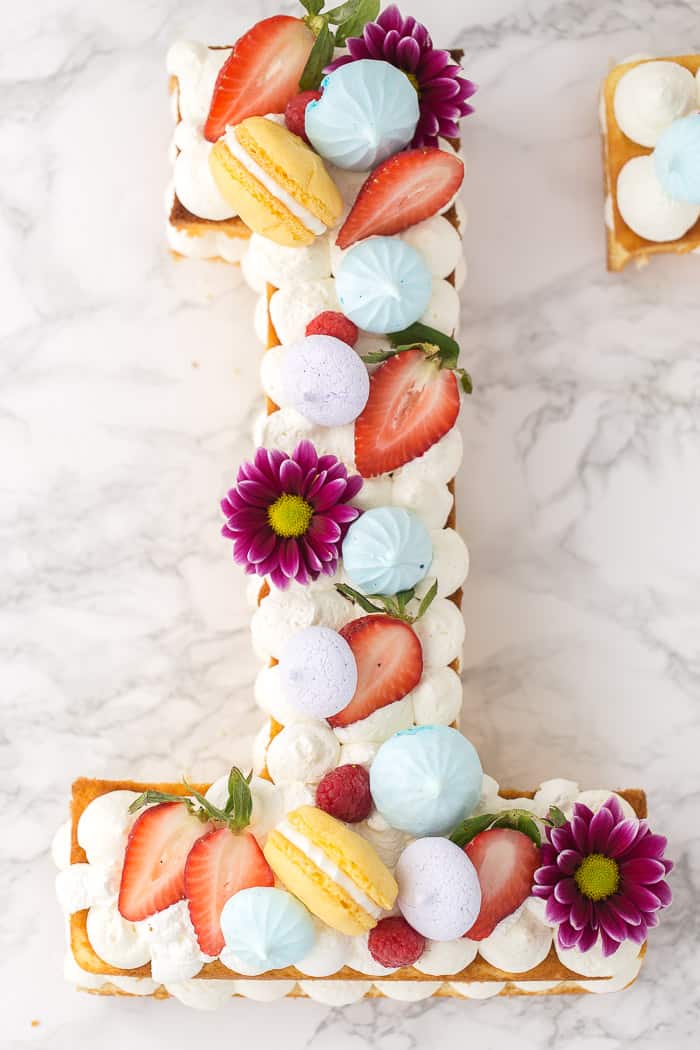
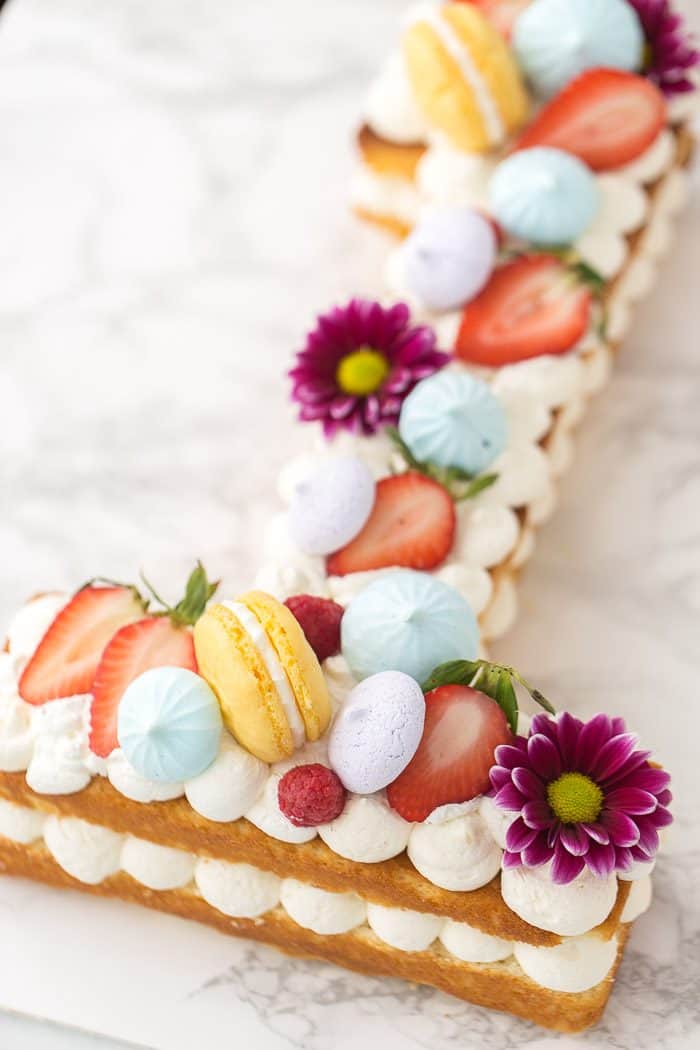
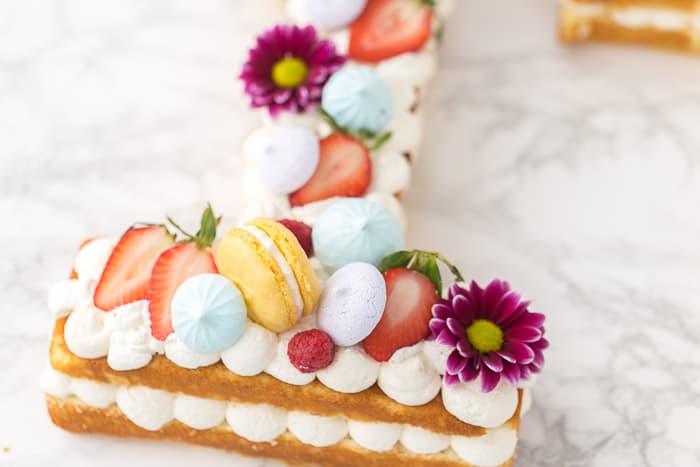
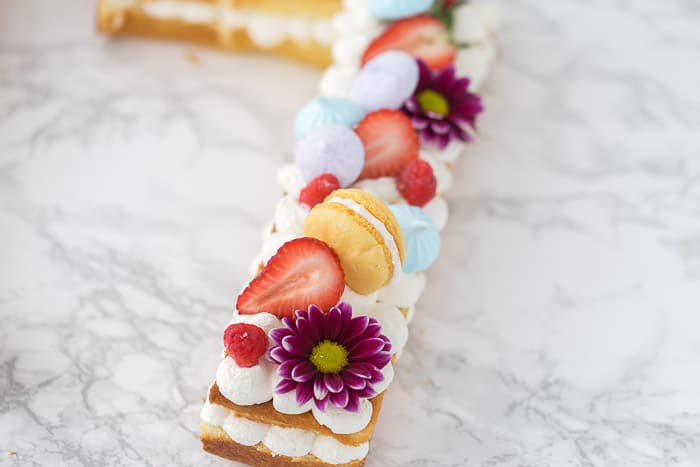
- Gather your decorations. I used fresh flowers, meringue kisses, fresh fruits and macarons (lemon macarons). Of course, you can use any combination of decorations, colors, etc. to personalize the cake for your celebration.
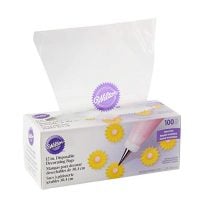
- When ready to decorate, fit a pastry bag with a large round tip and fill with the frosting.
- Place your first layer of cake on a cake plate or serving board.
- Pipe frosting all over the cake in dollops using the round tip. You want the dollops to be at least 2-inches tall.
- Place the second layer of cake over the frosting gently.
- Repeat the dollop frosting on top of the second layer.
- Top with your decorations.
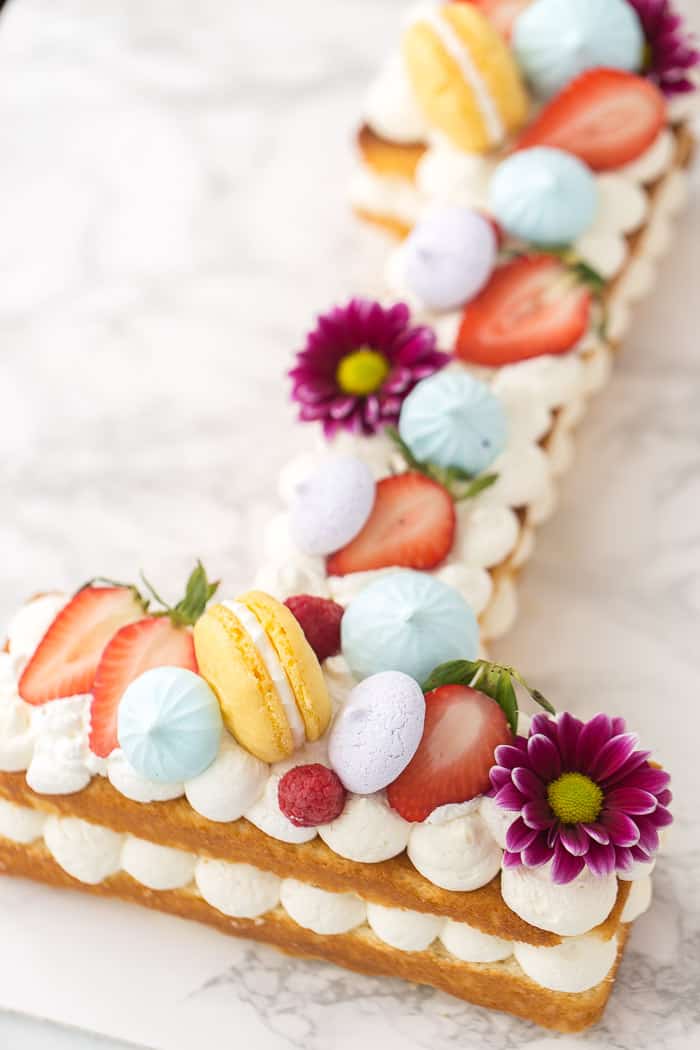
There you have it, friends. The steps are truly easy to make this number cake or any letter cake. These are perfect for birthdays, baby showers, or special event celebrations. Let me know below in the comments if you try it!
If you love specialty cakes check out my step-by-step tutorial on how to make a makeup cake.
How to Make a Number Cake
Seen the trending number cakes and ever wondered how to make one? Follow my easy step-by-step guide on how to make a number cake to create one at home and for your next celebration.
Ingredients
For the Vanilla Cake:
- 2 cups cake flour, sifted
- 1 1/2 cup all-purpose flour
- 2 cups granulated sugar
- 1 tablespoon baking powder
- 1 teaspoon salt
- 1 cup (2 sticks) unsalted butter cut into 1-inch cubes, room temperature
- 4 large eggs, at room temperature
- 1 cup whole milk, at room temperature
- 1 teaspoon vanilla bean paste or 2 teaspoons pure vanilla extract
- 1/2 teaspoon pure almond extract
Cream Cheese Whipped Cream Frosting:
- 8 ounces cream cheese, room temperature
- 2 cups heavy whipping cream, very cold
- ¾ cup powdered sugar
- 2 teaspoons pure vanilla extract
Instructions
For Cakes:
- Preheat oven to 325 degrees F. Assemble your number in the number cake pan. Grease the pan with baking spray and set aside. The recipe as written will make two numbers. So if you only have one pan, you will need to bake each number.
- In the bowl of an electric mixer, combine the dry ingredients and mix at low speed until well blended.
- Increase speed to medium-low and add the cubes of butter, one at a time mixing each one for a few seconds before adding the next. Mix until there are no large chunks.
- Add eggs, one at a time, and mix well between each addition. In a small mixing bowl, whisk together the milk, vanilla, and almond extract.
- Increase mixer speed to medium and add in the wet ingredients in 3 parts, mixing until incorporated and scraping down the bowls after each addition. DO NOT over beat otherwise, you will end up with dense cakes.
- Divide batter into the prepared number cake pan, filling each about ⅔ full. Bake cakes, one at a time, until a toothpick inserted into the center come out clean, 17-20 minutes.
- Remove cakes from oven and let cool in the pan for at least 15 minutes. Invert onto a cooling rack and let cool completely.
- Using a wire cake leveler, slice each number cake into two equal halves.
For the Cream Cheese Whipped Cream Frosting:
- Pre-chill the bowl of your stand mixer and whisk in the freezer for about 10 minutes.
- Beat the cream cheese until smooth, about 2-3 minutes. Add the cold heavy cream, powdered sugar, and vanilla extract to the bowl. Whisk on medium-high speed until stiff peaks form. Be careful not to over whip the heavy cream.
Assembly:
- Working with one number at a time, place one layer of the number onto a cake platter. Using a pastry bag fitted with a large round tip (or your favorite tip), pipe the whipped cream frosting over the cake in dollops. You can choose to evenly spread the frosting too.
- Place the second layer of the number cake on top of the frosting. Pipe some more frosting on top in dollops.
- Finally, decorate the cake with your desired toppings. I used meringue kisses, macarons, fresh flowers, and fresh fruits. Remember to save an equal amount of decorations for your second number if you are making a two-digit numbered cake.
- Repeat the above steps for the other number if you are making a double-digit numbered cake.
Notes
- Notes: You can find the pan I used here on Amazon
- For a one-digit cake (e.g. 3), half the recipe above and bake one cake.
- The recipe above is written for a double-digit cake (e.g. 17)
Recommended Products
As an Amazon Associate and member of other affiliate programs, I earn from qualifying purchases.
*Amazon affiliate links included above*

For the vanilla cake, can I use regular flour instead of cake flour? Also, can I omit the almond extract? Oh and what round tip did you use to make the dollops?
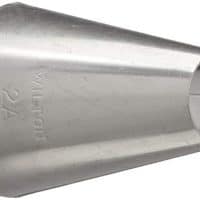
Hi Sofia. I haven’t tested this recipe with regular flour. You could try it, just know that it could be a little dense as cake flour has less protein content. Yes, you can omit the almond extract. I used Wilton tip 2A but any large round tip would work. Let me know how your cake turns out 🙂
Hi,
Thank you for this recipe and tutorial. I used it to make my 1st number cake for my moms 72nd birthday recently. It was a big hit and delicious. My sis and my BIL said they thought the cake was a bit dry. Not sure if they meant dense or dry. It didnt taste like either of those to me or other people. I followed the recipe exactly and assembled on the day of. I did bake the cake 2 days before but wrapped with cling as best I could and left at room temp
My question is what would be tour suggestion to add more moisture to the sponge if needed? I did have issues with uneven baking and browned edges. Can’t use cake strips with this special wilton pan 🤷🏻♀️
Thanks so much,
Nissa
Hi Nissa! I am so glad to hear you made this cake for a family celebration. Always makes me happy to hear I can be a part of making your celebrations sweets :). I am not sure how nice your sis and BIL are lol. But maybe baking the cake a few days ahead of time and not sealing perfectly could lead the cake to dry out. In the future, you could baste the cake in a simple syrup (sugar and water combined and brought to a boil until sugar dissolves and water cooks down a bit. you can also flavor this syrup for added flavor). This will help with moisture as well. For the uneven baking, make sure you spread your batter evenly in the pan. This pan has lots of grooves and bumps so the batter needs to be leveled to avoid uneven baking. Don’t let one or two ‘picky’ tasters bring you down 🙂 Most of the other folks enjoyed the cake.
I don’t have a number pan, but I have a 13×9 cake pan and I’m pretty sure I can get 2 #1’s from it. My question is how much cake batter should I use for the 13×9? Would double the batter be enough?
Hi Liz, Sorry I didn’t try the recipe in a 13×9 pan. however, for most of my baking, I always fill the baking pan about 3/4 full to make sure it does not overflow. Hope that helps!
Hi there, this is beautiful! Is it possible to assemble it the day before and store in the fridge? Or would the cake go dry because it would be exposed?
Hi Lozzie, you can definitely assemble it the day before but it may go dry as it is a naked cake. Unless you can store it in an airtight container, I won’t recommend assembling it a day before. You can, however, make the frosting, cakes, decorations and everything the day before and just assemble when ready for your party.
Hi, can the frosting be made about 8 hours before needed and kept in an air tight container or should the frosting be made just before it is needed? Your cake is gorgeous and I sure hope mine resembles it 🙂
The frosting can be kept in an airtight container and it is fine to make a few hours before. Hope that helps!
Hi, I tried to do a trial before. After placing the macaron and meringue on the frosting they turn soft within 30 mins. Does this happen to you and anyway to prevent it?
Hi Jenna! I am sorry to hear that. That didn’t happen to me – I decorated mine the day of the party, drove an hour to the party and the toppings were still together. I would recommend making sure your meringues are completely dry before placing on the frosting. being whipped cream frosting, it is quite moist and most times unstable. You could try stabilizing your whipped cream as well with gelatin. Not sure these are helpful! But if you can, try to decorate as close to when you need to present the cake.
Can I make the icing a day ahead and it still be good for piping?
Hi Kandi – the whipped cream icing is best the day off. However, if you need to make it the day before you can. Store refrigerated and it should pipe okay the next day. It may separate but you might be able to spread it out.
Never mind, had I read a little further, I would have found my answer. Thanks!
No problem at all. Please let me know how it turns out!
Did you cut each cake in half to get the 2 layers? Or did you bake each number twice?
Yes – I cut each in half to get the 2 layers.
Thank YOU! You just made something that seemed so daunting so easy!! I can’t wait to give it a go now!! Next stop Amazon to order that pan! Who knew?!
SO glad you found this helpful! Be sure to come back and let us know how your cake turned out!
I was downright drooling when I saw this photo on Instagram! It looks SO ABSOLUTELY breathtaking! ❤️ 😍I’m sure your niece was super delighted with this decadence! That pan is such an amazing invention!
Thank you 🙂
This is great for birthdays, years in work and other occasions that uses numbers, a different twist instead of using number candles why not make a cake out of your age right?
I agree!! So many ways to use this pan!
Wow! I really love your recipes and I am just a beginner and I don’t know how to get all the necessary items
Can I get a little help
Sure, feel free to email me at zainab@aclassictwist.com
Okay, obviously I need to invest in one of these pans! Who knew something like this existed in the world.
Right?? It would be great for many birthday parties to come.
This tastes amazing!!! Is there a way to make it chocolate?
Easiest way is to Just add cocoa powder.
FUHREAKING GORGEEEEOUS OMG
Thank you, dear! It is so easy and I am sure would be perfect for Jame’s birthdays.