How to Make Macarons Guide
If you love macarons but have been too afraid to try them at home, you’re in luck! I’ve got the best guide on How to Make Macarons, and I will walk you through it step by step!
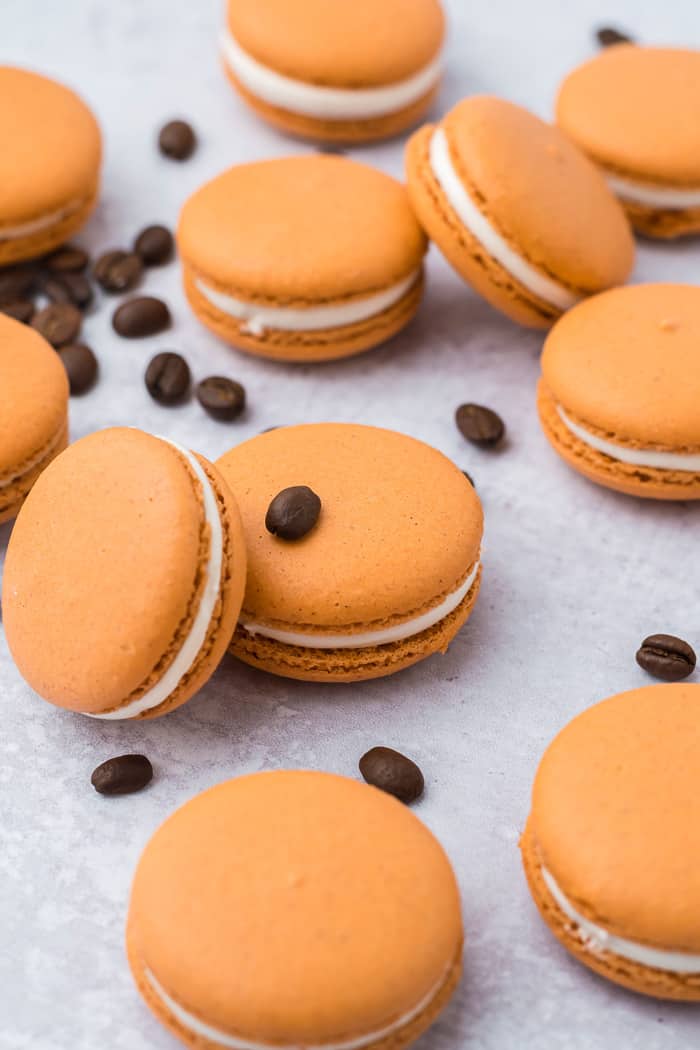
Ohhh macarons, how I love you! I can’t pass by a bakery without taking a quick look at their macaron case. The crunchy meringue, the light, and the sweet filling, everything about them is just so delicious! A lot of people love them, but not everyone knows how to make them. And that’s why I’m here! With so many macaron recipes on the blog, I needed to create a step by step guide on my tricks and tips.
I will walk you through the process step by step, so you will be a macaron making pro in no time! I’ll tell you the best equipment to use, the best ingredients, and the best steps to take to ensure you get a perfect macaron every time.
What is a Macaron?
So first thing’s first, what is a macaron? A macaron is a delicate and delicious sandwich cookie. The cookie is a meringue made primarily from whipped egg whites and almond flour. And two of those cookies are sandwiched around light and sweet filling.
Macarons are not to be confused with macaroons, although I know the word looks very similar! Macaroons are made from coconut, egg whites, and sugar. They are usually dipped in chocolate and are also super delicious. Just make sure to keep them straight!
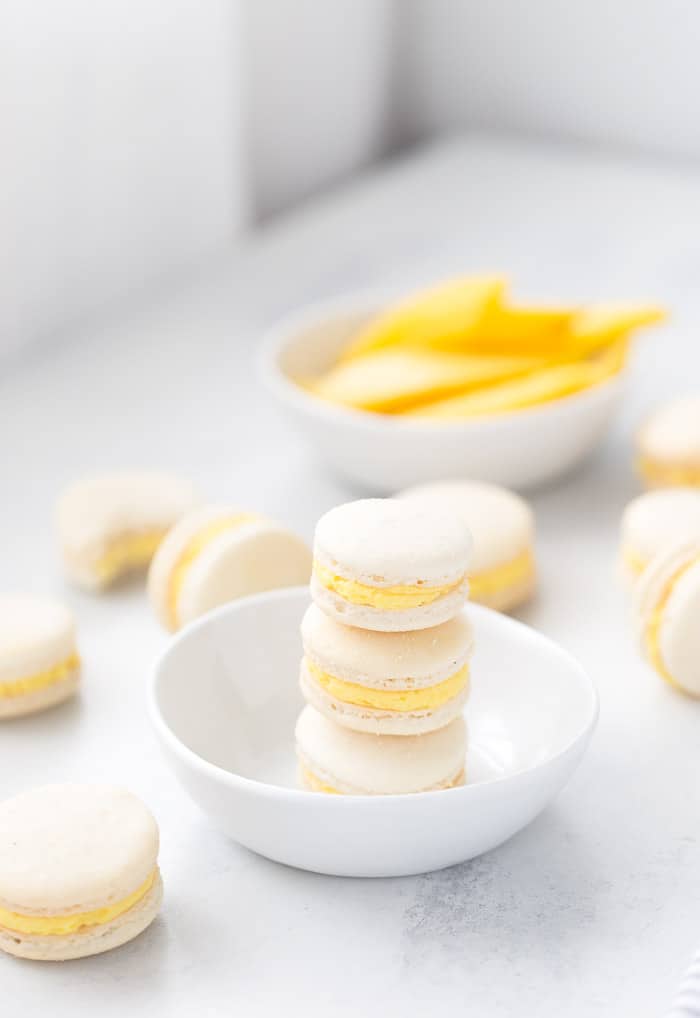
Tools needed to Make Macarons
As promised, I am going to walk you through this step by step! First, I’m going to list out some equipment that will be super helpful in order to make a successful batch of macarons. (Links are to Amazon and they are affiliate!)
- 1 1/2″ Round Cookie Cutter – I like to trace a cookie cutter on my parchment paper. This makes the perfect template and also ensures that your macaron shells are all uniform in size. I’ve used this method for years. However, you can also use a template macaron silicone mat.
- Kitchen Scale – Because the ingredients for macarons are measured in grams, a kitchen scale will help you to make sure you’re measuring everything properly. In my opinion, this is non-negotiable for successful macaron making.
- Food Processor – One of the keys to perfect macarons is to make a very fine dry mixture for the shells. Pulsing the flour and powdered sugar in a food processor helps with that. You don’t need a fancy one, just a basic food processor will get the job done.
- Stand Mixer – I have a KitchenAid, and I use it for SO many more recipes besides macarons. In order to whip air into your macaron batter, it requires a lot of mixing. A stand mixer makes that a lot easier. But any electric hand mixer will work too.
- Sifter – This helps the dry mixture to be very fine. It will sift out the larger pieces of almond flour and ensures your mixture is perfect for macarons.
- Pastry Bags – Piping the macaron batter and also the filling is made much easier when using a piping bag with a round tip.
- Large Round Piping Tip – again this is for piping the macaron batter and gives you control over how much batter you dispense.
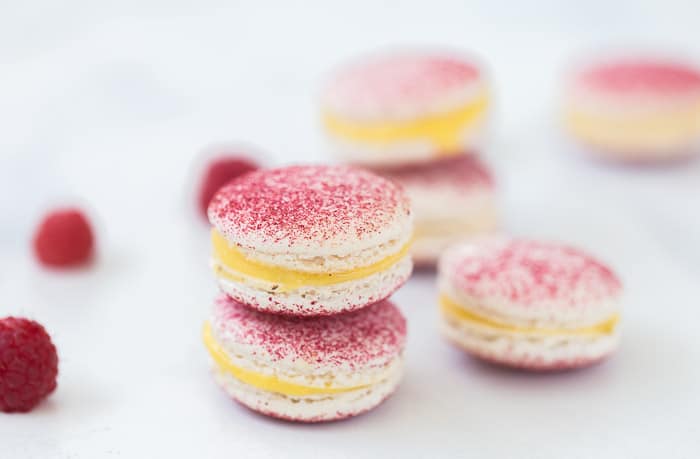
How to Make Macaron Shells
As I stated above, I like to use a 1 1/2″ round cookie cutter to draw circles on the back of parchment paper. This acts as a guide to make uniform sized macaron shells. After you’ve made the template, place that parchment on a baking sheet (marked side down.)
Next, pulse the dry ingredients (almond flour and powdered sugar) together in a food processor. This is also where you can add dry spices to the macaron shell. I’ve done espresso powder (chocolate espresso macarons), cinnamon spices (pumpkin spice latte macarons), and even freeze-dried fruits (mango macarons). Just be sure to follow the recipe you are using.
Sift the dry mixture several times until there are less than 2 tablespoons of almond bits left. You can throw out the extra almond bits and set the rest of the mixture aside.

Next, we need to whisk the egg whites. This incorporates air into the mixture, creating that light and airy texture that we all love about macarons! There is evidence to suggest “aged” egg whites are critical to macaron making. However, I have had success with just making sure the egg whites are at room temperature.
What is critical however is that you want to make sure there are NO egg yolks in your egg whites. This will impact whether you can whip your eggs to stiff peaks.
Using an electric mixer, whisk together egg whites, cream of tartar, and sugar. The cream of tartar will help with the stability of your whipped eggs. You want to continue beating the egg whites this until stiff peaks form (it should take about 5-7 minutes.) You should be able to turn the whisk upside down and the egg whites stay standing.
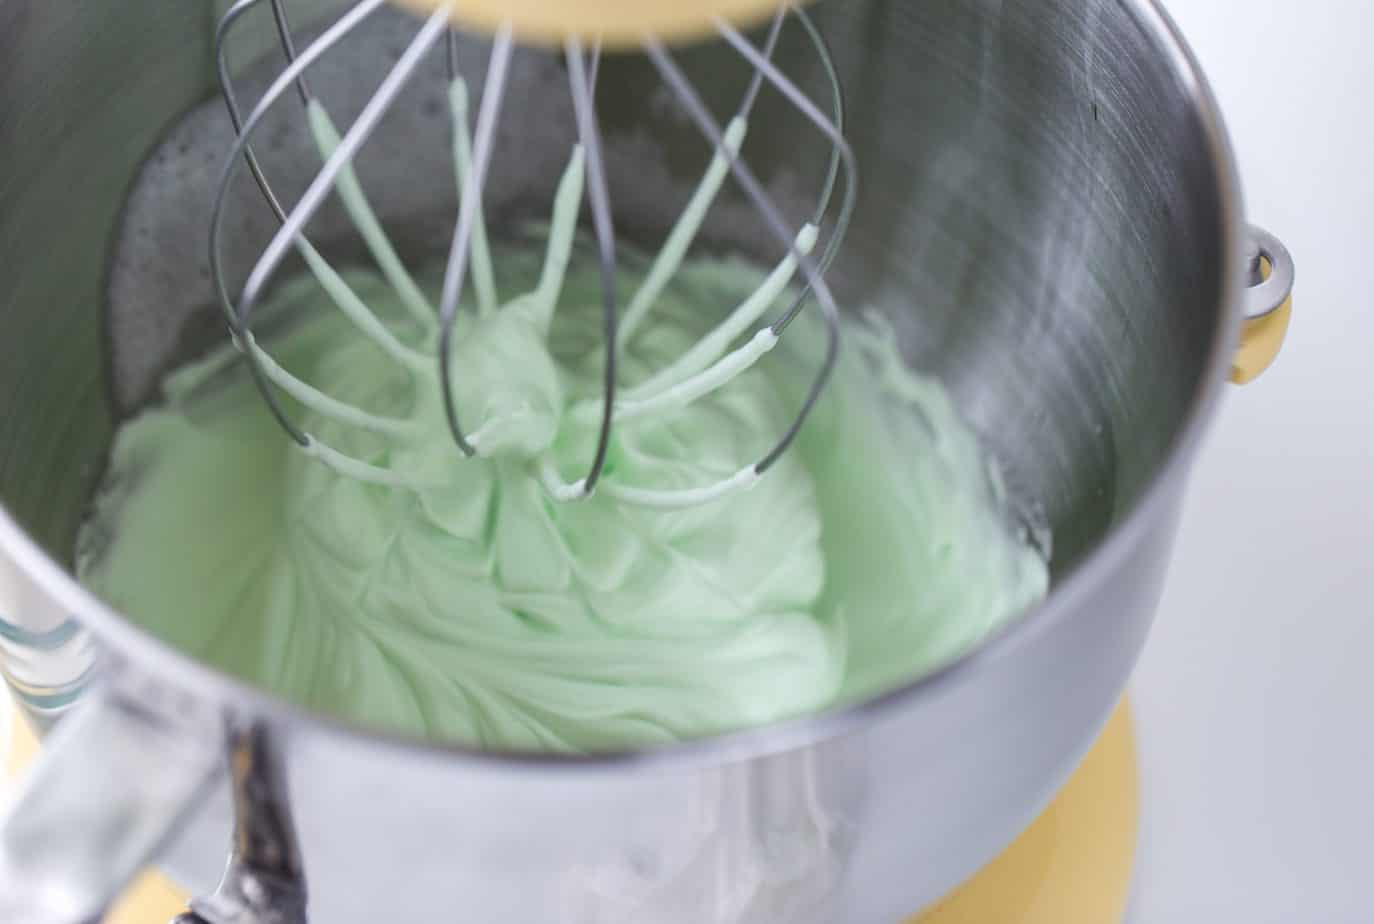
At this point, you can add in any food coloring or liquid flavorings (lemon extract, vanilla etc) that you’d like and whip for another minute or so to incorporate them.
The next step of the process is THE MOST CRITICAL. The mixing or “macaronage”. This is basically gently folding your dry ingredients into the whipped egg whites. It is critical because over mixing or undermining will lead to failed macarons.
So how do you know when the mixture is just right?
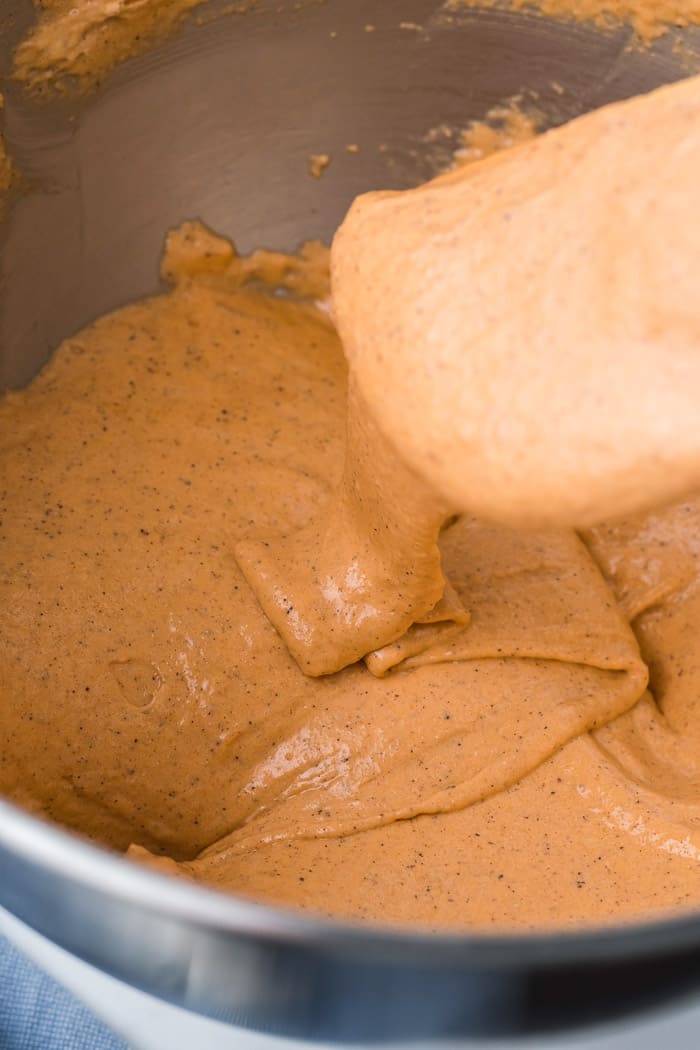
First, you gently fold the meringue as to not lose all of the air you just added. Do this by pressing against the side of the bowl and scooping from the bottom until the batter is smooth and shiny; about 20-25 folds.
To check to make sure the consistency is correct, use a spatula to scrape up some of the mixtures. When the mixture is loose enough to fall off your spatula, stop folding. Start checking the batter after 20 folds.
You should have a ribbon-like effect when the macaron mixture is at the right consistency. Also, the mixture will incorporate back into the bowl after about 10 seconds.
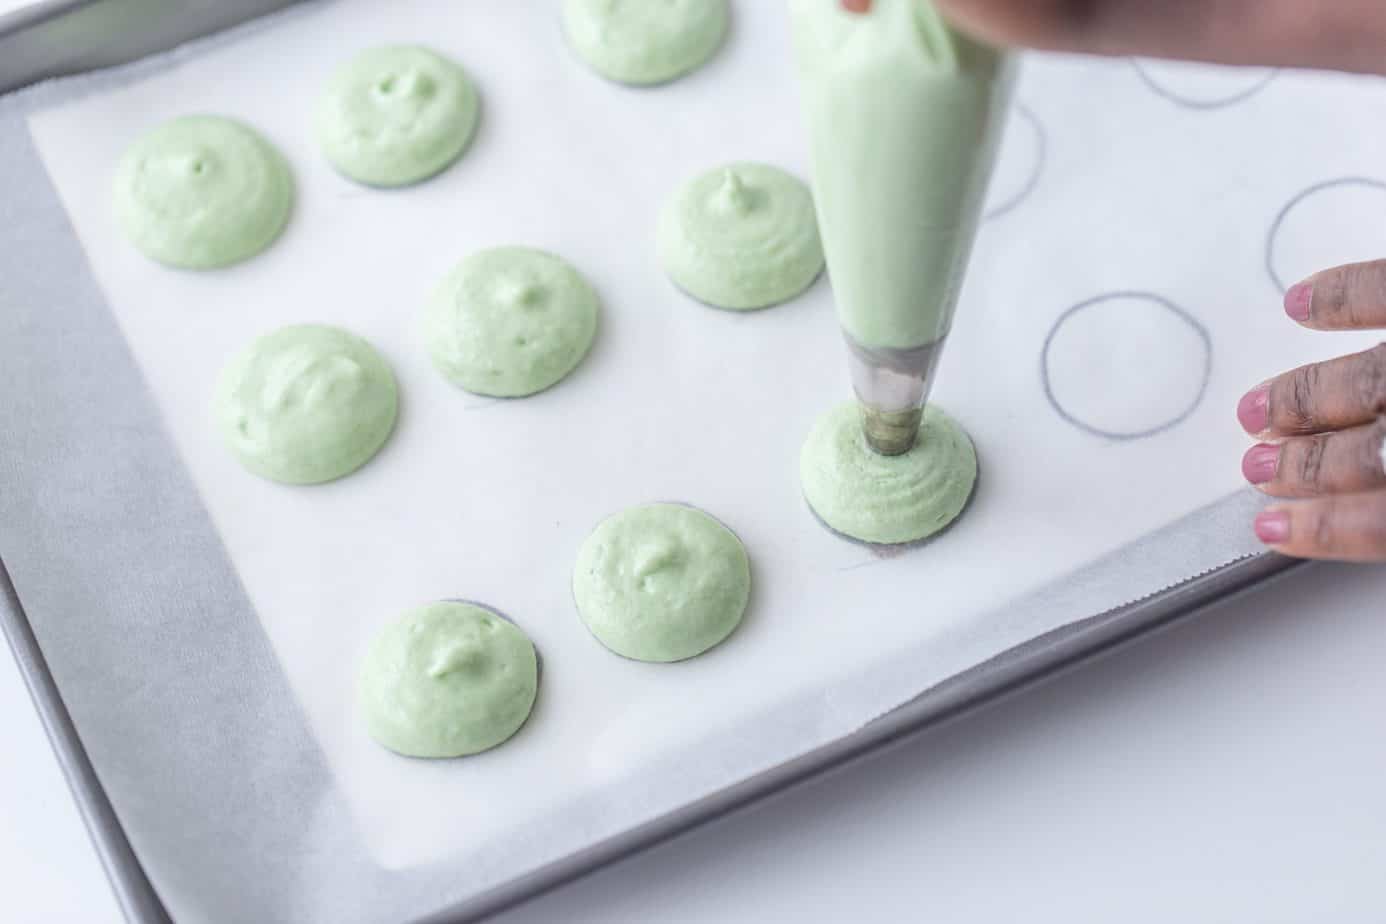
Now you can transfer the batter into a pastry bag fitted with a large round tip. Pipe the batter onto your pre-traced circles on the half sheet pan. After you’ve finished piping, tap the pan hard on the counter to release any air bubbles trapped in the batter. Let shells sit on the counter for 20-30 minutes or until dry to touch. This can take up to an hour, depending on the humidity of your home.
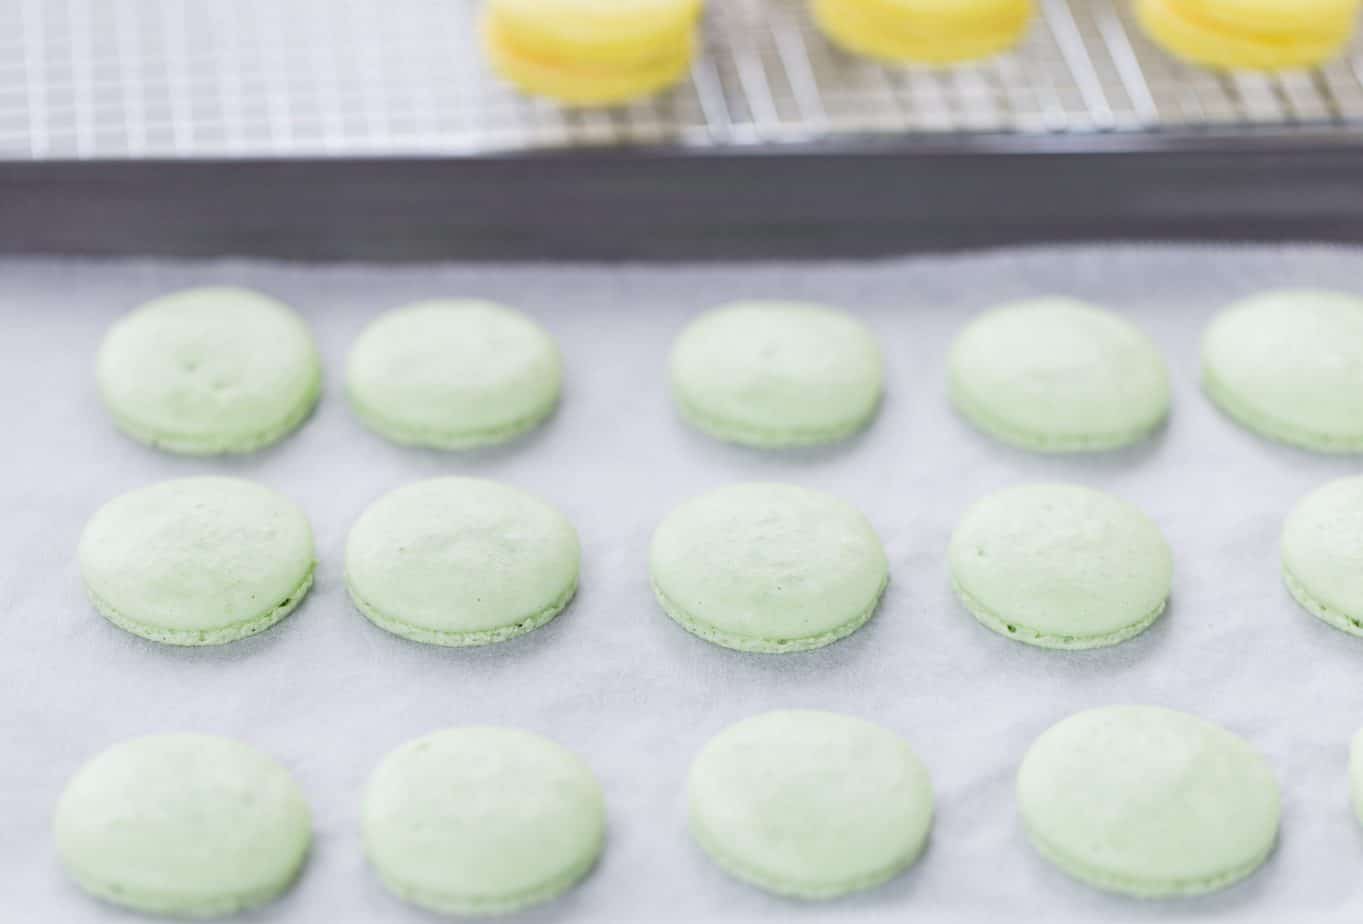
And you’re almost done! Now it’s time to bake. Preheat the oven to 300°F and bake the meringue for 11-15 minutes or until the shells harden. You should be able to peel off the shells from the cookie sheet. Make sure to let them cool completely on the pan before peeling from the parchment.
How to Make Macaron Filling
Now onto the filling. Depending on your preference and the flavor profile you’re going for, you can use any number of different fillings for your macarons. From buttercreams to curds to jam or even apple sauce (salted caramel spiced apple macarons). To me, basic buttercream is the perfect filling however, the sky is your limit.
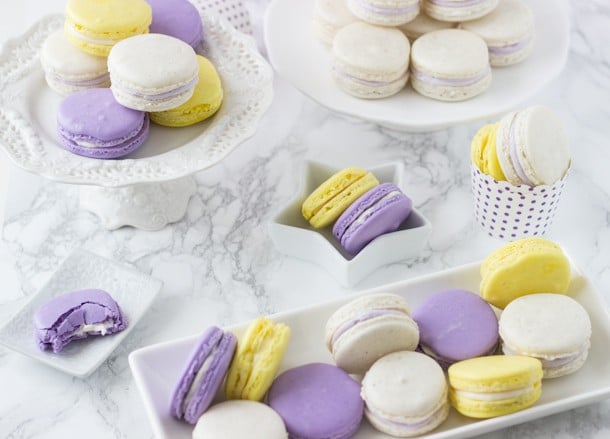
The last step is filling your macarons with your filling of choice. I used a pastry bag with or without a round tip to be able to carefully pipe the filling. Pipe the filling onto the flat side of one macaron shell and top with another shell and that’s it!
You’ve made your first macaron!
Be sure to keep them in the refrigerator until you are ready to enjoy them. They get better with age and can keep in the refrigerator for up to 7 days if using buttercream filling. For other fillings, such as apple sauce, jam, or curd, try to use them as soon as possible.
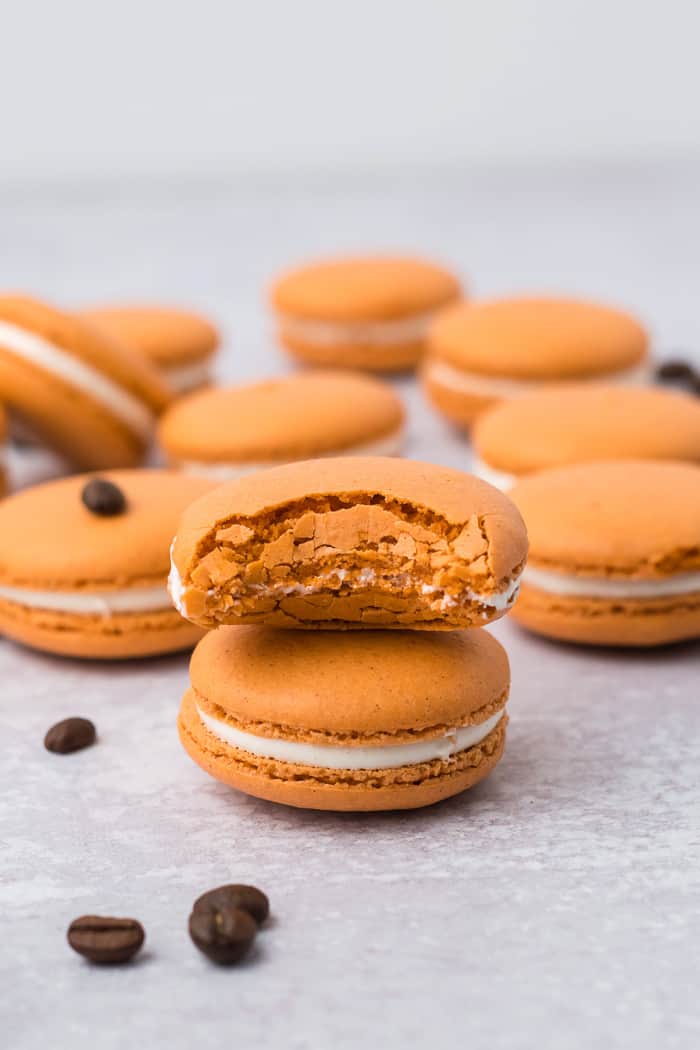

can I switch the lemon extract and do vanilla instead, and switch the lemon zest with strawberry?
Yes you can for the extract. For the strawberry, I would suggset freeze dried strawberries instead.