How to Make a Number Cake
Seen the trending number cakes and ever wondered how to make one? Follow my easy step-by-step guide on how to make a number cake to create one at home and for your next celebration.
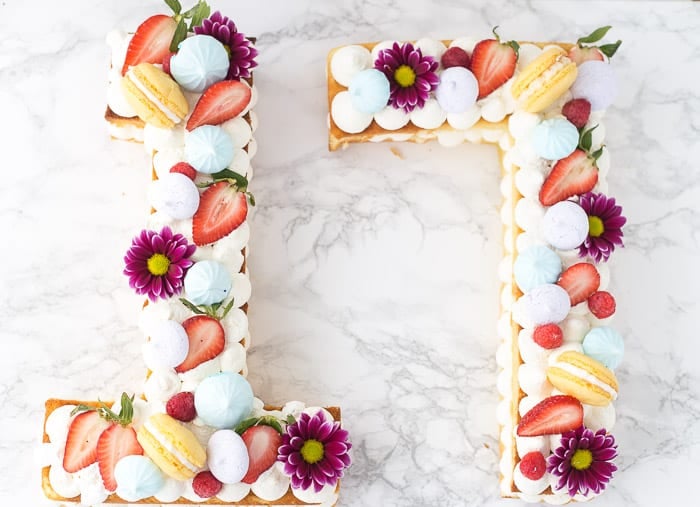
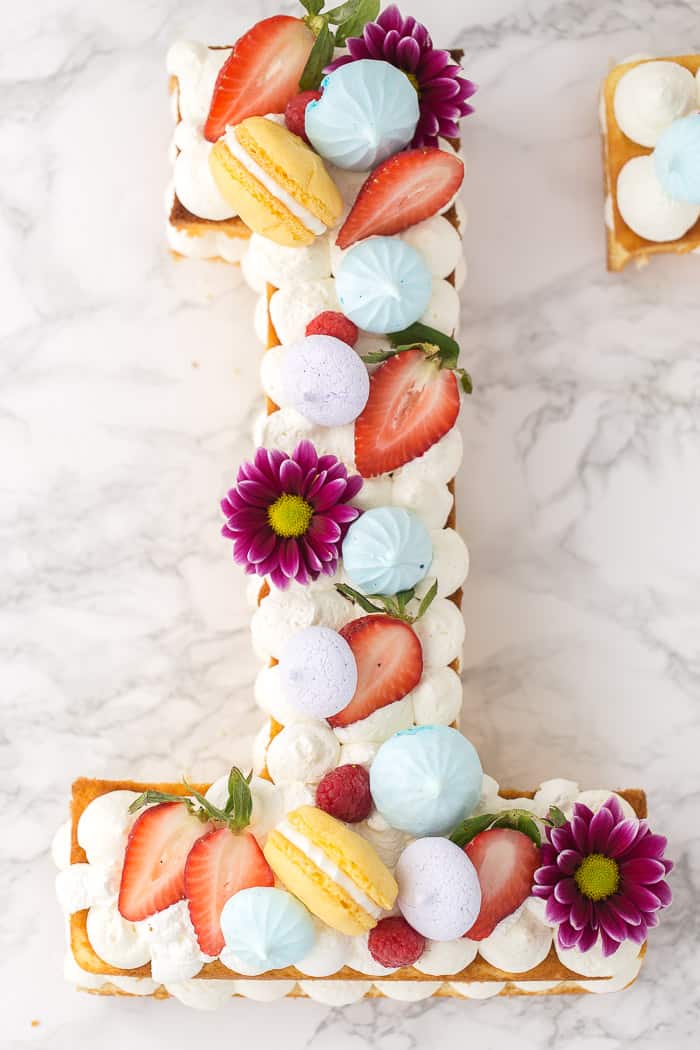
I am sure you have all seen the trend of number cakes on Instagram lately. My niece wanted one for her birthday last month and I was challenged to make one for her. Just like her Minion birthday cake from four years ago, I posted a picture on my Instagram and everyone loved it.
A few people even asked for a step-by-step guide on how to make a number cake. Well, here it is!! Disclaimer: it is straightforward, and all you need is my secret weapon.
I am always a skeptic when it comes to trying anything that is on-trend. Especially during the hype of the trend. It took me years to get on the kale bandwagon (spoiler, this kale salad with radishes and lime vinaigrette is my favorite salad now) or the dripping cake (I am not there) or the Unicorn obsession (this Mother’s Day cake was my interpretation of the trend).
Needless to say, trends don’t push me to try things. My now 17-year old niece loves every trend out there and uses her birthday to challenge me to do some. I am glad she pushes me sometimes as her ideas are some of the most popular cakes on my blog.
When researching how to create this beautiful spring-like number cake for her, I watched a few youtube videos and a lot of people were baking the cakes or cookies in a sheet pan and then using a stencil to cut out the numbers. If you know me, I am the laziest baker there is and I was not down for that. There had to be an easier way to achieve this so I went on the hunt for a numbered cake pan.
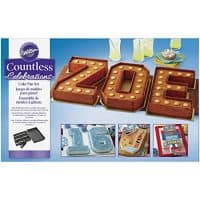
Out of several options that I explored, this Wilton cake pan was the best I found. There were a few others but in the end, the value and numerous possibilities for the future won me over.
It is essentially one pan with pieces that shape out all the numbers and alphabets. Can you imagine that? One pan to make all the number cakes your heart desires and the alphabets. I foresee a lot of birthday number cakes in my son’s future. (Update: See my how to make a letter cake tutorial for my son’s birthday cake!)
Okay, now that we have the pan, the rest of the cake is really simple. Personally, I think you should get two of the pans. It makes baking easier and faster but you can survive with one as I did.
Here’s your step-by-step guide on how to make a number cake:
- Align the sections of your cake pan using this Wilton Countless Celebration Cake Pan. Make sure you have your number outlined as directed by the instructions that come with the pan.
- Grease your cake pan including the section dividers using baking spray.
- Prepare your cake batter. You can use your favorite cake recipe, vanilla or chocolate. I used this vanilla cake recipe (doubled the recipe for my number 17)
- Spoon the batter into the prepared pan and bake for the recommended time of your recipe. Note that since you are baking in a special pan, you will need to adjust your baking time. I started checking my cake after 12 minutes.
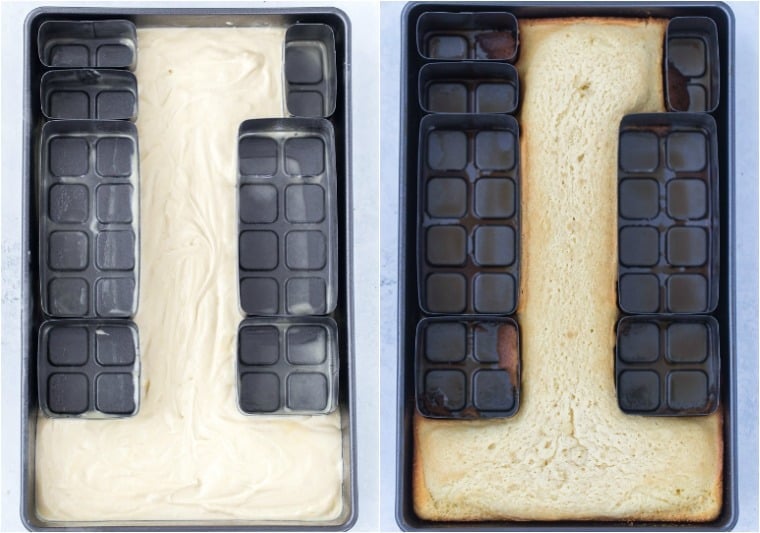
- Let cake cool in the pan for at least 10 minutes before inverting onto a wire rack to cool completely.
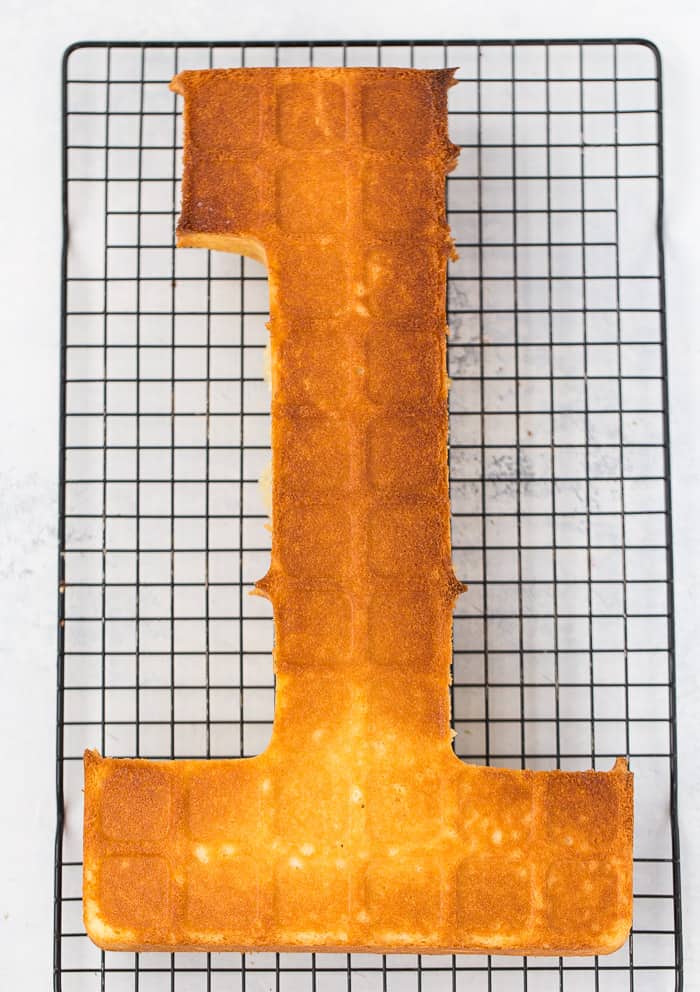
- Once cool, slice each number cake into two halves for layering. I used a cake wire cutter to slice my cake but you can also use a serrated knife.
- If using just one pan, repeat the process and bake your second cake/ number.
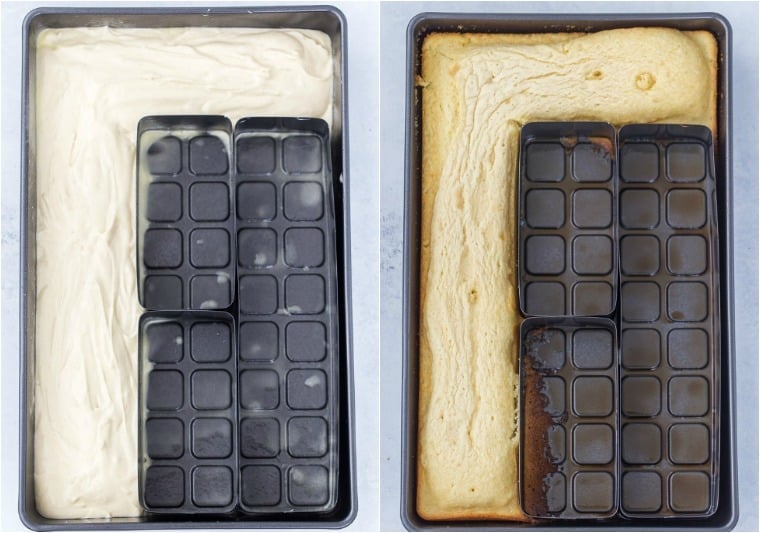
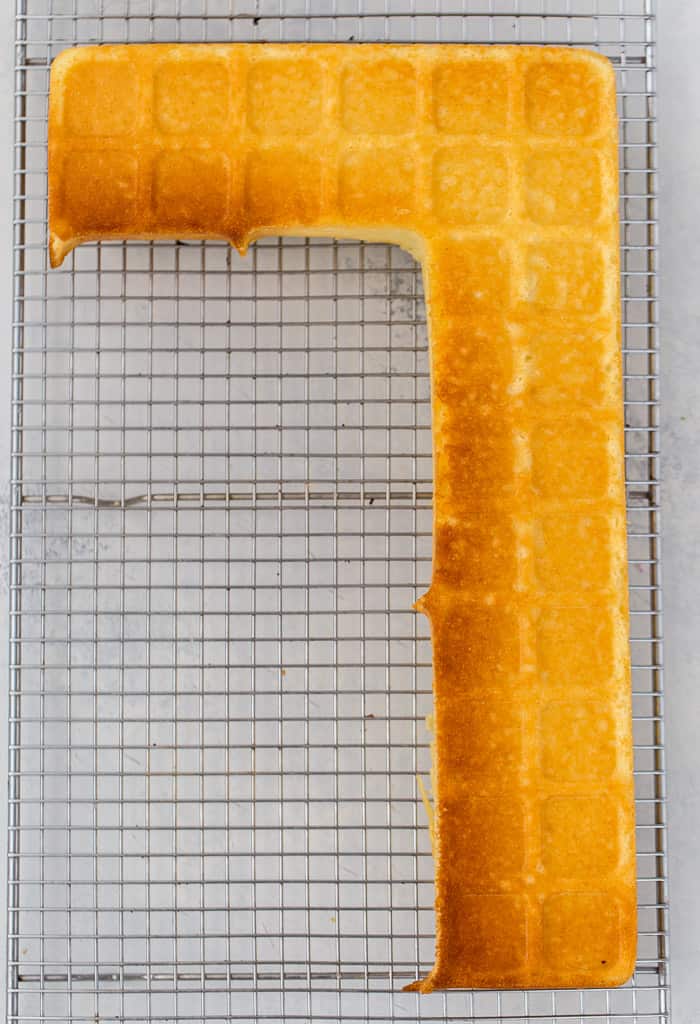
- While the cakes cool, prepare your whipped cream cheese frosting, recipe below.
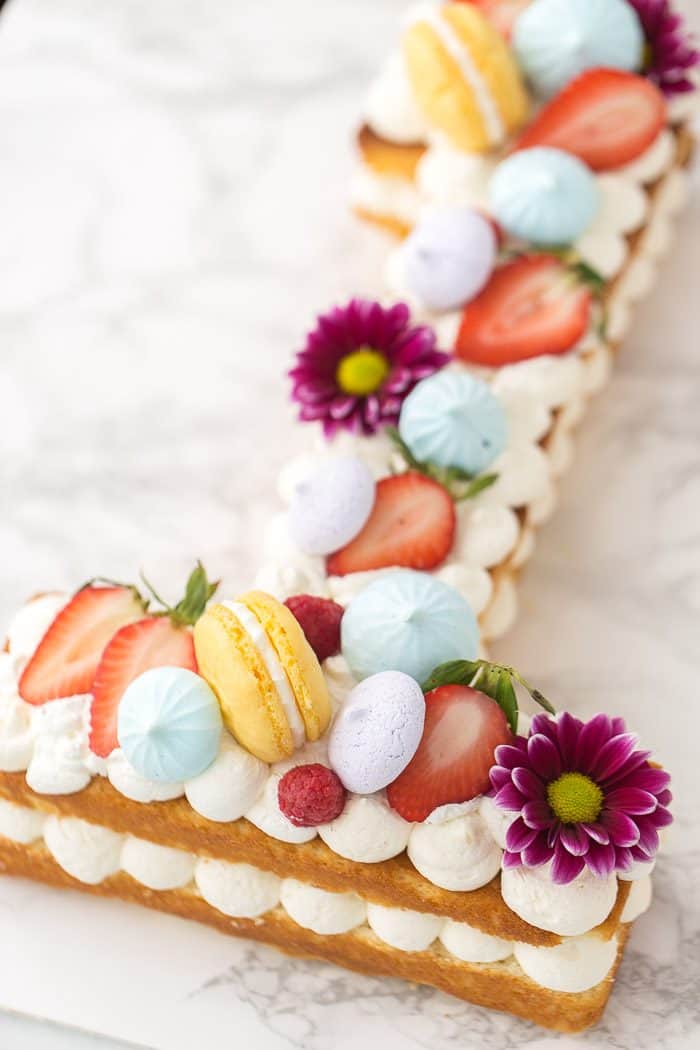
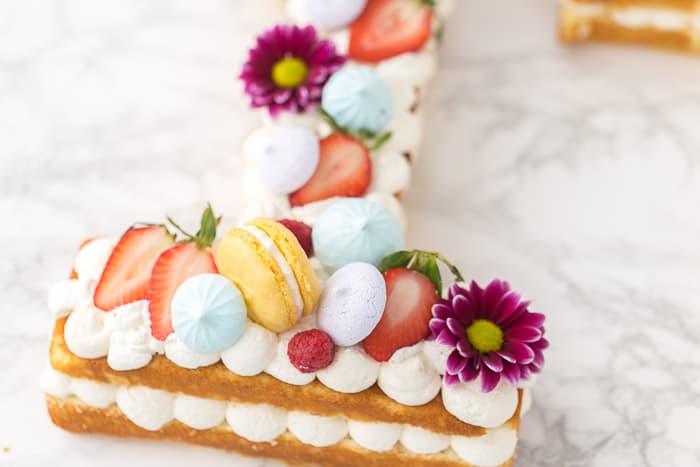
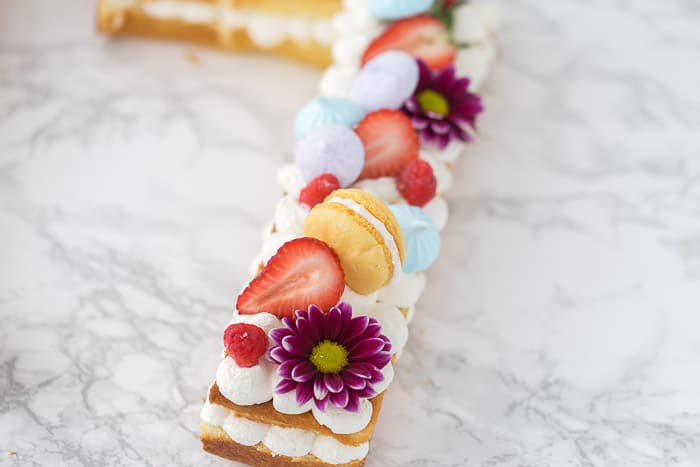
- Gather your decorations. I used fresh flowers, meringue kisses, fresh fruits and macarons (lemon macarons). Of course, you can use any combination of decorations, colors, etc. to personalize the cake for your celebration.
- When ready to decorate, fit a pastry bag with a large round tip and fill with the frosting.
- Place your first layer of cake on a cake plate or serving board.
- Pipe frosting all over the cake in dollops using the round tip. You want the dollops to be at least 2-inches tall.
- Place the second layer of cake over the frosting gently.
- Repeat the dollop frosting on top of the second layer.
- Top with your decorations.
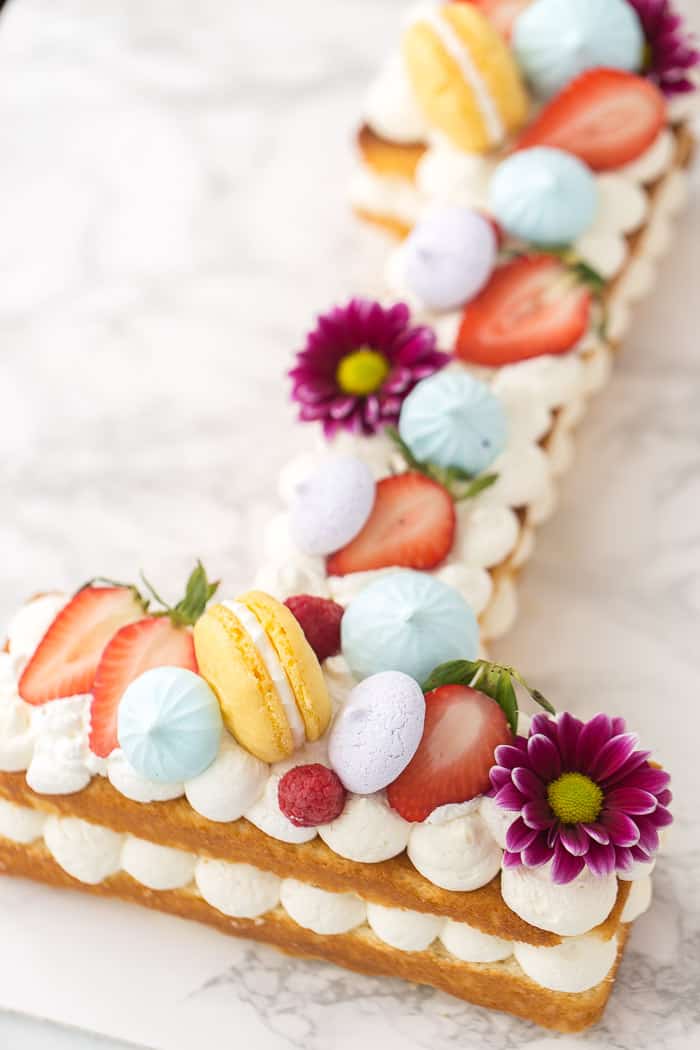
There you have it, friends. The steps are truly easy to make this number cake or any letter cake. These are perfect for birthdays, baby showers, or special event celebrations. Let me know below in the comments if you try it!
If you love specialty cakes check out my step-by-step tutorial on how to make a makeup cake.
How to Make a Number Cake
Seen the trending number cakes and ever wondered how to make one? Follow my easy step-by-step guide on how to make a number cake to create one at home and for your next celebration.
Ingredients
For the Vanilla Cake:
- 2 cups cake flour, sifted
- 1 1/2 cup all-purpose flour
- 2 cups granulated sugar
- 1 tablespoon baking powder
- 1 teaspoon salt
- 1 cup (2 sticks) unsalted butter cut into 1-inch cubes, room temperature
- 4 large eggs, at room temperature
- 1 cup whole milk, at room temperature
- 1 teaspoon vanilla bean paste or 2 teaspoons pure vanilla extract
- 1/2 teaspoon pure almond extract
Cream Cheese Whipped Cream Frosting:
- 8 ounces cream cheese, room temperature
- 2 cups heavy whipping cream, very cold
- ¾ cup powdered sugar
- 2 teaspoons pure vanilla extract
Instructions
For Cakes:
- Preheat oven to 325 degrees F. Assemble your number in the number cake pan. Grease the pan with baking spray and set aside. The recipe as written will make two numbers. So if you only have one pan, you will need to bake each number.
- In the bowl of an electric mixer, combine the dry ingredients and mix at low speed until well blended.
- Increase speed to medium-low and add the cubes of butter, one at a time mixing each one for a few seconds before adding the next. Mix until there are no large chunks.
- Add eggs, one at a time, and mix well between each addition. In a small mixing bowl, whisk together the milk, vanilla, and almond extract.
- Increase mixer speed to medium and add in the wet ingredients in 3 parts, mixing until incorporated and scraping down the bowls after each addition. DO NOT over beat otherwise, you will end up with dense cakes.
- Divide batter into the prepared number cake pan, filling each about ⅔ full. Bake cakes, one at a time, until a toothpick inserted into the center come out clean, 17-20 minutes.
- Remove cakes from oven and let cool in the pan for at least 15 minutes. Invert onto a cooling rack and let cool completely.
- Using a wire cake leveler, slice each number cake into two equal halves.
For the Cream Cheese Whipped Cream Frosting:
- Pre-chill the bowl of your stand mixer and whisk in the freezer for about 10 minutes.
- Beat the cream cheese until smooth, about 2-3 minutes. Add the cold heavy cream, powdered sugar, and vanilla extract to the bowl. Whisk on medium-high speed until stiff peaks form. Be careful not to over whip the heavy cream.
Assembly:
- Working with one number at a time, place one layer of the number onto a cake platter. Using a pastry bag fitted with a large round tip (or your favorite tip), pipe the whipped cream frosting over the cake in dollops. You can choose to evenly spread the frosting too.
- Place the second layer of the number cake on top of the frosting. Pipe some more frosting on top in dollops.
- Finally, decorate the cake with your desired toppings. I used meringue kisses, macarons, fresh flowers, and fresh fruits. Remember to save an equal amount of decorations for your second number if you are making a two-digit numbered cake.
- Repeat the above steps for the other number if you are making a double-digit numbered cake.
Notes
- Notes: You can find the pan I used here on Amazon
- For a one-digit cake (e.g. 3), half the recipe above and bake one cake.
- The recipe above is written for a double-digit cake (e.g. 17)
Recommended Products
As an Amazon Associate and member of other affiliate programs, I earn from qualifying purchases.
*Amazon affiliate links included above*

Hi
I am excited to try this recipe! Can I freeze the cake with the frosting on it?
Hello Lesly, I have not tried freezing the cake with the frosting before. You are welcome to try it but it will be an experiment. You can freeze the cake, wrapped tightly in plastic wrap, and then keep at room temperature before frosting.
Hello!!
Is it okay if I make the cake decoration and all the day before? Is it gonna dry out? How would you store it?
Thank you!!!
The storing would be the issue to prevent drying out. However if you have a large pan, you could store it in there and wrap with plastic wrap. I would store at room temperature if you do not have a container that is sealed.
Hi! So excited to try this. I got my pan (only 1) if filling 3/4 way seams like such a waste of batter??? If I use your recipe (dumb question) just fill 3/4 and save for the next number? Will that be enough?
Hi Carolyn, it is not a dumb question. It will be enough but you can always bake the first number and see if you want to bake another one with the remaining batter.
can i use a regular cake recipe, or does it need to be sponge so it stays together better?
I think you can Nicole, while I haven’t tried it, I don’t see why it shouldn’t hold up. Just be sure to bake and decorate same-day or close to your event.
I will try the full recipe next time as I had already baked a cake. I used the frosting and wow 👌 my husband is my taste tester and he loved it. I made a number one cake for a 1st birthday party for our church competition. I received so many compliments on the frosting. I mean people were saying how it really made the cake. I decorated with different candies and mini oreo cookies (it was a candy rheme cale competition) . The cake base was a moist chocolate. And I used 2 different tips for decorating. Will use this more often. Thank you
That is great to hear!! I love this frosting.
Hi! This is going to be my first time baking something like this so I’m a little nervous, but I had a question. I’ve seen some cakes use jam as a base layer on top of the bottom cake then pipe the frosting on top of that and then add the second layer cake. Do you think this would work? I’m wanting to do it a day before I need it because I won’t have the time to do it all that day. Or do you think it would fall apart because of the jam?
Hello, sorry for the delayed response, and I hope you were able to enjoy the cake. It should work if you are only storing it refrigerated the day before.
What brand cake flour do you recommend using ?
OMG! Look at these details! Really impressive. 😀
Hi, If i made this cake on Sunday would it be okay until the Wednesday? How would i store it? Thanks 🙂
Hi Sophie, yes the cake layers can be made ahead of time. I would wrap each in plastic wrap multiple times and store in fridge or freeze. If you freeze, bring to room temperature before frosting and decorating.
Hi, I was wondering if you have had any experience with piping on chilled buttercream frosting, instead of the cream cheese frosting? I just baked the number cakes this afternoon (#77 for my father in laws birthday) and am going to freeze the cakes tonight and ice and decorate them tomorrow before the party =)
Hi Heather, yes, you can pipe on chilled buttercream but you will need to get the buttercream to room temp and have it be pipeable.
Can I substitute mascarpone for the cream cheese?
Yes you can!