Spring Decorated Cookies with Royal Icing

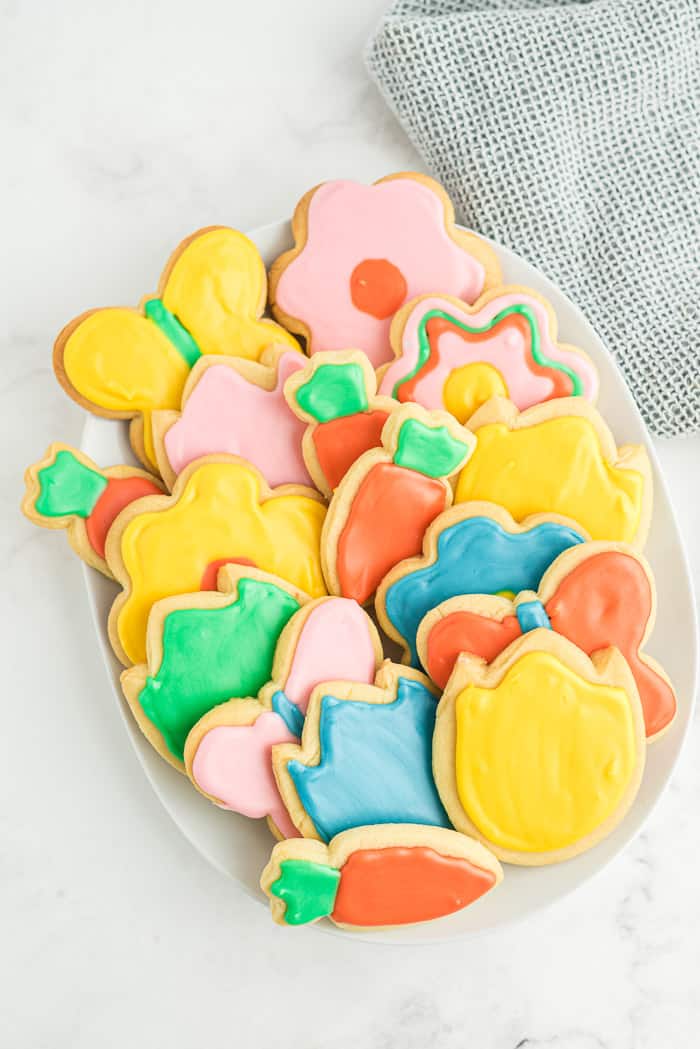
Happy Spring!! Somehow spring is coming in hot and that means a whole new menu! First up on my spring menu are these Spring Decorated Cookies with Royal Icing. They are intended for an afternoon activity with my kids.

This school year has been hard for everyone. Parents figuring out how to be teachers and children trying to adapt to virtual learning. Since we are together with our loved one’s more than ever before it has been hard to take a moment and enjoy the simple things. Let’s face it, nothing has been simple recently. Stress has been a huge part of our daily lives. Trying to stay safe and keep going. Sometimes the most simple things can help us de-stress and have some quality time with the ones we love most. This comes in many forms but a great stress reliever is baking.
How fun would it be to decorate some cookies with your kids? This is one of my favorite things to do. It has not been easy for us either during this time but we find joy wherever we can. My kids love helping me in the kitchen and decorating is one of their absolute favorites. My son loves picking the colors and this why these ended up being all pastel and bright, his favorite colors!!
Let’s walk through how to make these cookies and decorate them! The cookie recipe is similar to my Christmas Decorated Cookies. It is always a hit.
For the cookies, you need to chill the dough for two hours to make it easier to cut the shapes out. The cookies end up perfect each time and keep their shapes.
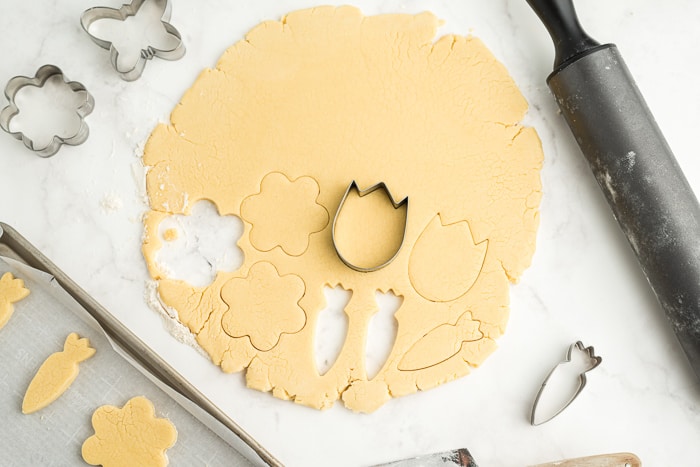
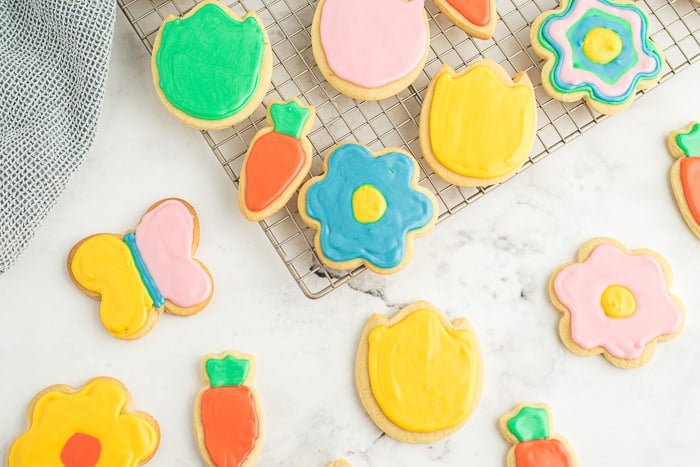
The cookie cutters I used were carrots and different types of flowers for Spring but you can use any kind of cutters you have at your disposal. If you are feeling adventurous I have also seen imprinted rolling pins and beautiful stamps to use in place of the traditional style cutters.
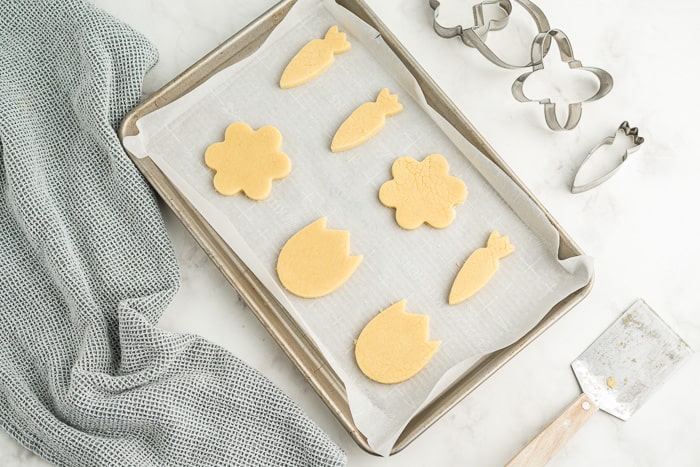
Bake the cookies and let them cool until they are ready for decorating. Do you see how they keep their shape?? This is what happens when you chill your dough before baking 🙂
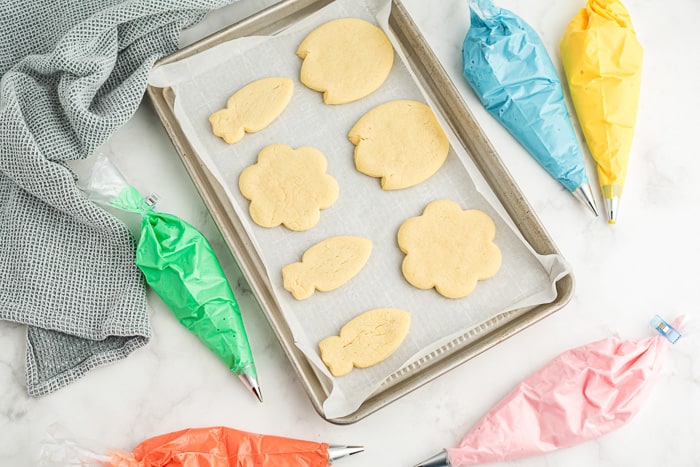
I love decorating with royal icing but I am not very gifted when it comes to it. No special or crazy designs in my toolbox, just simple flooding to the shape of the cookie. If you are brave, you can try designs!
With a new season upon us, it is time for a change. It’s time to open those windows, enjoy the warmer weather (when it stays), and get your baking on! I cannot wait to see what amazing designs you guys come up with! If you try my Spring Decorated Cookies with Royal Icing I would love to know what you think.
Until next time, have a great week friends.

Other Recipes you might like:
- Spring Decorated Cookies with Buttercream
- Bird’s Nest Funfetti Sugar Cookies
- Grandma’s Best Sugar Cookie Recipe

Spring Decorated Cookies with Royal Icing
Light, tender, and buttery, these sugar cookies melt in your mouth!
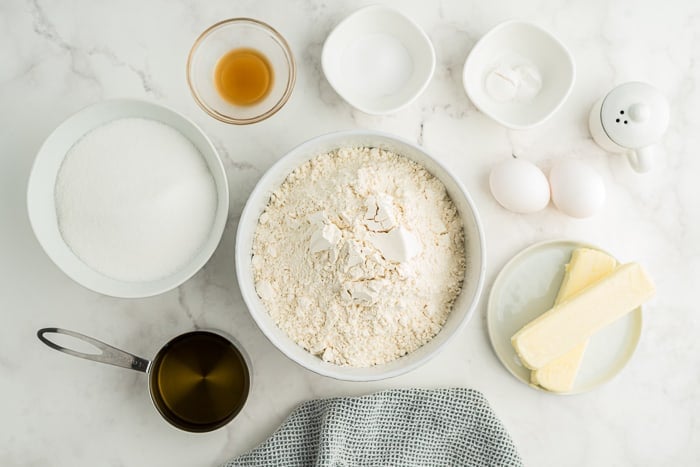
Ingredients
For the Cookies:
- 1 cup unsalted butter, softened at room temperature
- 1 cup light brown sugar
- ½ cup granulated white sugar
- 2 large eggs, at room temperature
- 2 teaspoons pure vanilla extract
- ¾ teaspoon salt
- ¼ teaspoon baking powder
- 4 to 4½ cups) all-purpose flour
For the Royal Icing:
- 1 pound powdered sugar
- ⅓ cup plus one tablespoon meringue powder
- ¾ cup water
- ½ teaspoon vanilla extract
- Food coloring
Instructions
For Sugar Cookies
- Line two cookie sheets with parchment paper.
- Using an electric mixer, cream the butter and sugars together until light and fluffy. This takes about 4-5 minutes on medium speed. The butter will be light and fluffy with just a little grain from the sugar.
- Add eggs one at a time to the mixture, making sure each egg mixes thoroughly. Add the vanilla extract, salt, and baking powder and mix until just combined.
- Add the flour one cup at a time (up to 3 cups). Make sure to mix the flour completely. After the third cup, add flour in ½ cup increments (up to 4½ cups). I used 4 cups of flour and the dough looked like playdough. The dough should not be sticky and should hold together.
- Lightly flour your counter and roll the dough out very thin--about ⅛ to ¼ inch thick. Cut the cookies out and put them on a prepared baking sheet.
- Chill cut out cookies on the baking sheet for at least 15 minutes. Preheat the oven to 350 degrees.
- Bake cookies for 7 to 8 minutes. Be careful not to over bake. These cookies are light and do not really get golden brown, even at the edges. Transfer cookies to a cooling rack and let cool completely.
- Frost with royal icing (recipe below). Makes about four dozen cookies.
For Perfect Royal Icing
- In the bowl of a stand mixer or large bowl, whisk the powdered sugar and meringue powder. Slowly add in the water and vanilla extract. The icing will initially be very wet. Keep whisking on medium speed for 5-6 minutes, until it thickens to pudding consistency. Increase the speed to high and whisk for an additional 4-5 minutes, until the icing is very stiff and the whisk or a spatula stands straight up without falling.
- Separate your icing into the colors you intend to use. Then thin each portion of icing with water, a teaspoon at a time to your desired consistency. Fill a frosting bag fitted with a Wilton #3 tip. Line and flood the cookie. Decorate as desired.
- Makes enough icing for four dozen cookies, plus some to spare.
Notes
Cookies Adapted from Lila Loa
Royal Icing Adapted from Sweet Sugar Belle
Recommended Products
As an Amazon Associate and member of other affiliate programs, I earn from qualifying purchases.